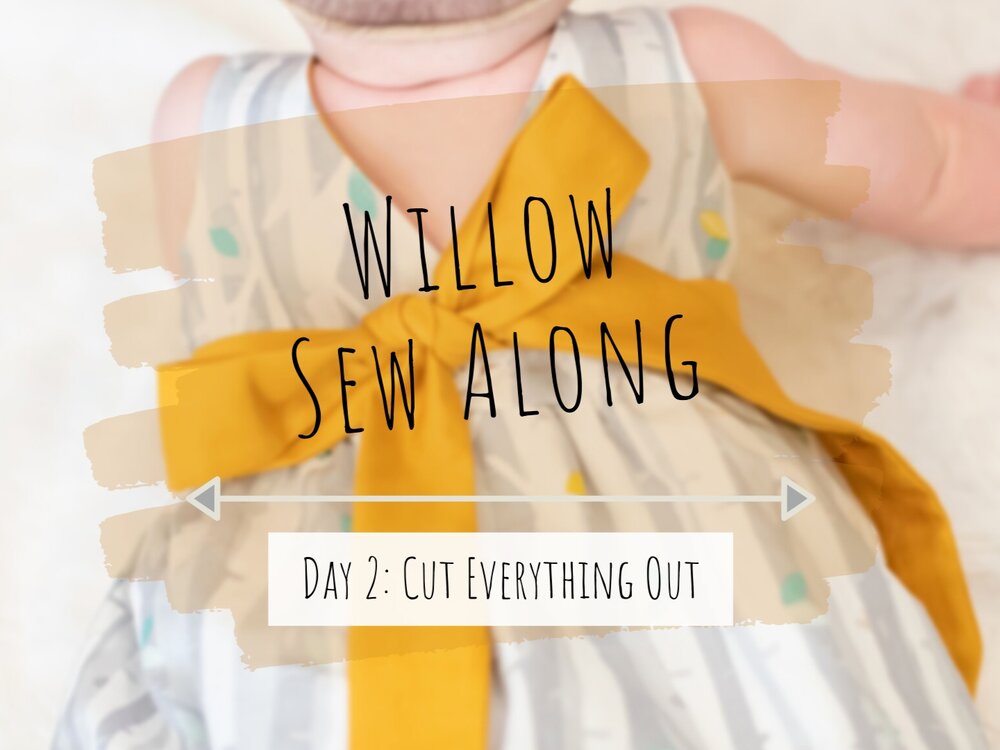
It’s day 2 of the Willow Sew Along! You should have your fabric prewashed and your pattern printed and taped together. If you are just tuning in, use the links below to jump to the other sew along posts.
It’s time to cut everything out! Make sure you are paying attention to the cut lines for the option you’ve chosen. There is a diagram on page 13 in the instructions if you need a good visual. If you are grading the width between multiple sizes, I suggest drawing a line to blend the sizes before you start cutting. If you are needing to lengthen/shorten, I suggest doing so after you’ve cut out your pattern pieces (if you need a visual, see the video link below). Remember, there is a 1/2” difference between each size on the bodice. If you are only lengthening/shortening by one size, there is no need to adjust the armscye. If you are lengthening/shortening by more than 2 sizes, you will want to distribute the amount between the bodice and armscye, per the instructions on page 4. The instructions within the pattern for making adjustments are great and thorough, but if you need additional help, feel free to post in the comments below, or on today’s post in the Sew A Little Seam FB Group.
* You can easily find the sew along posts by searching willowsewalong in the group or by selecting the Willow Sew Along topic.
Once your pattern pieces are all cut out, you are free to cut your fabric! If you are sewing the woven version or a the knit version with buttons, iron on your interfacing after your fabric has been cut.
Don’t forget to comment on today’s FB post to be entered in the daily giveaway for the sew along!