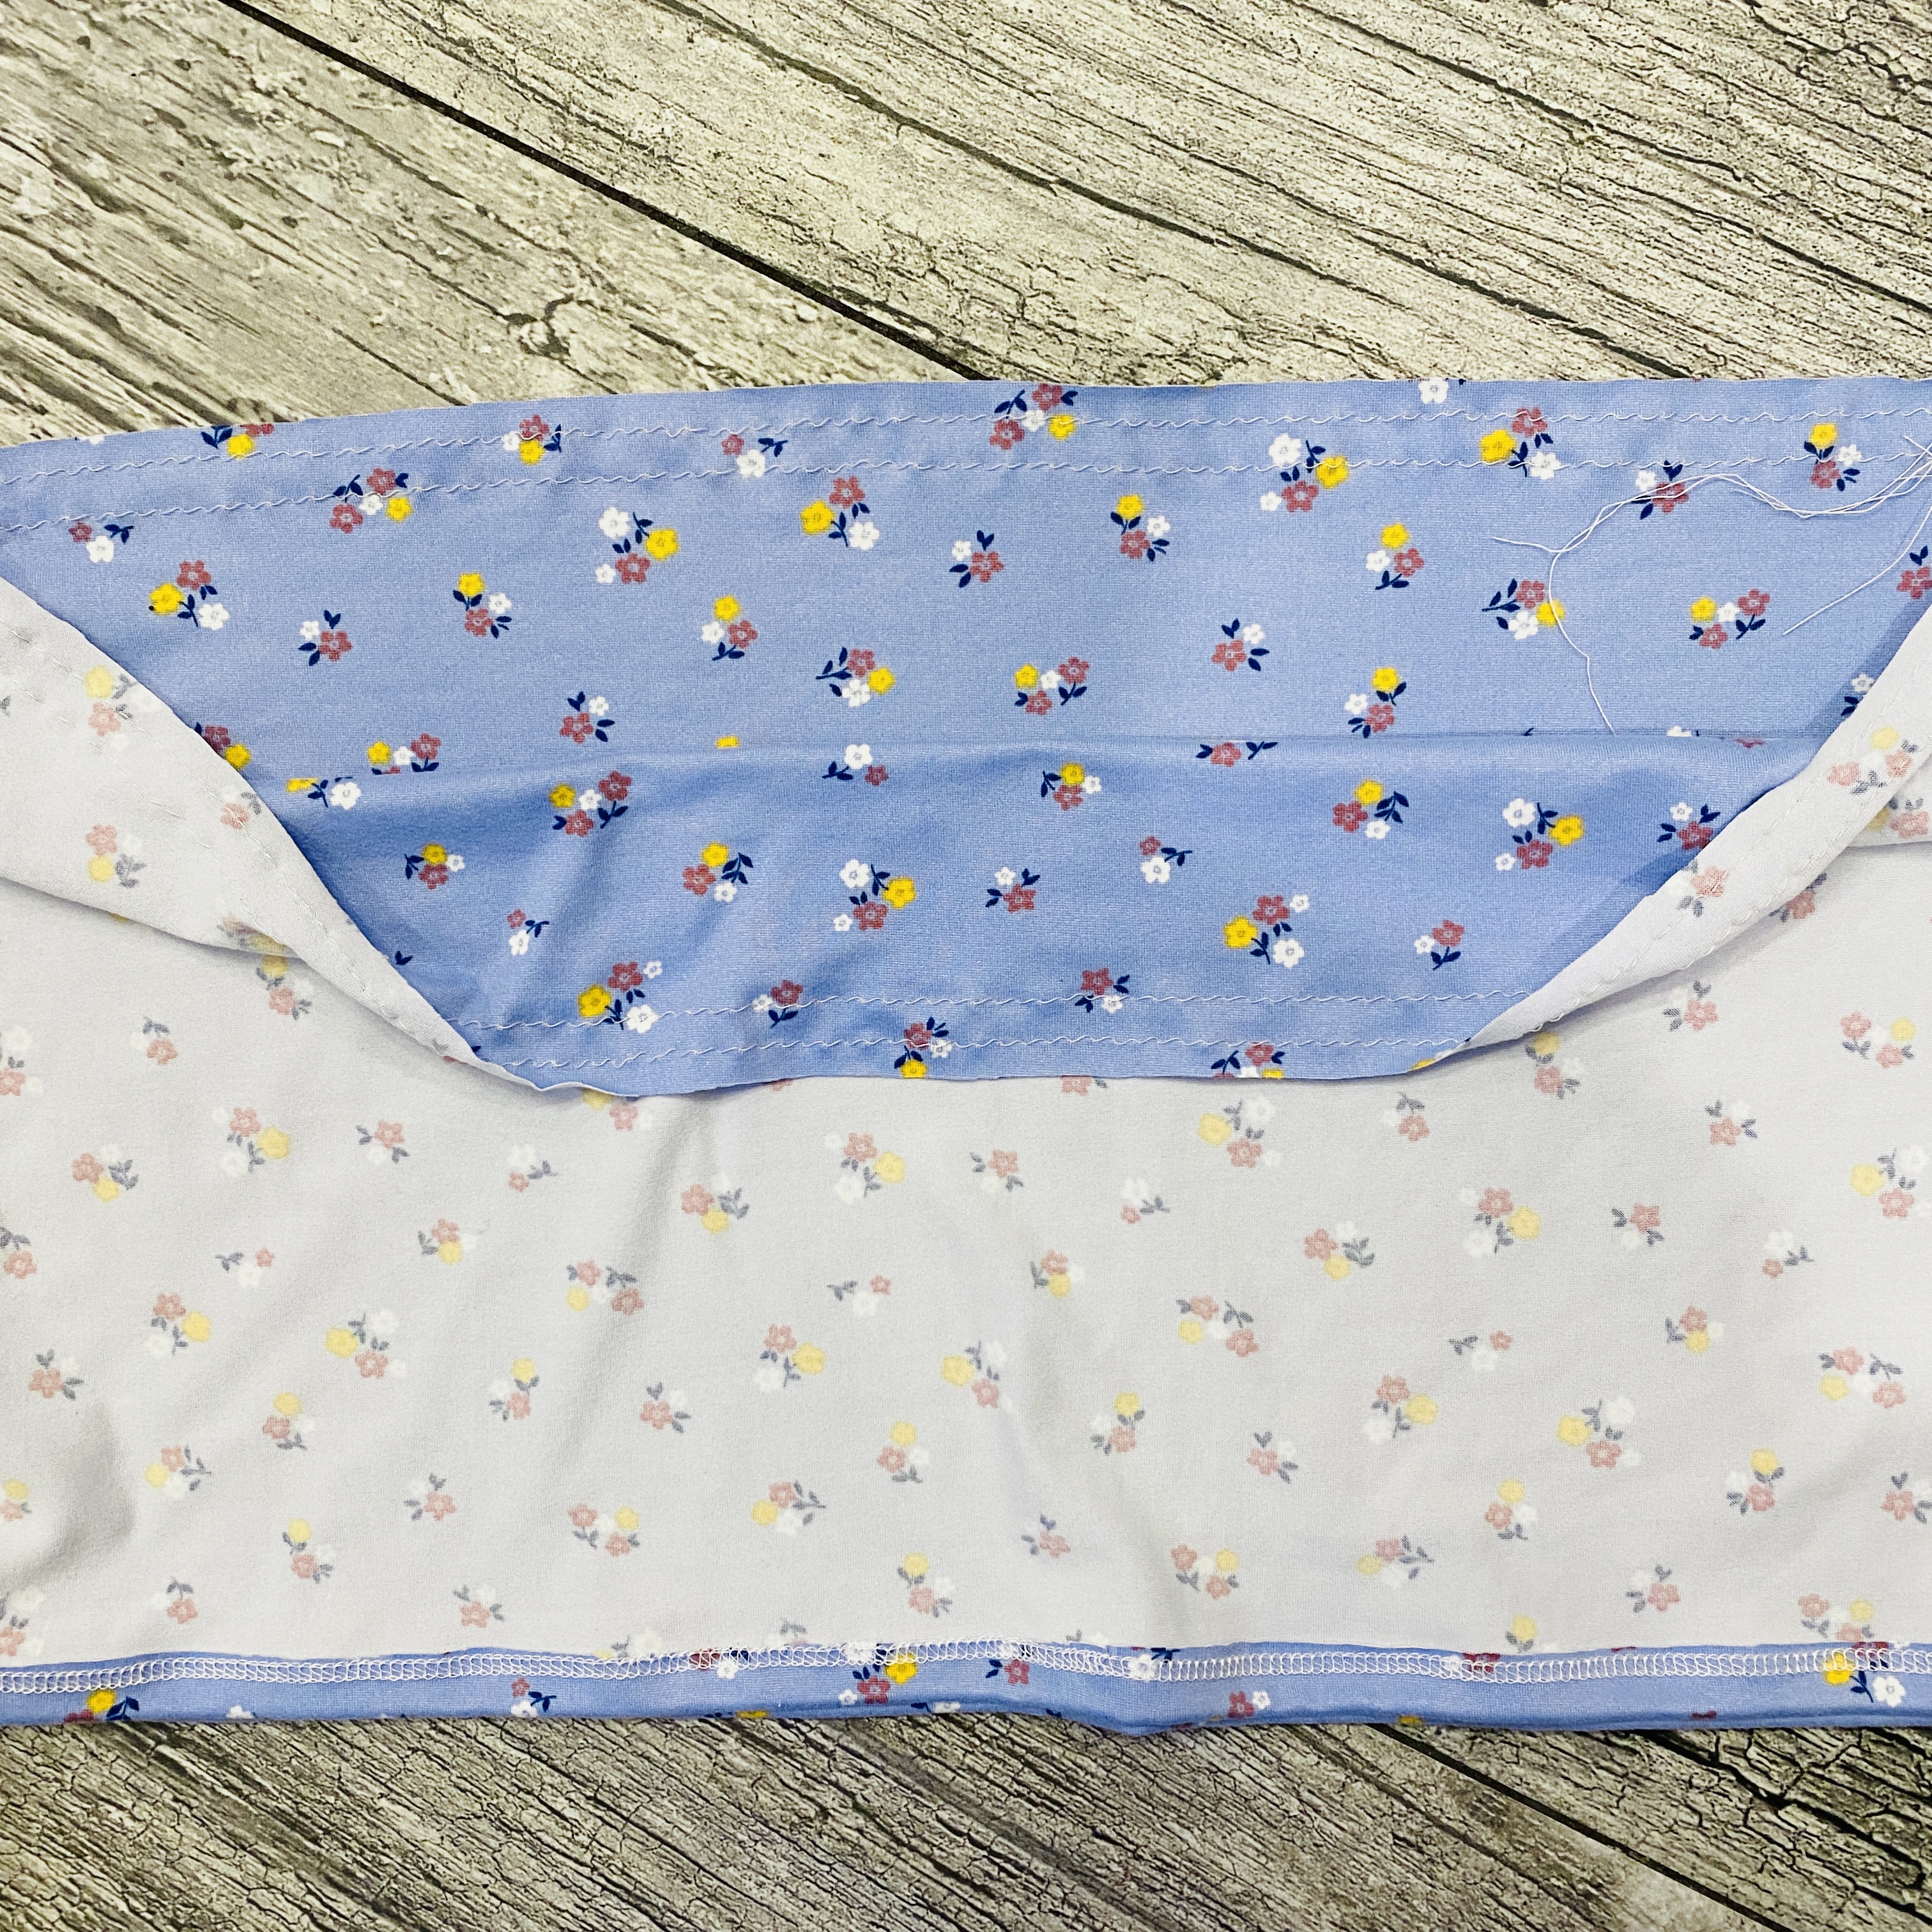
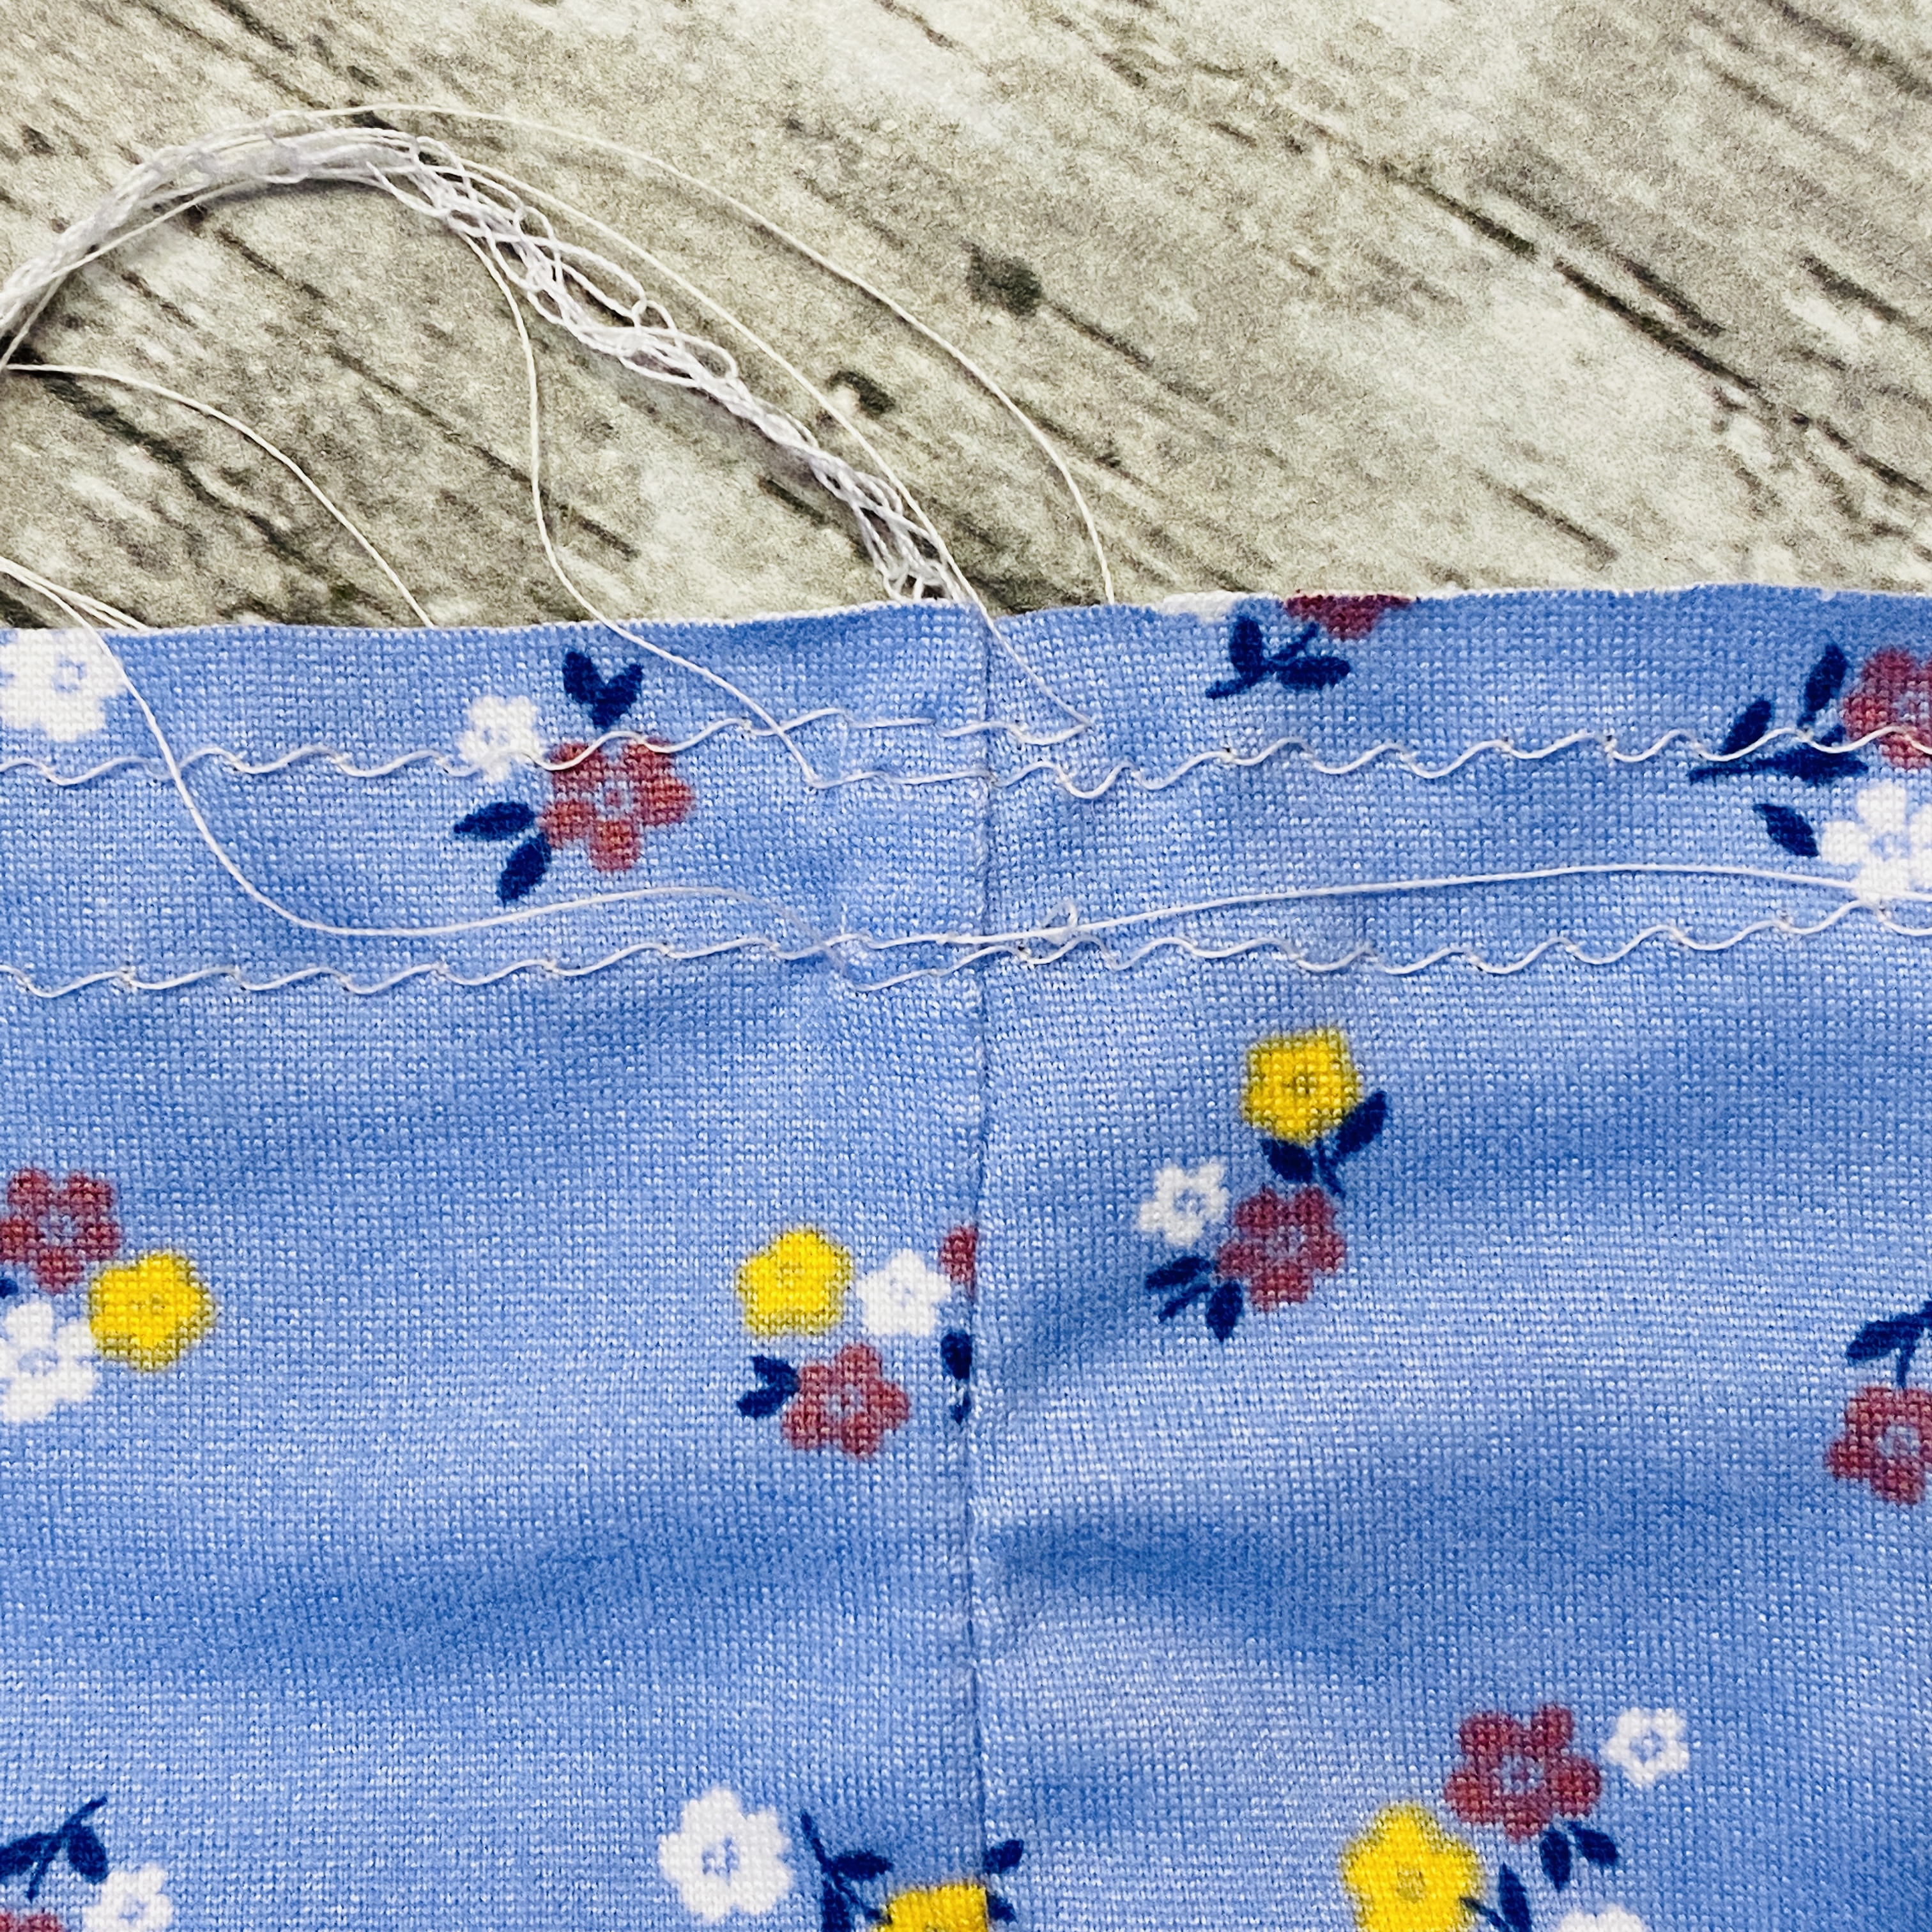
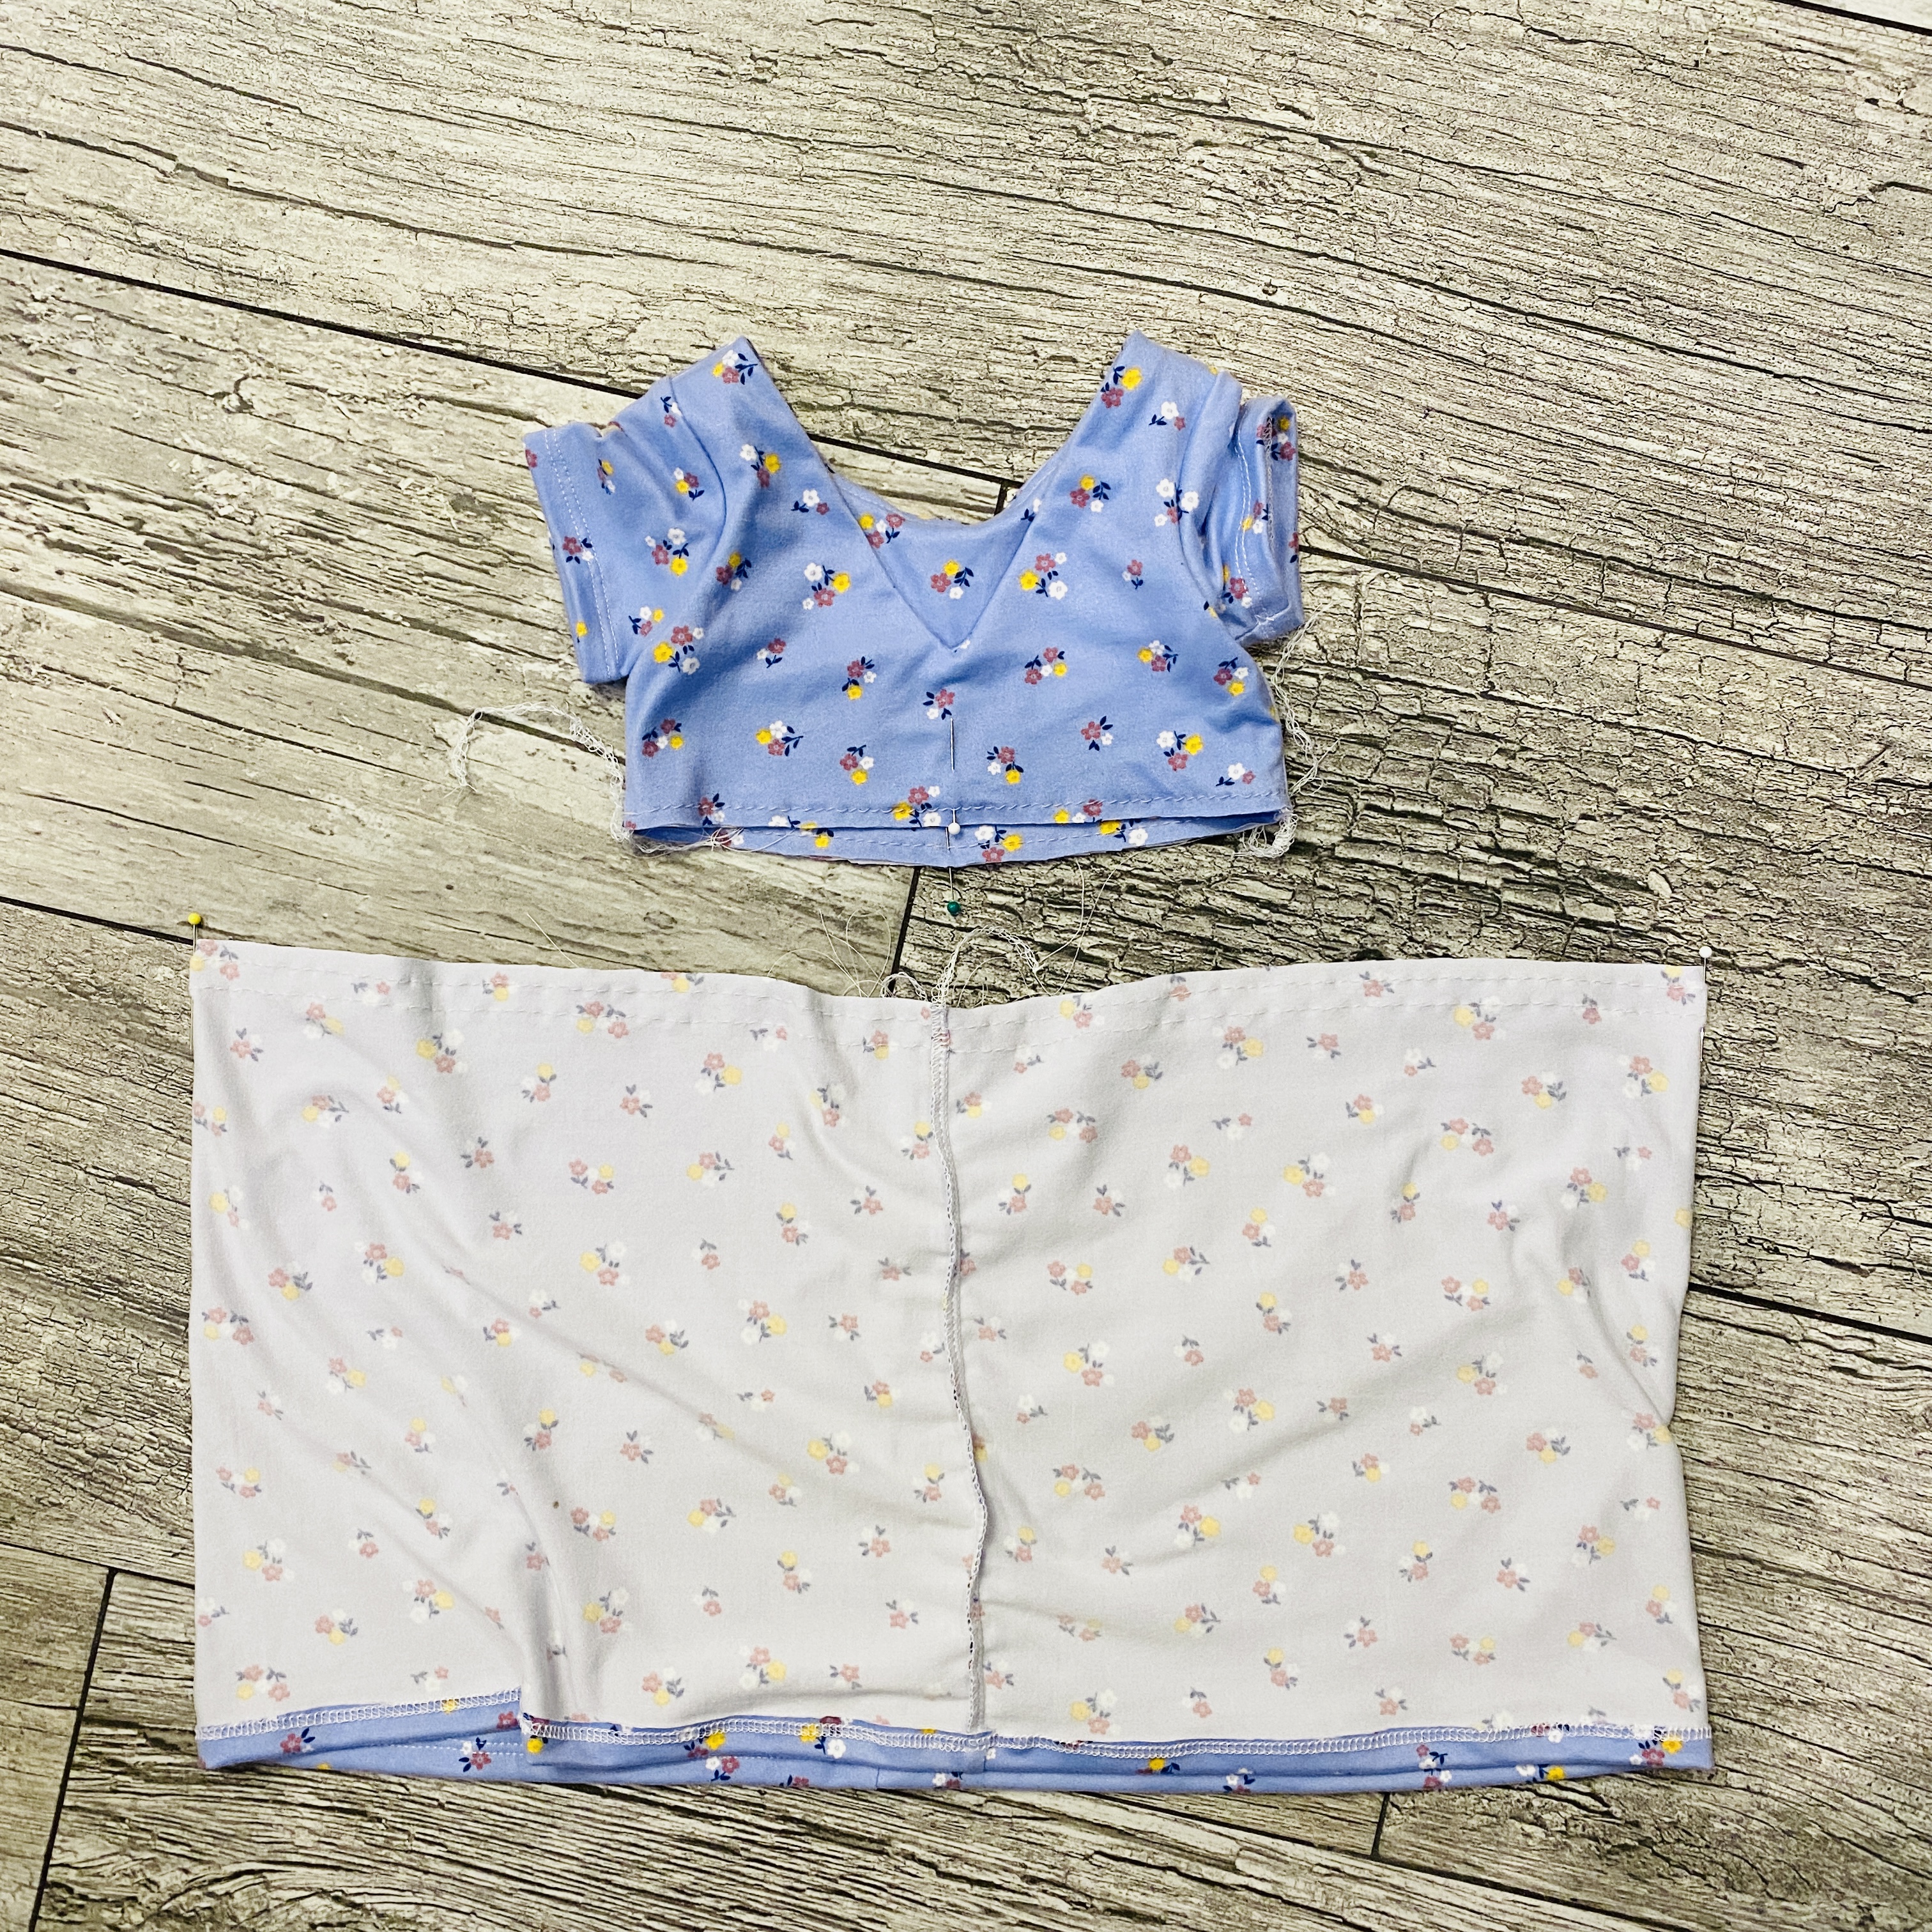
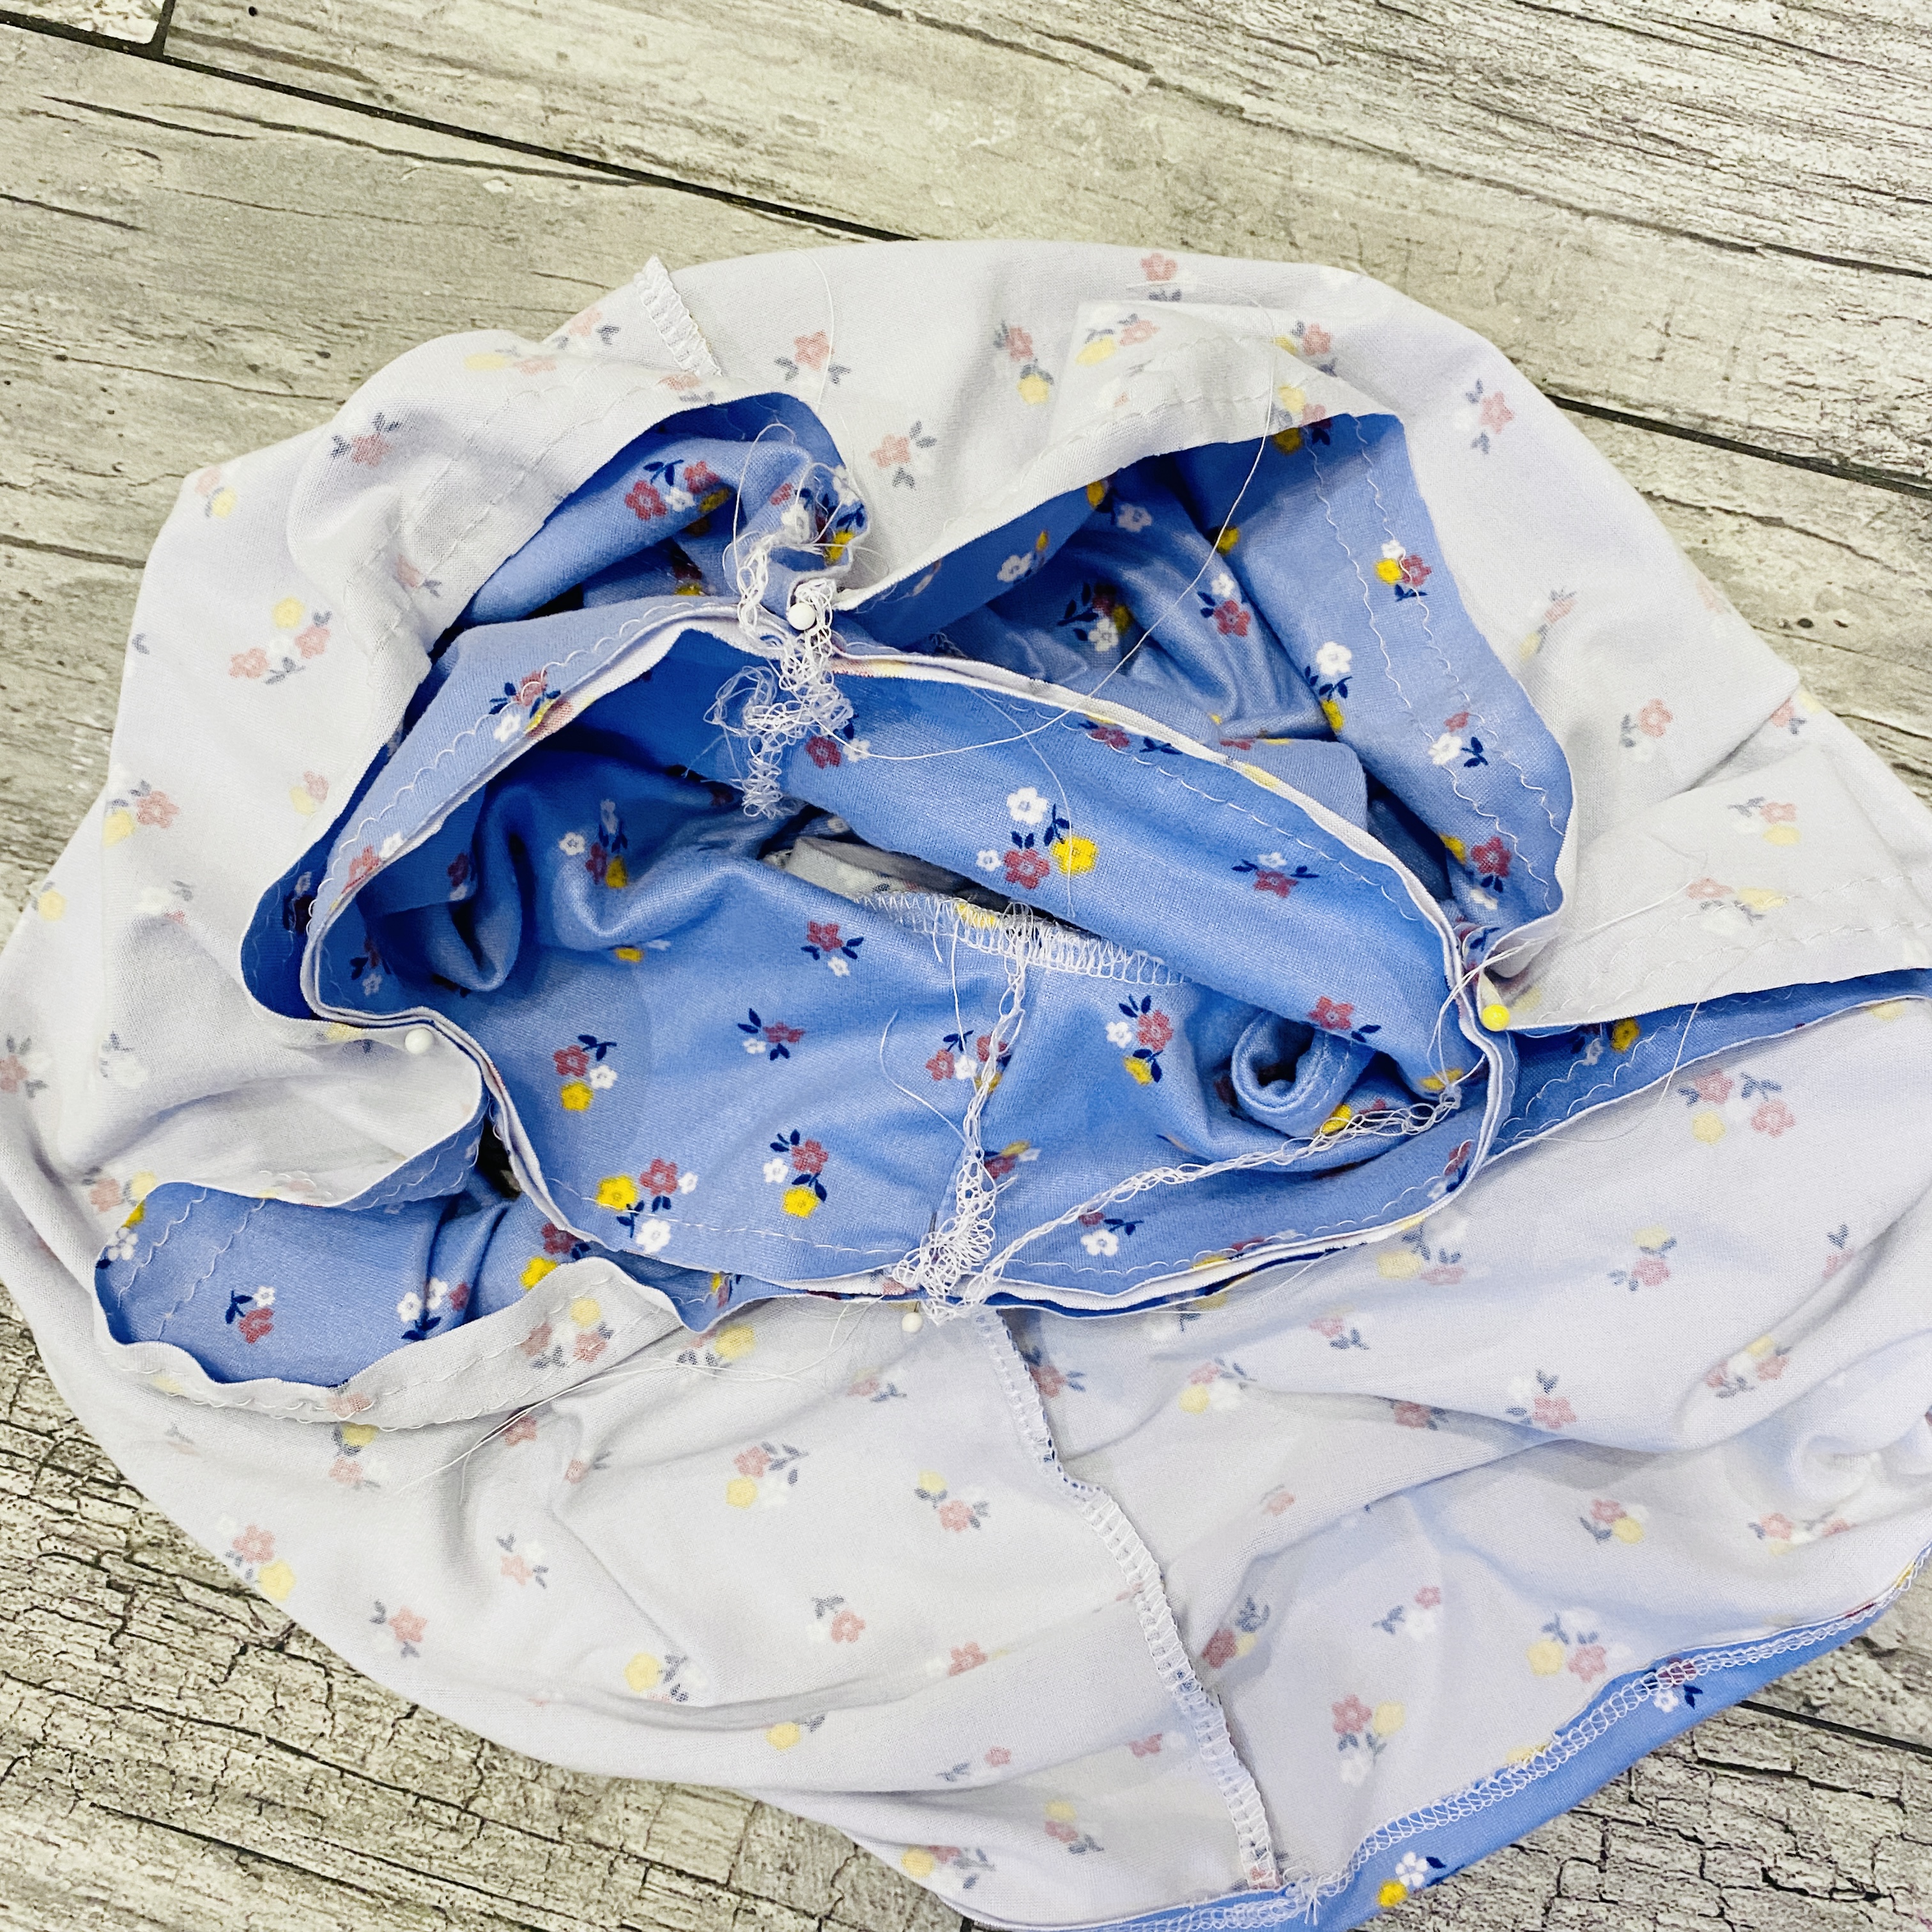
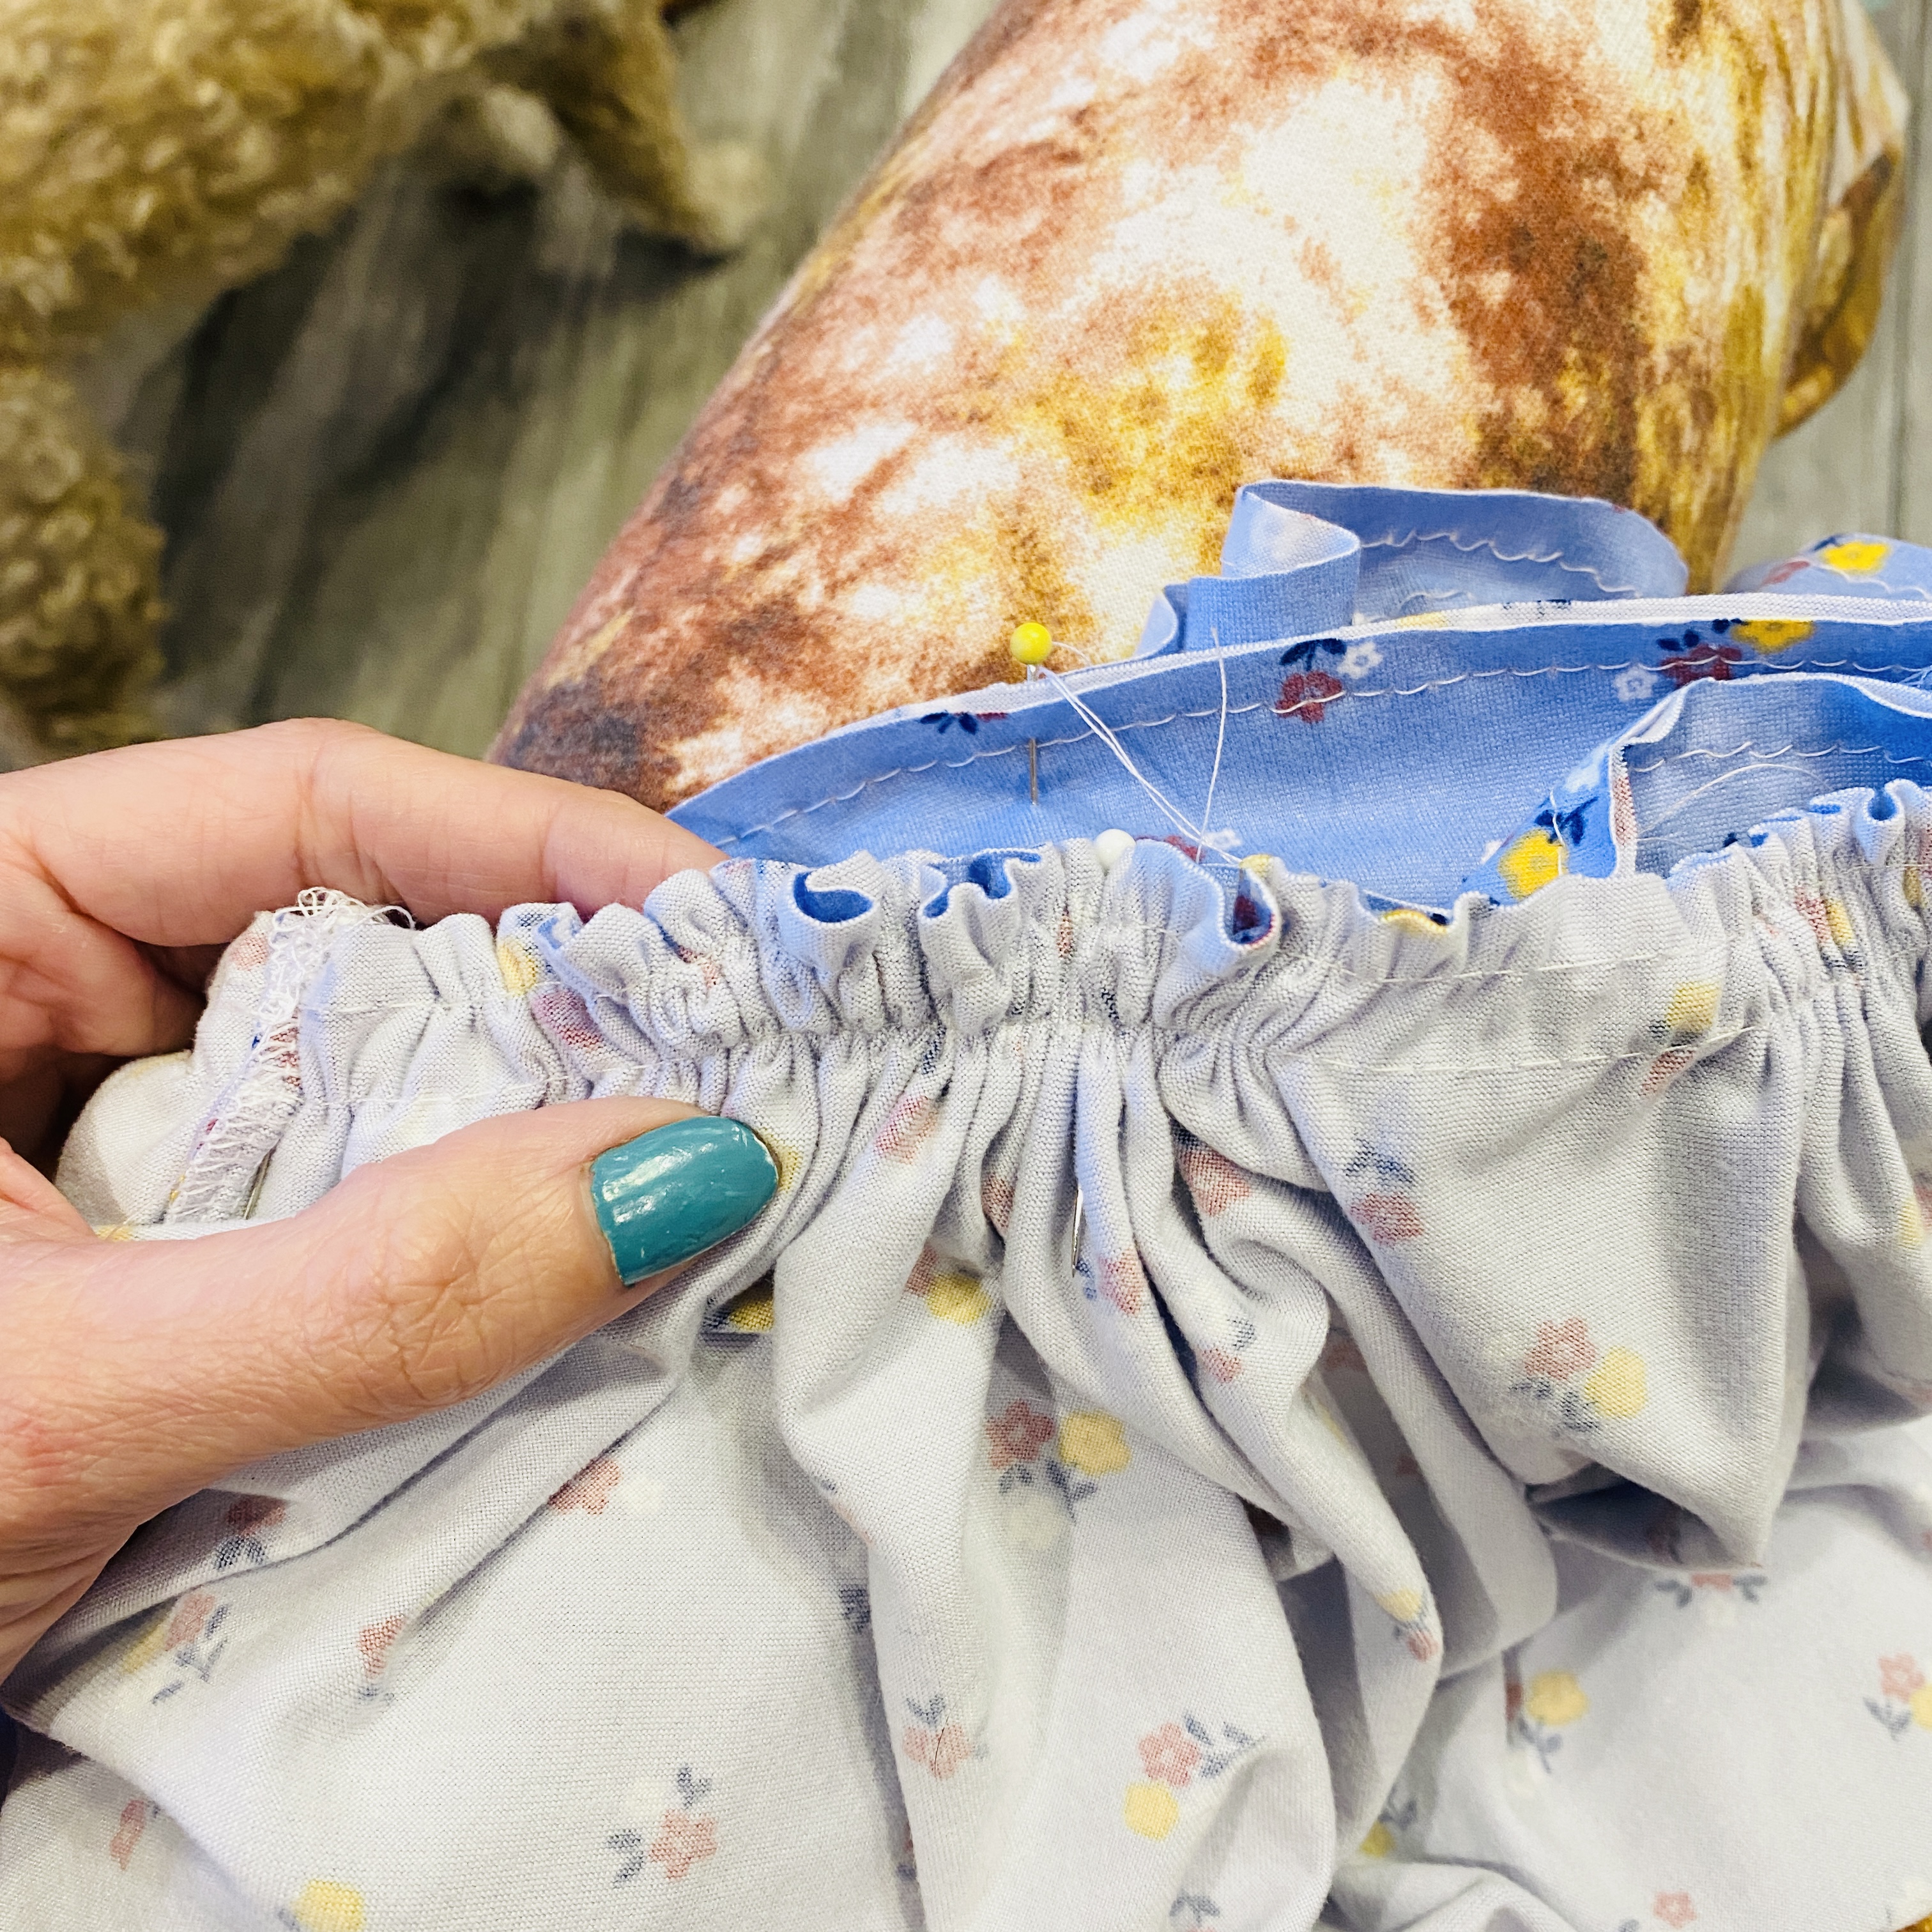
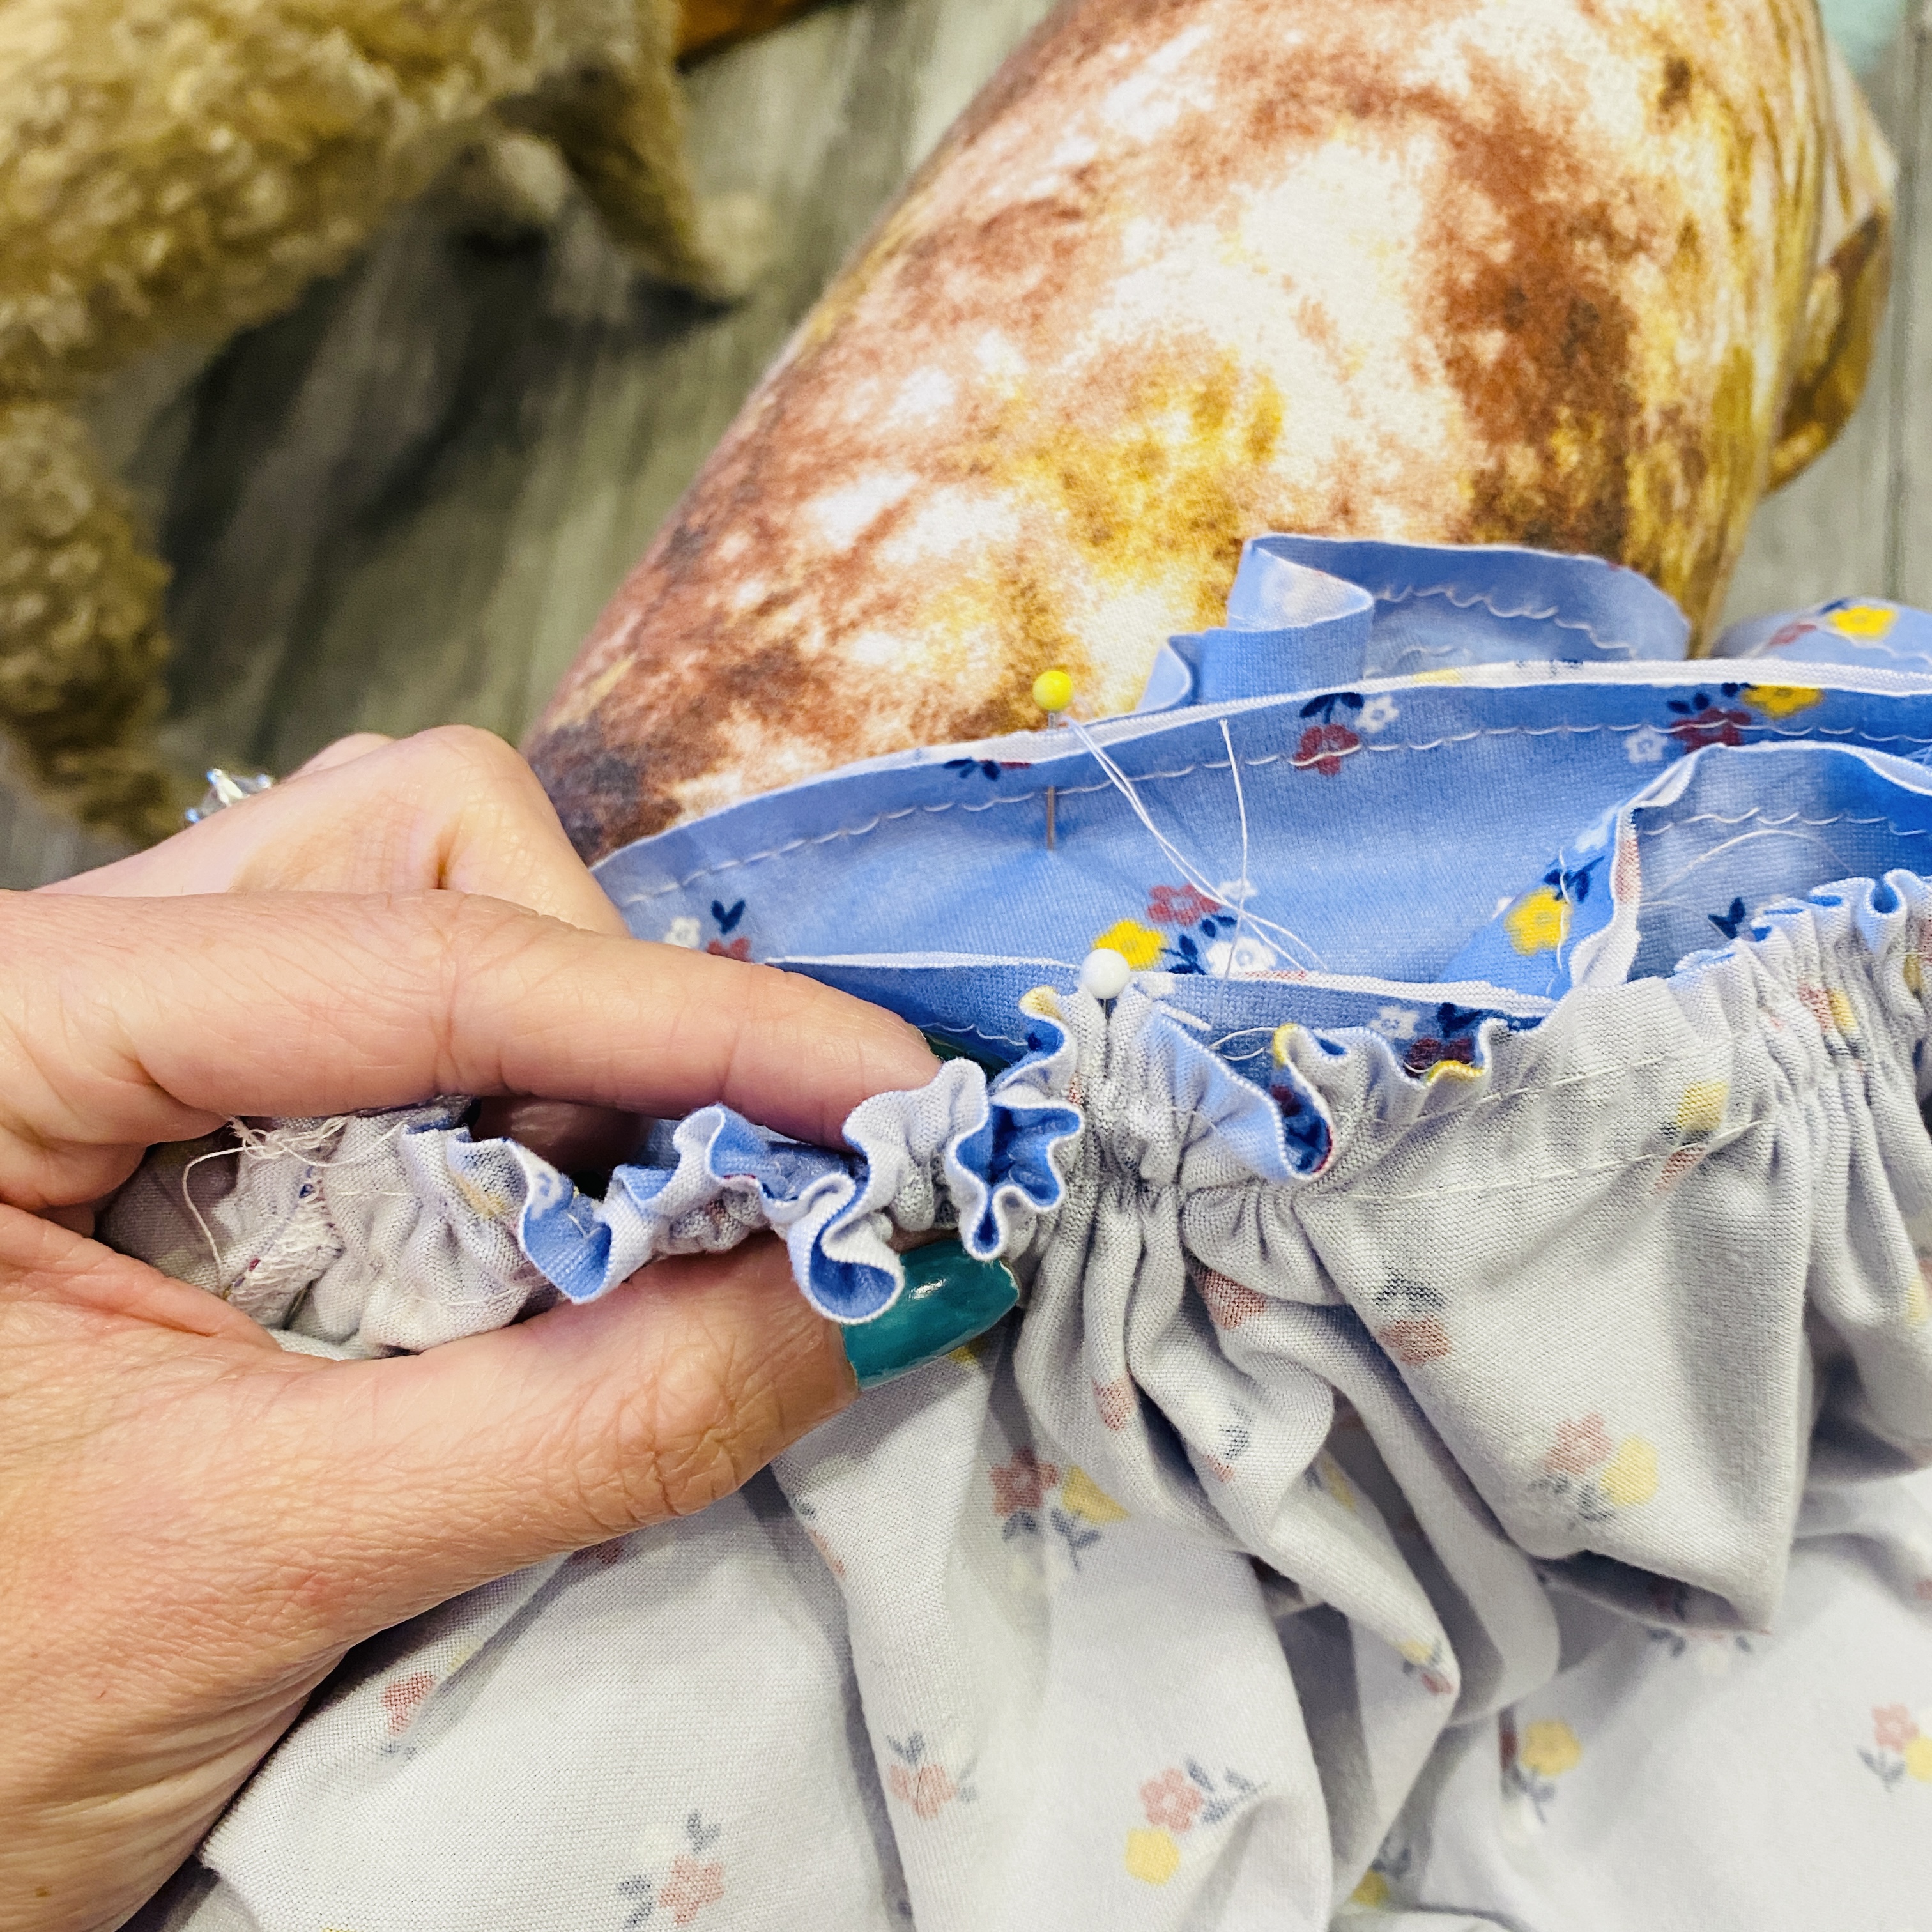
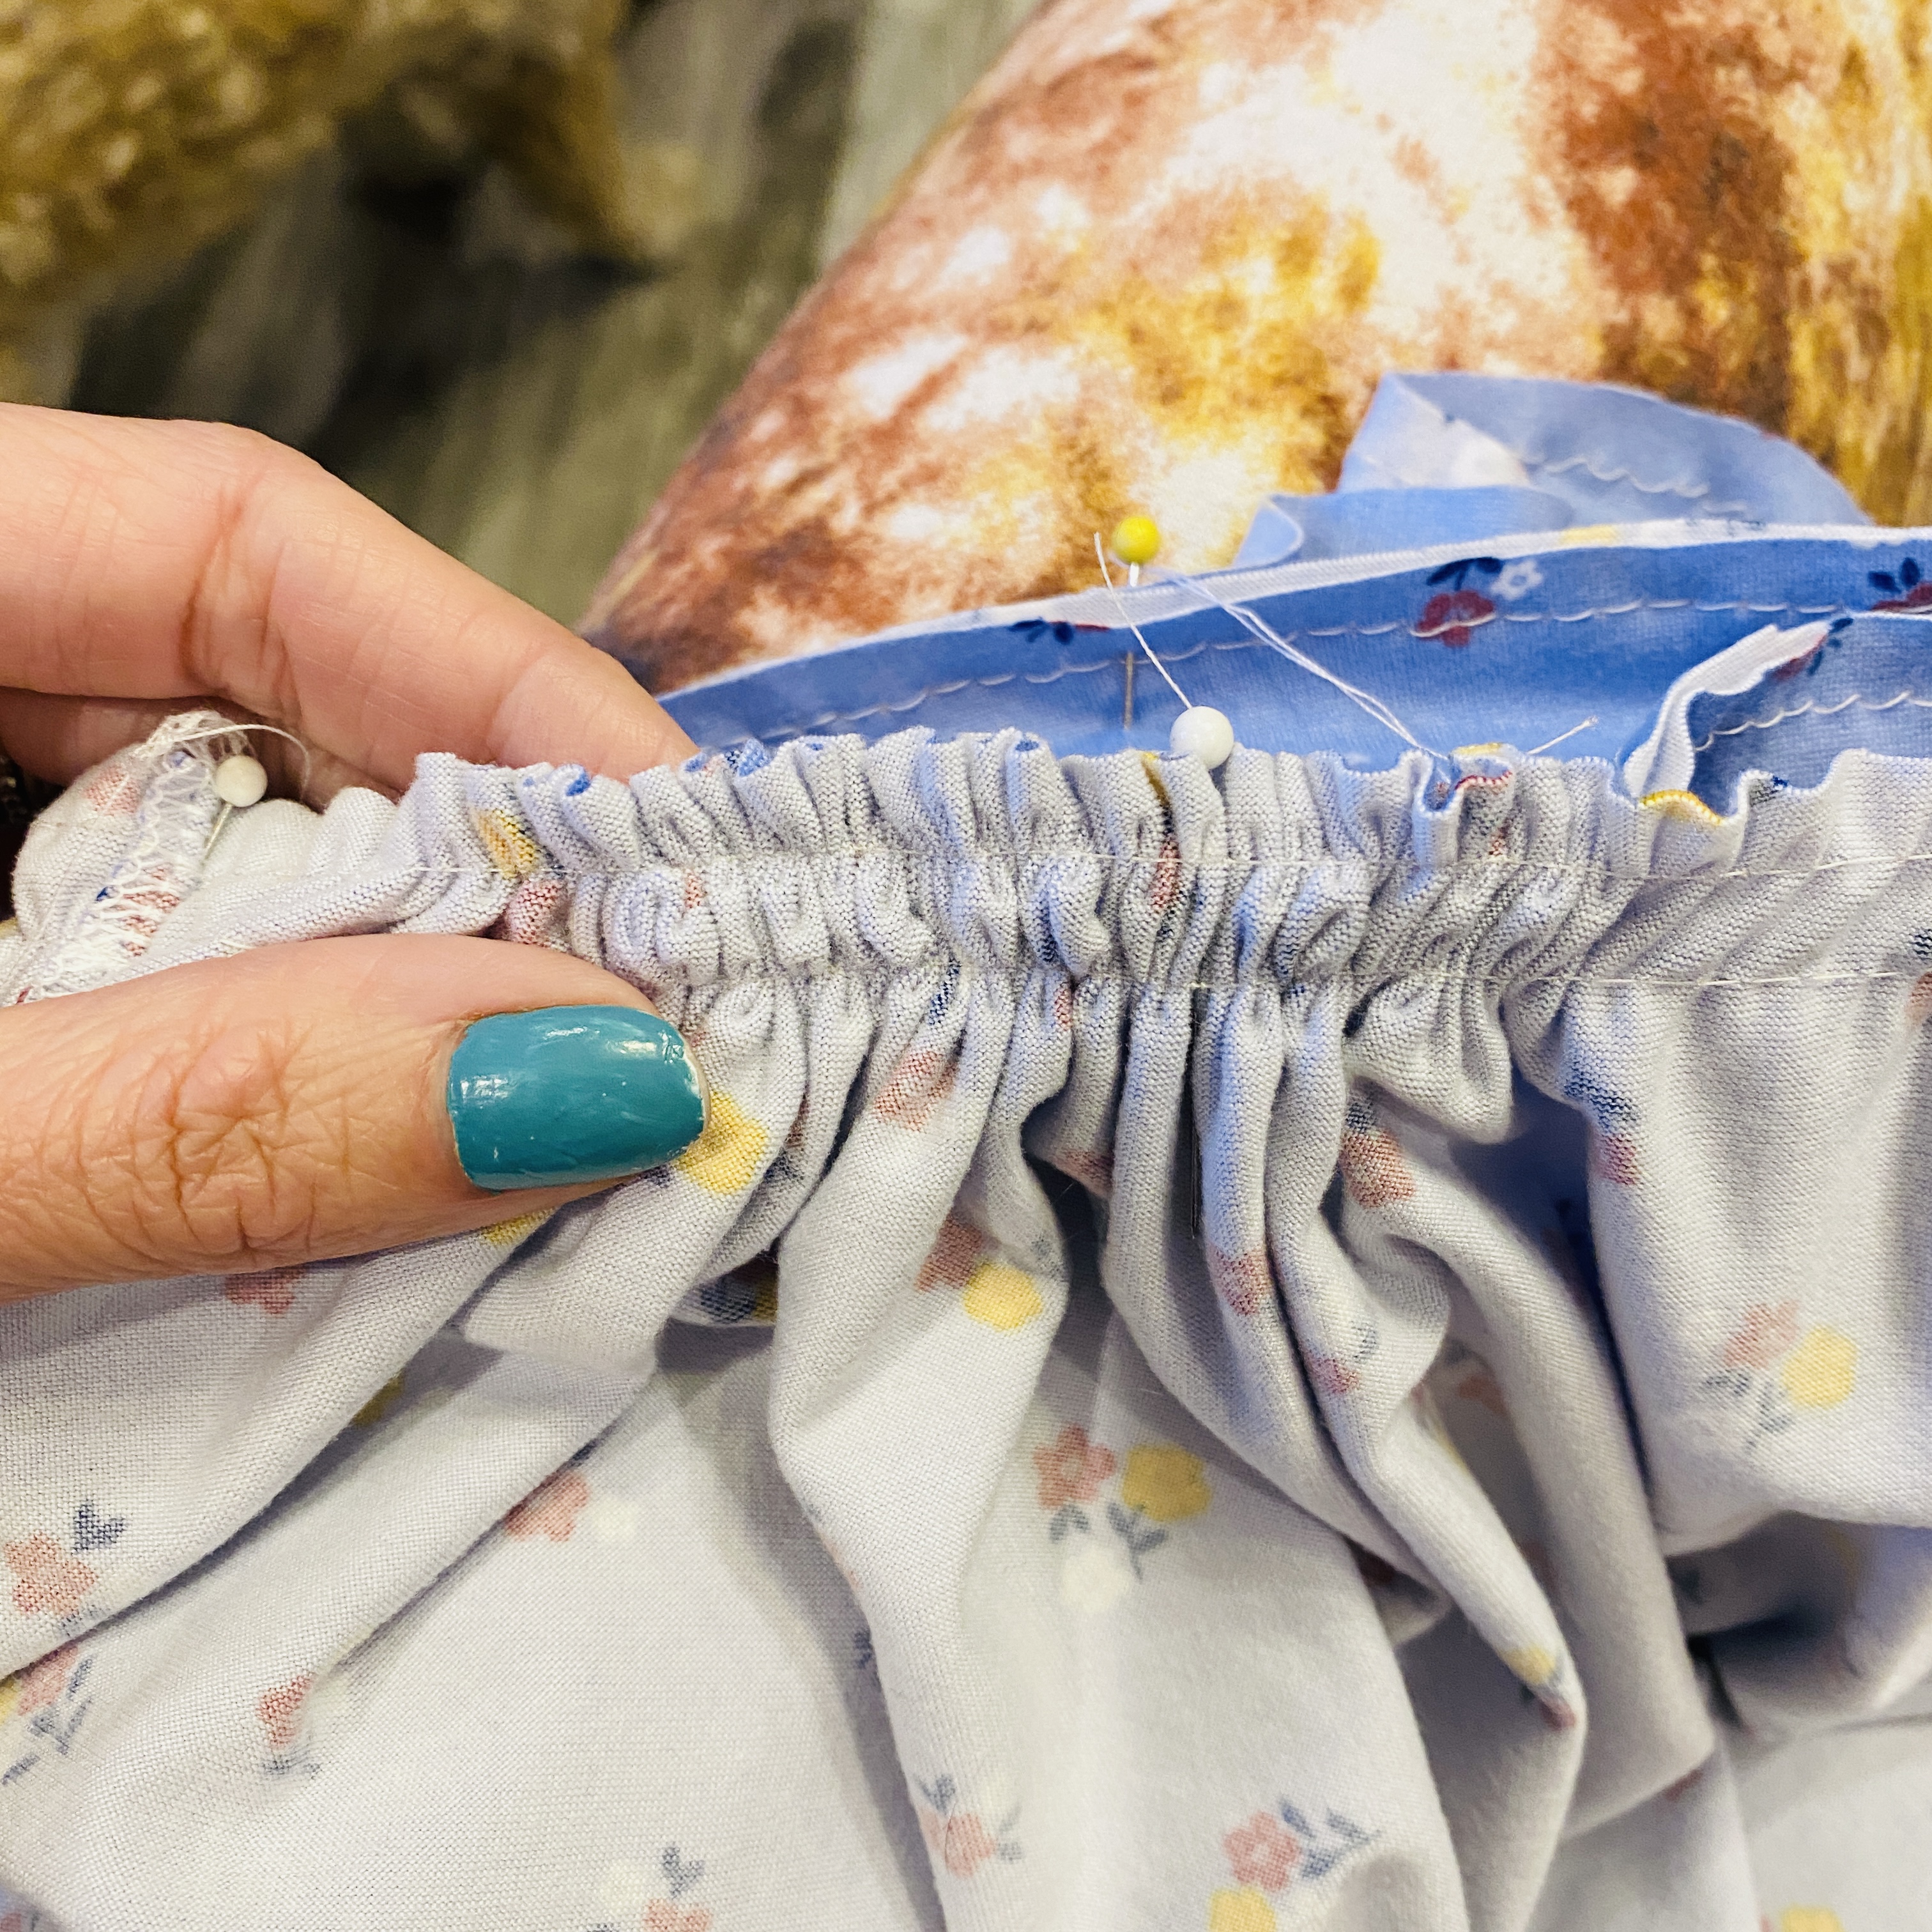
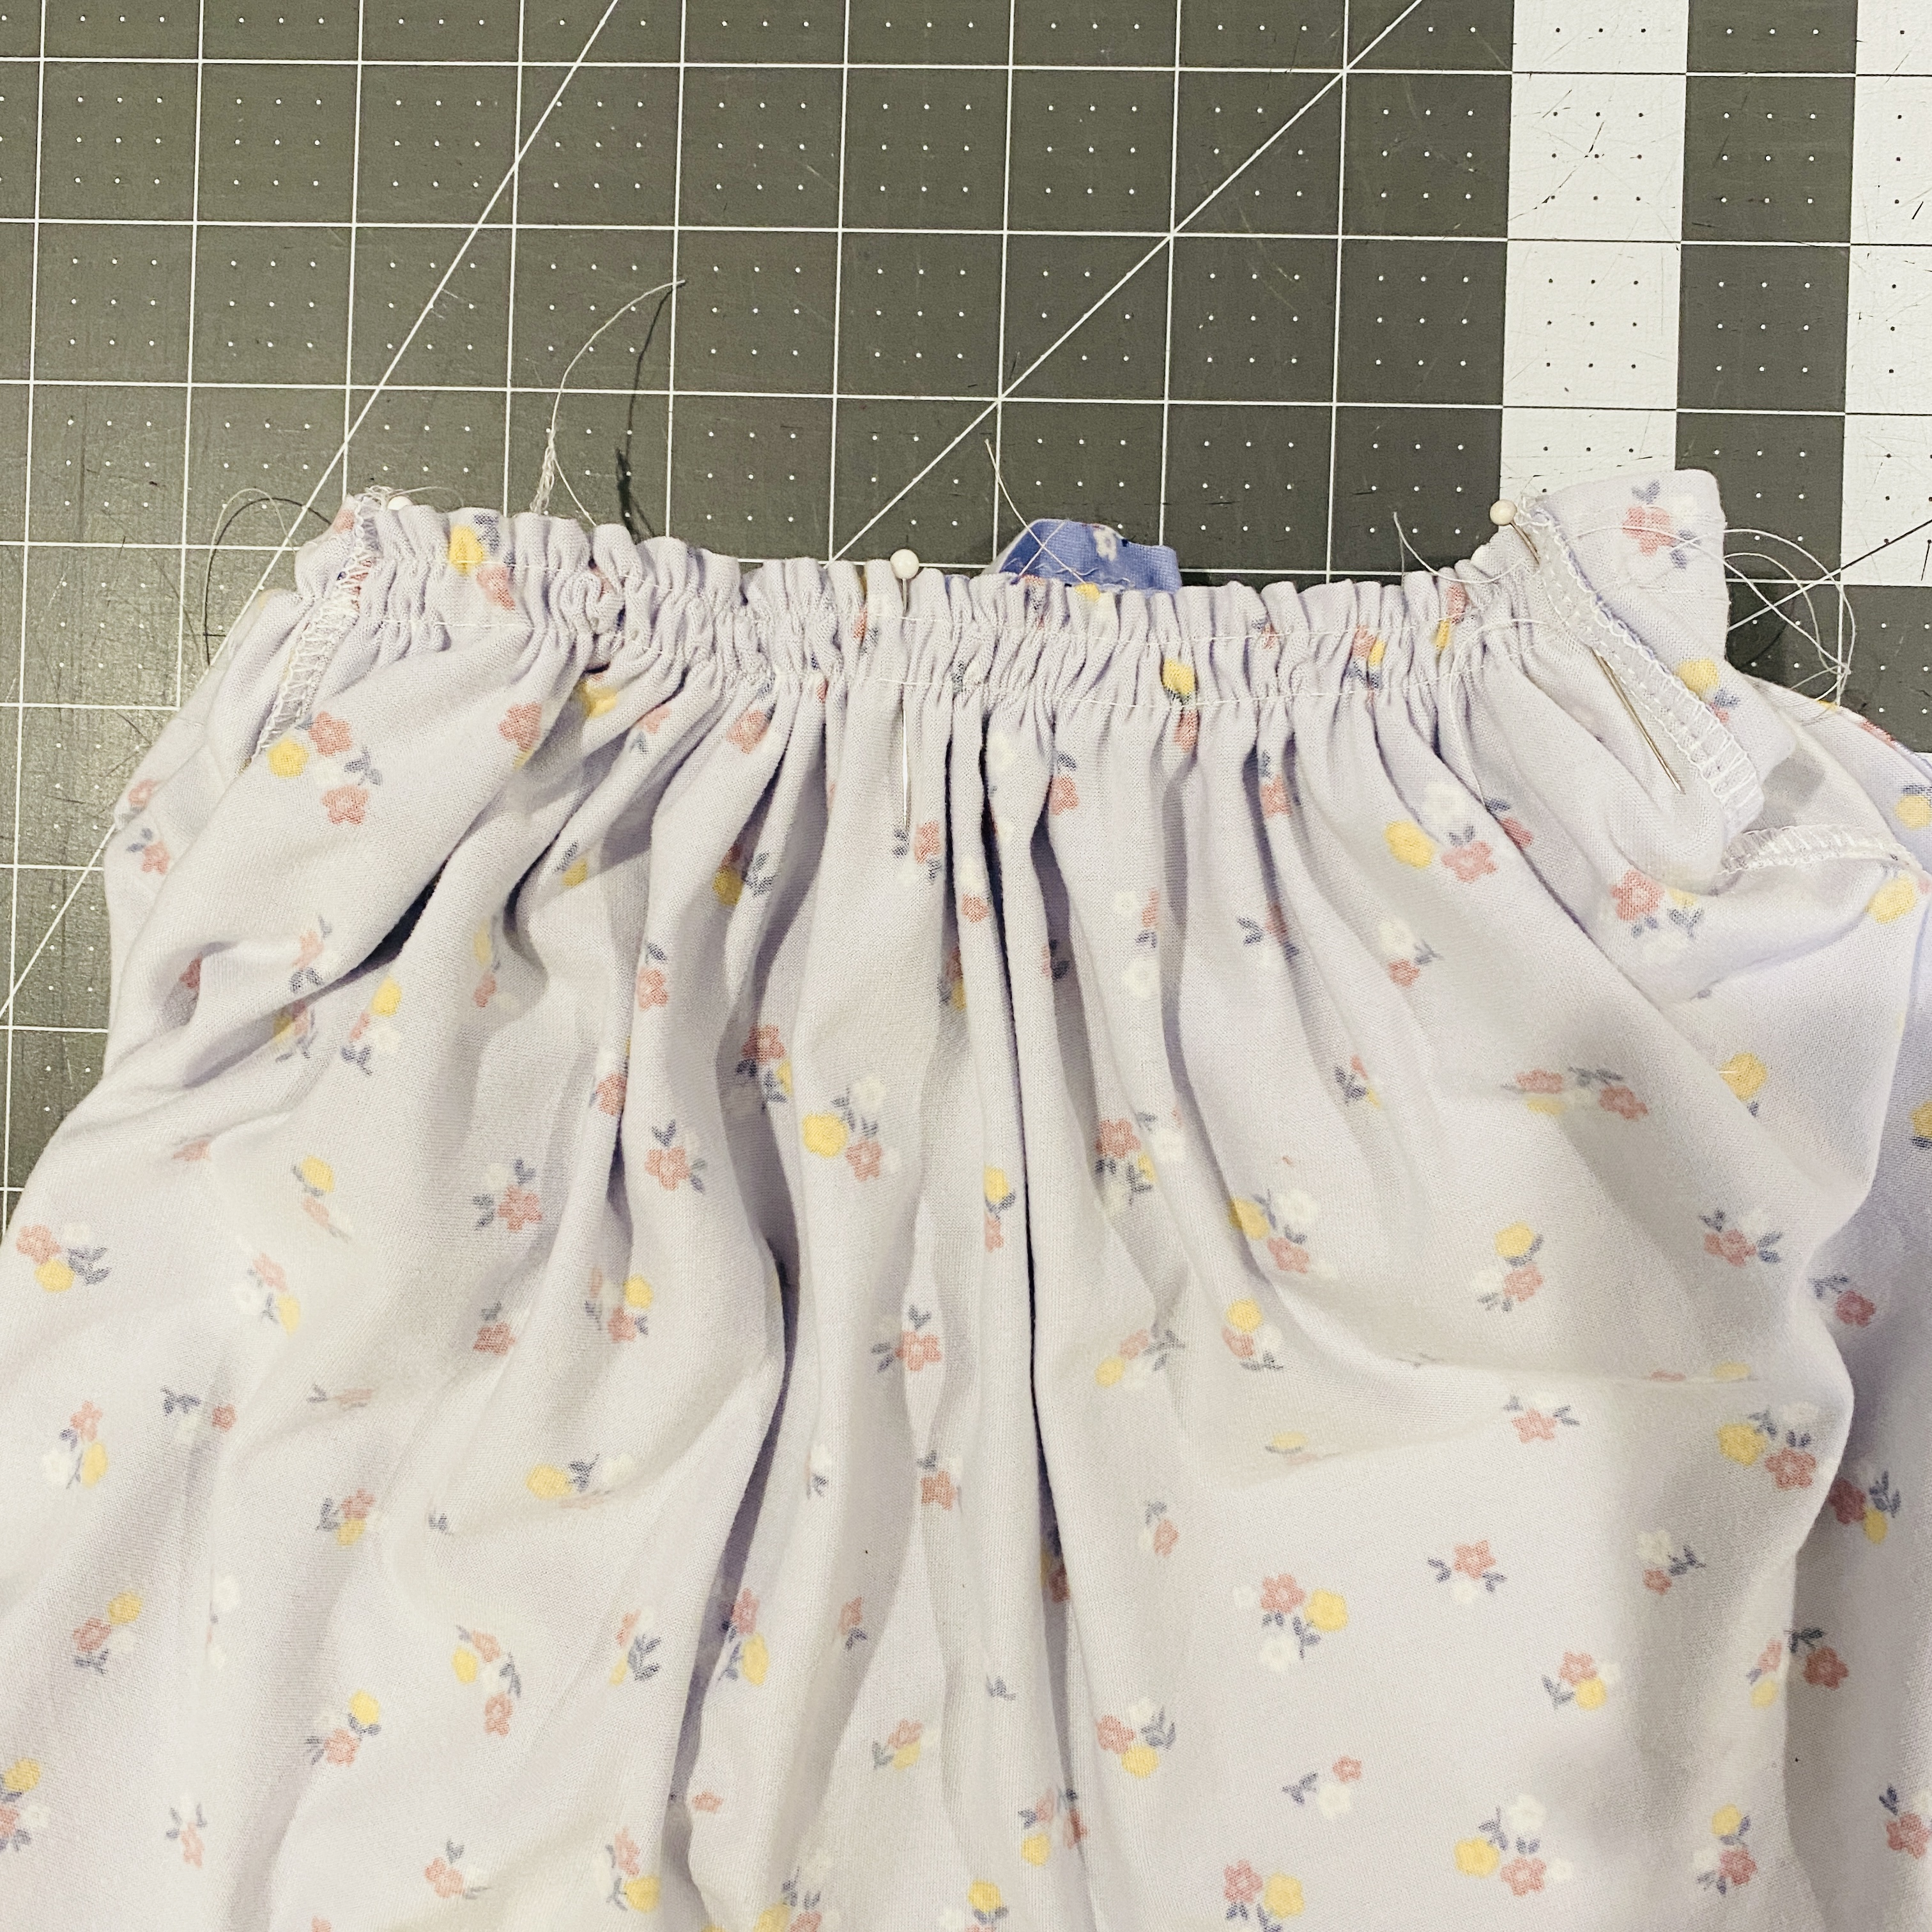
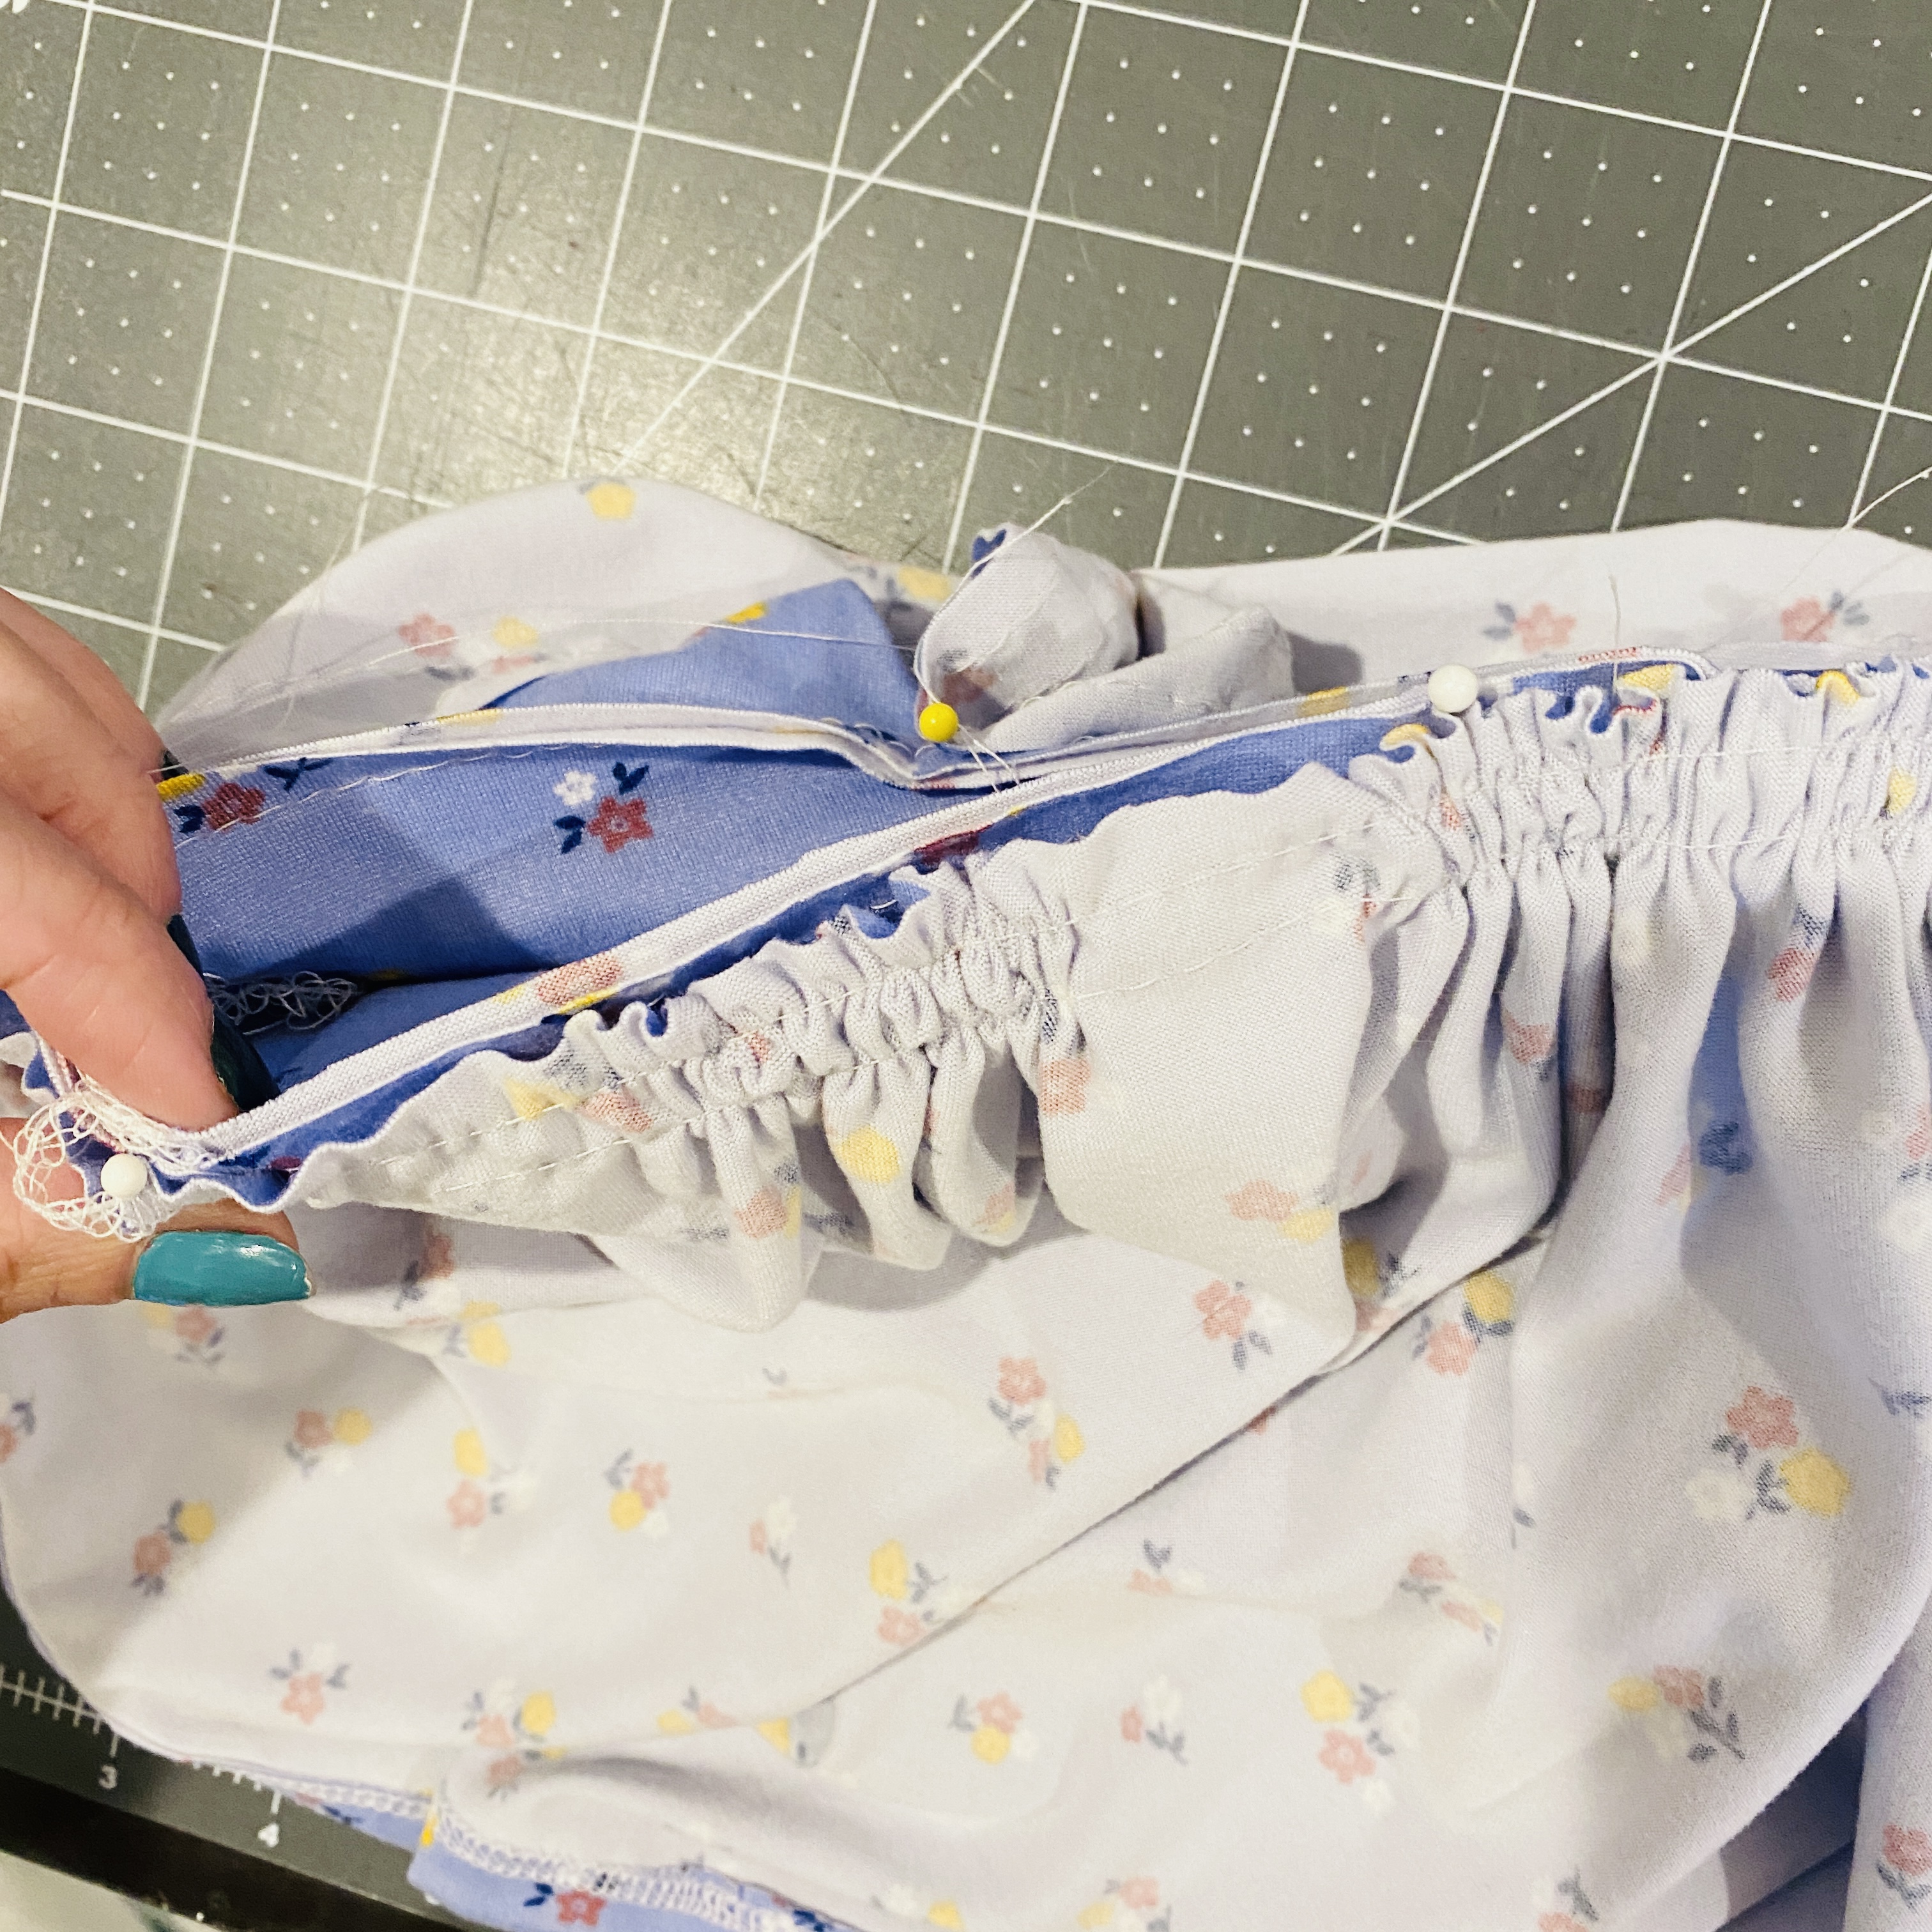
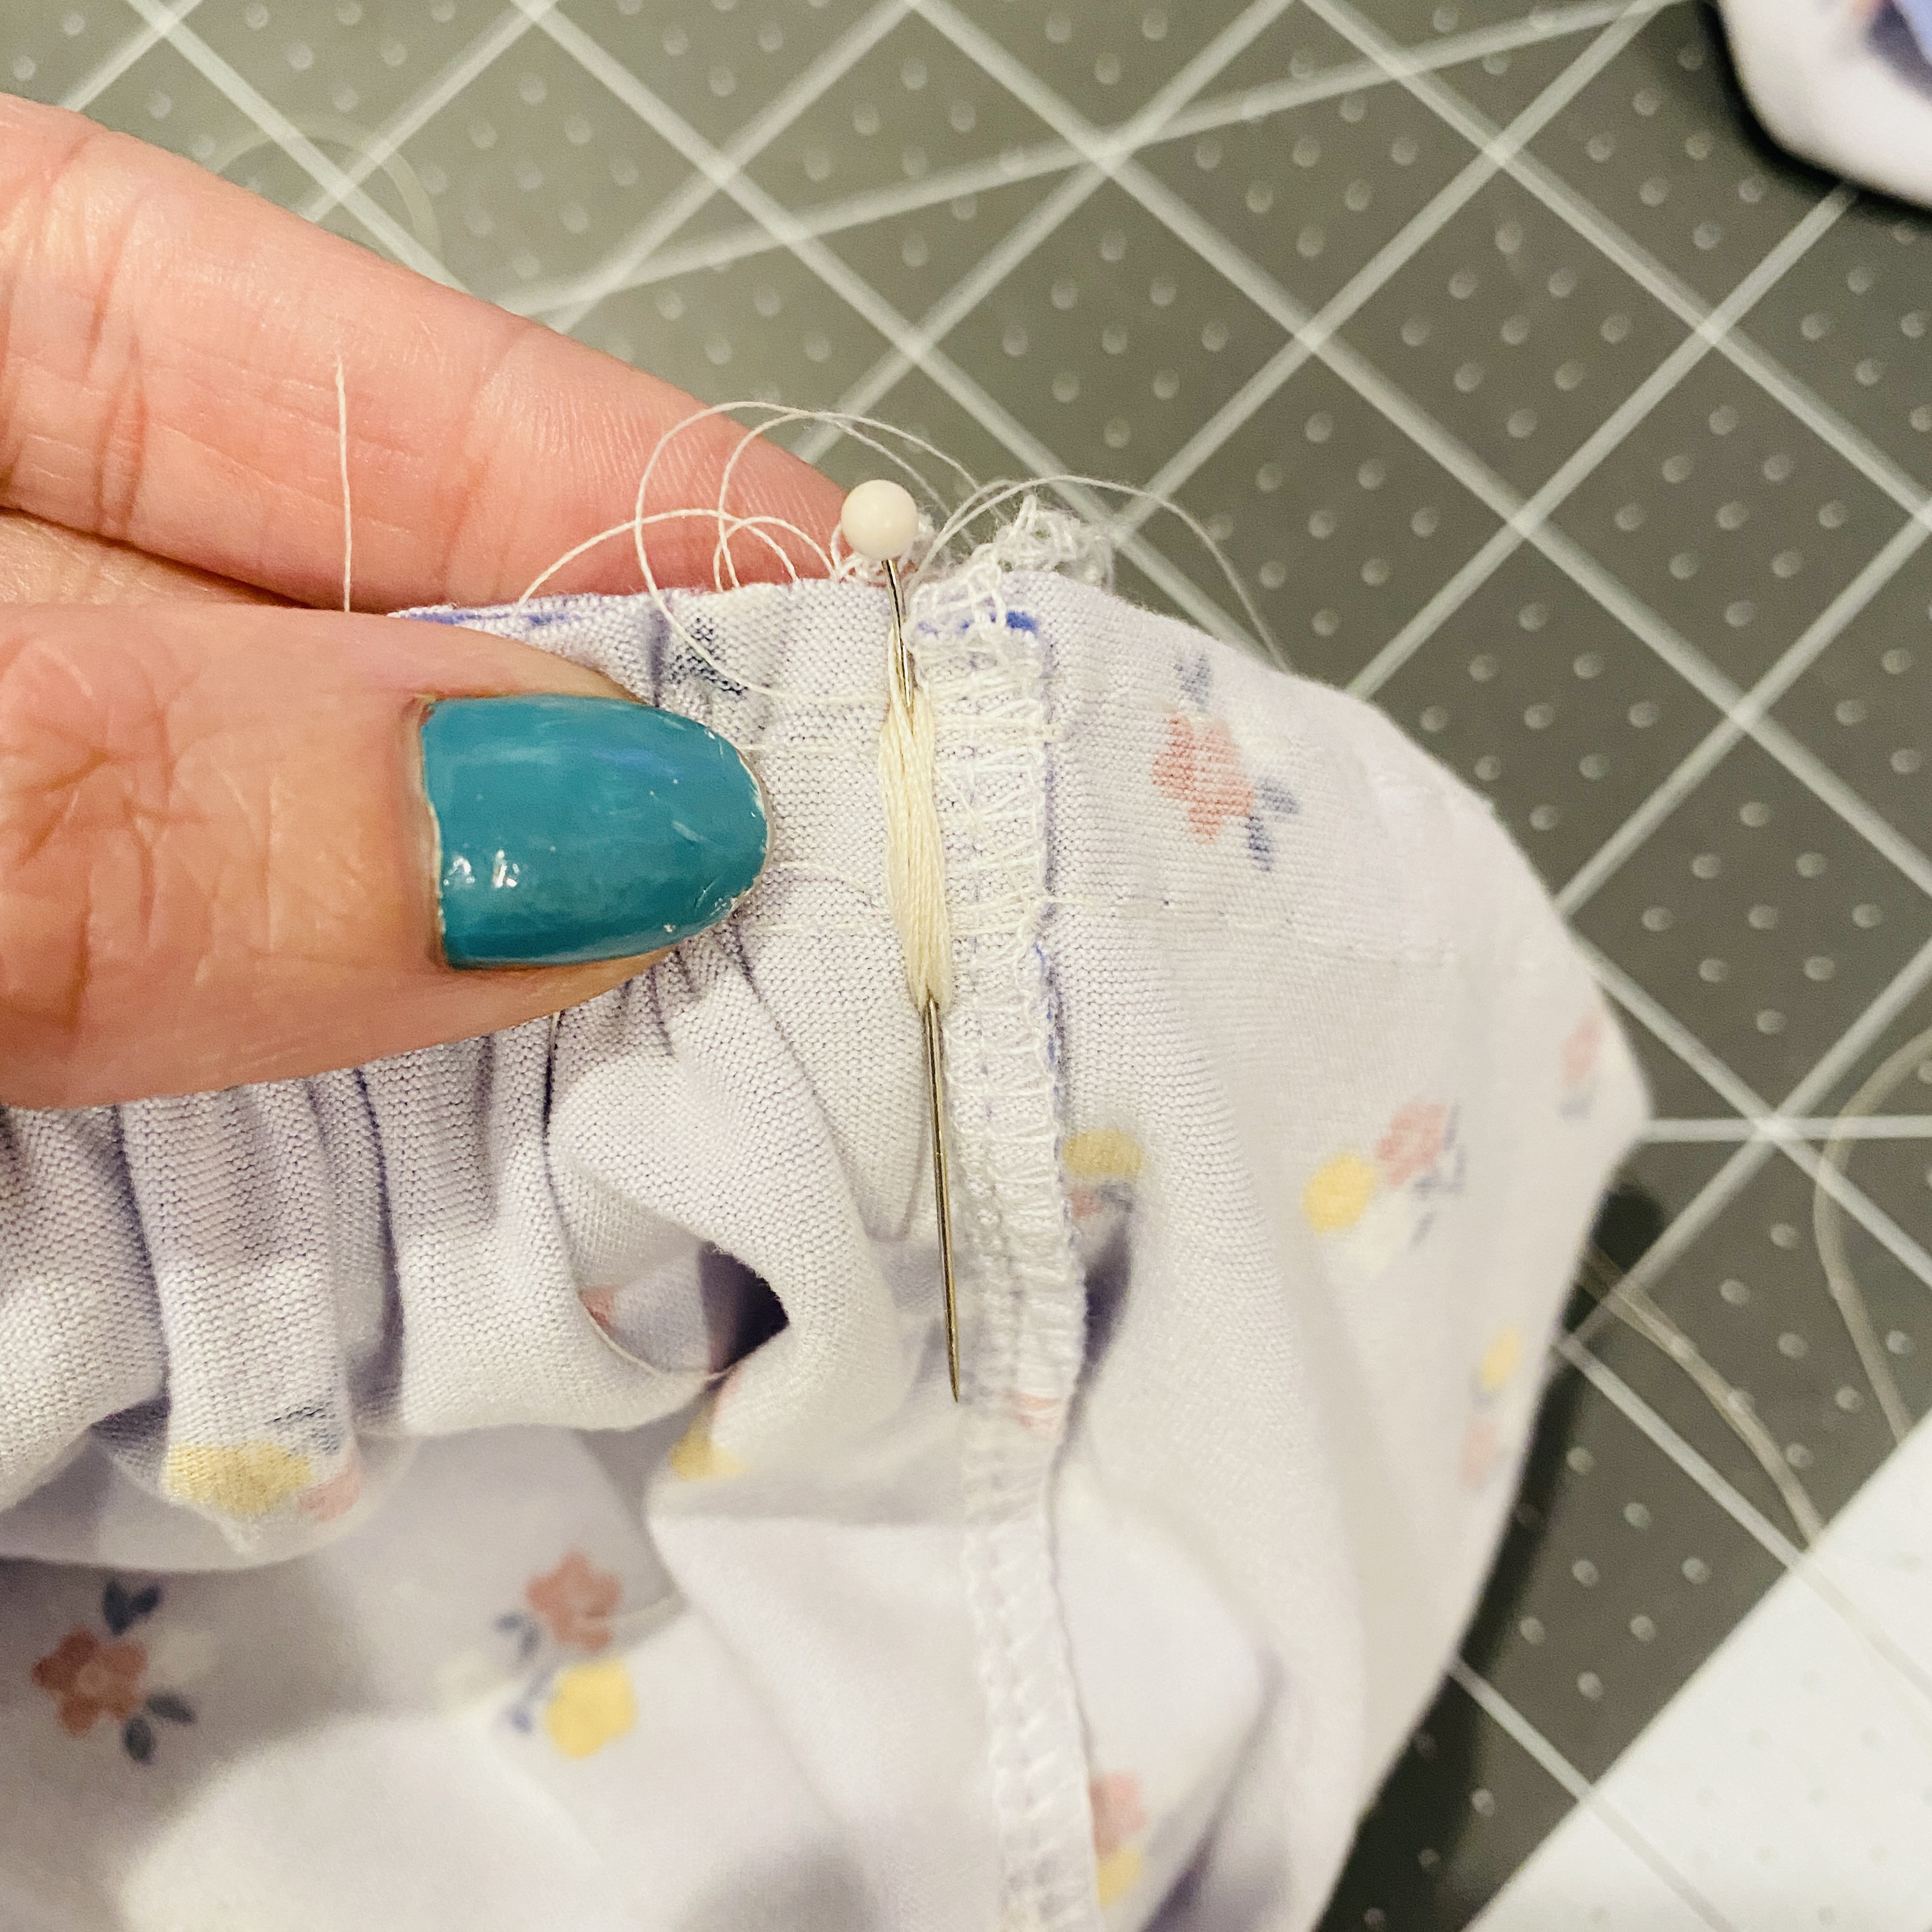
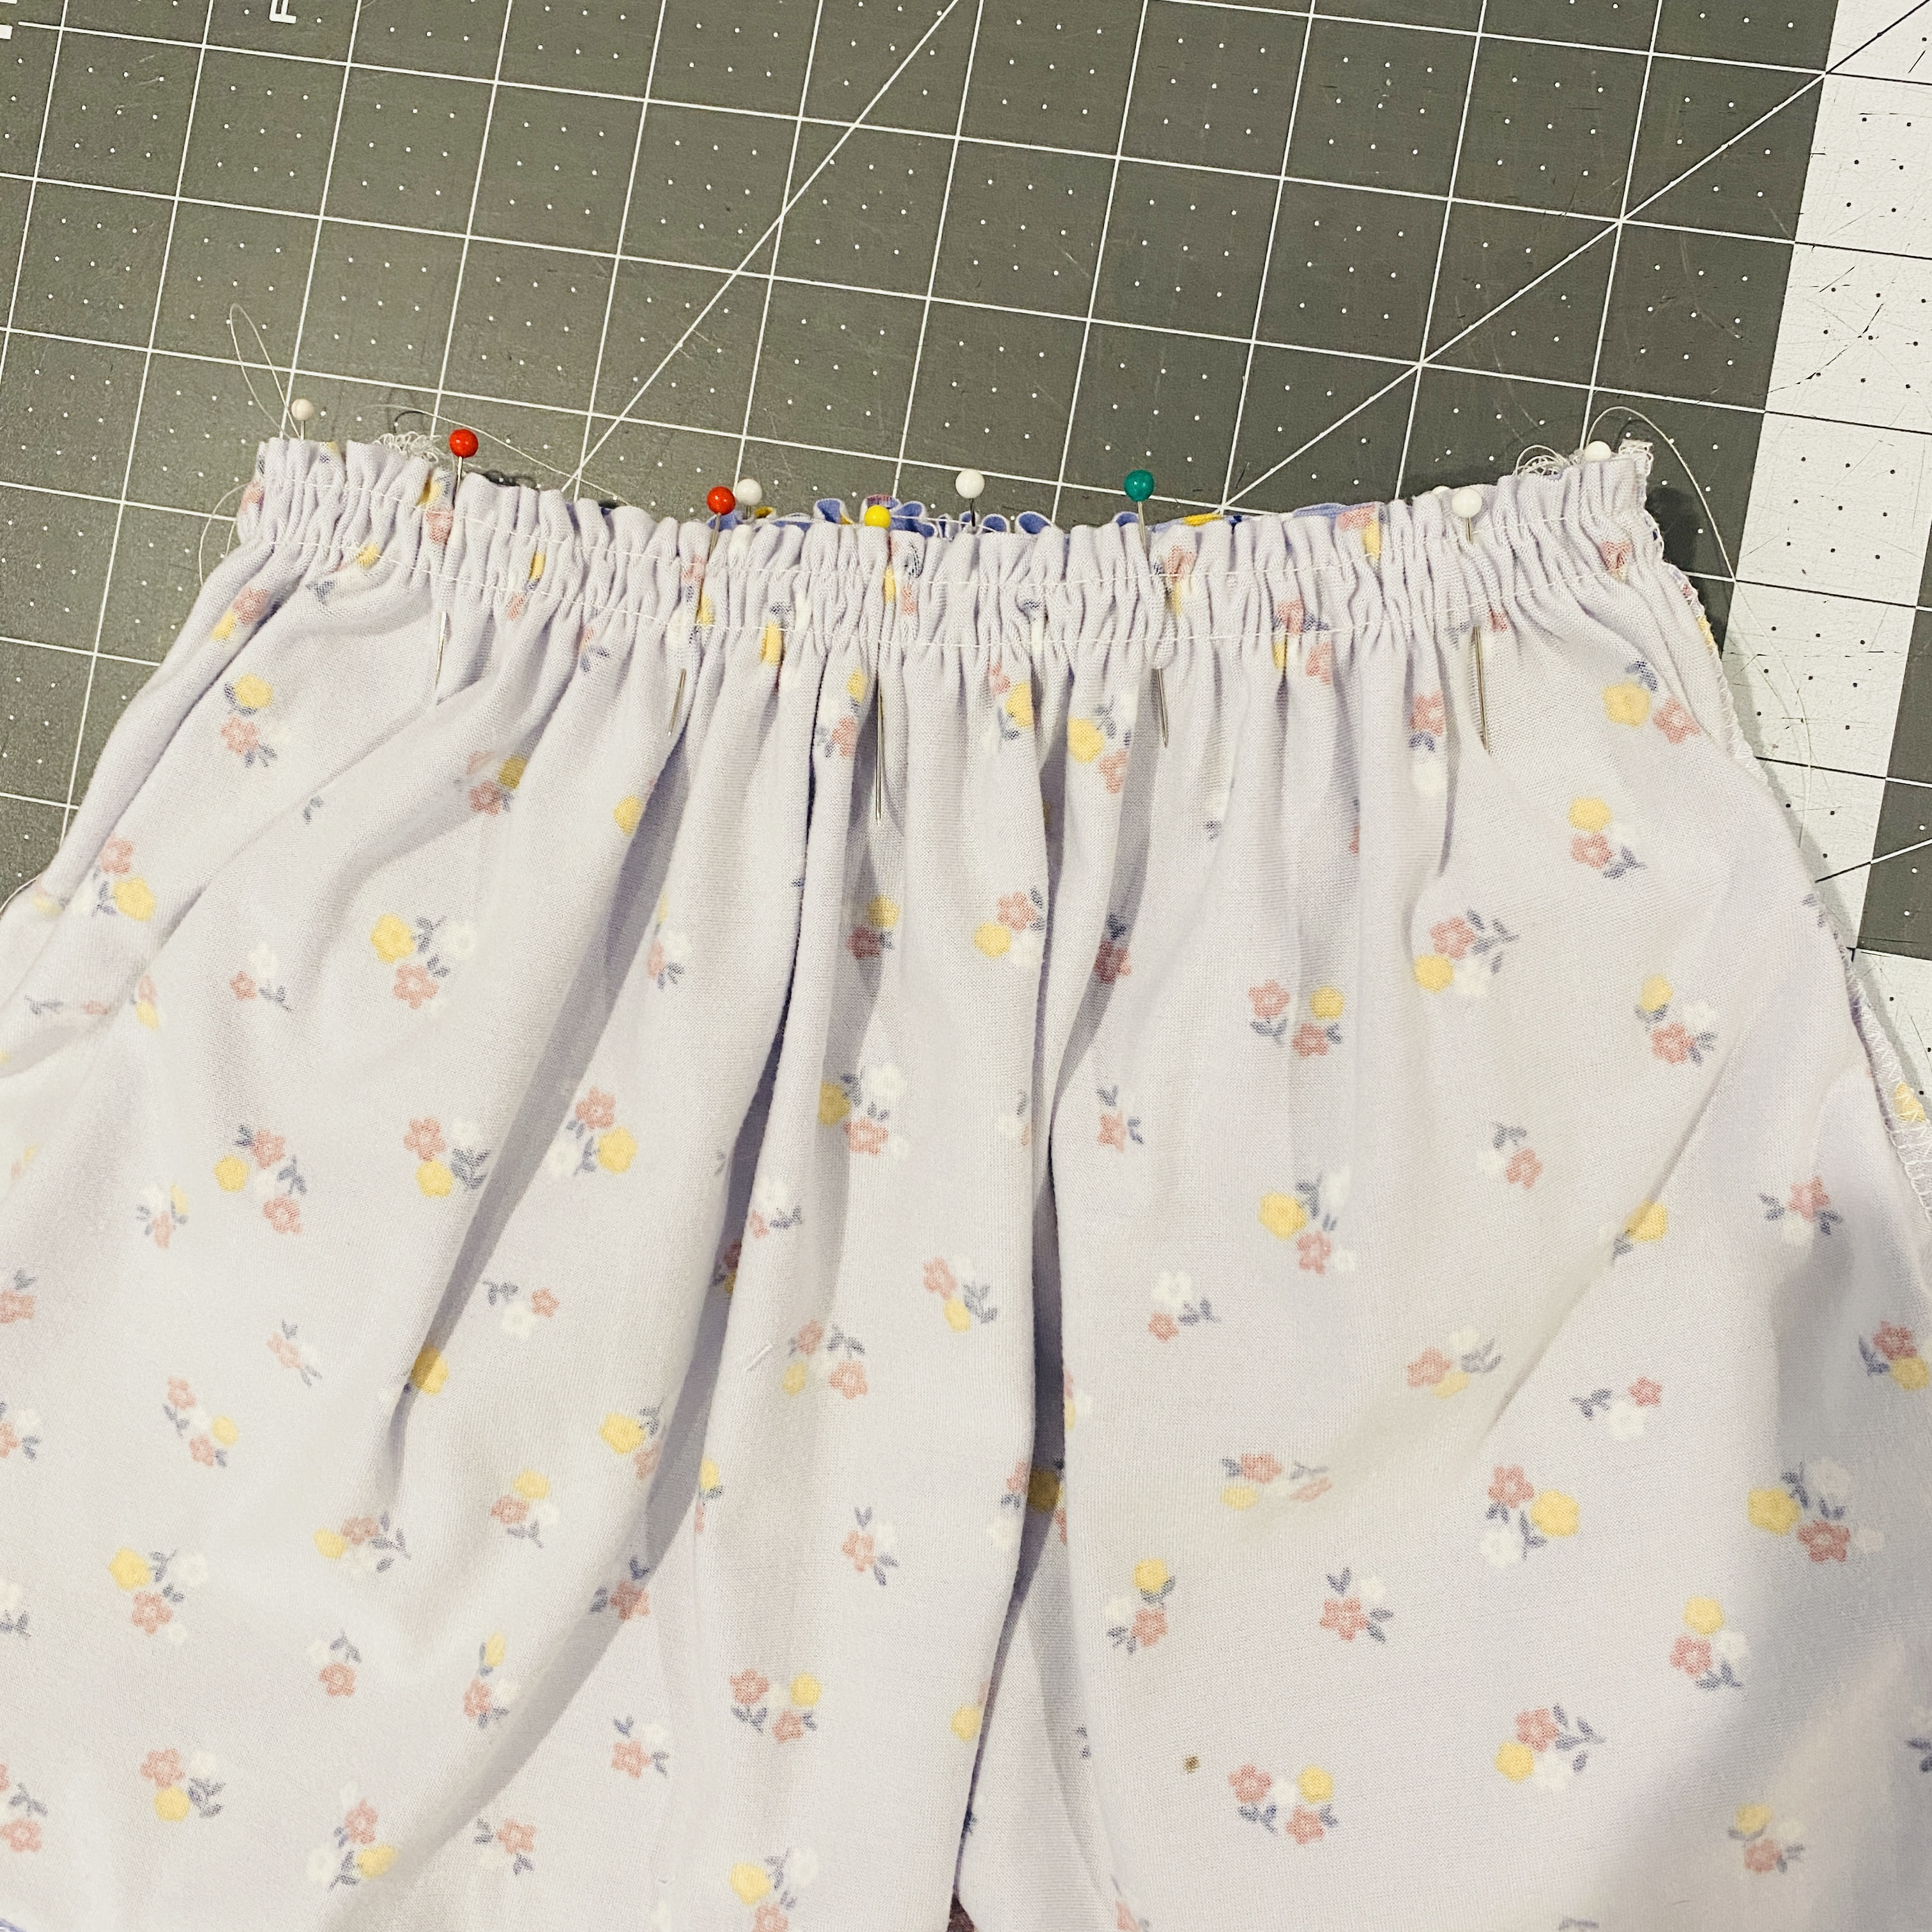
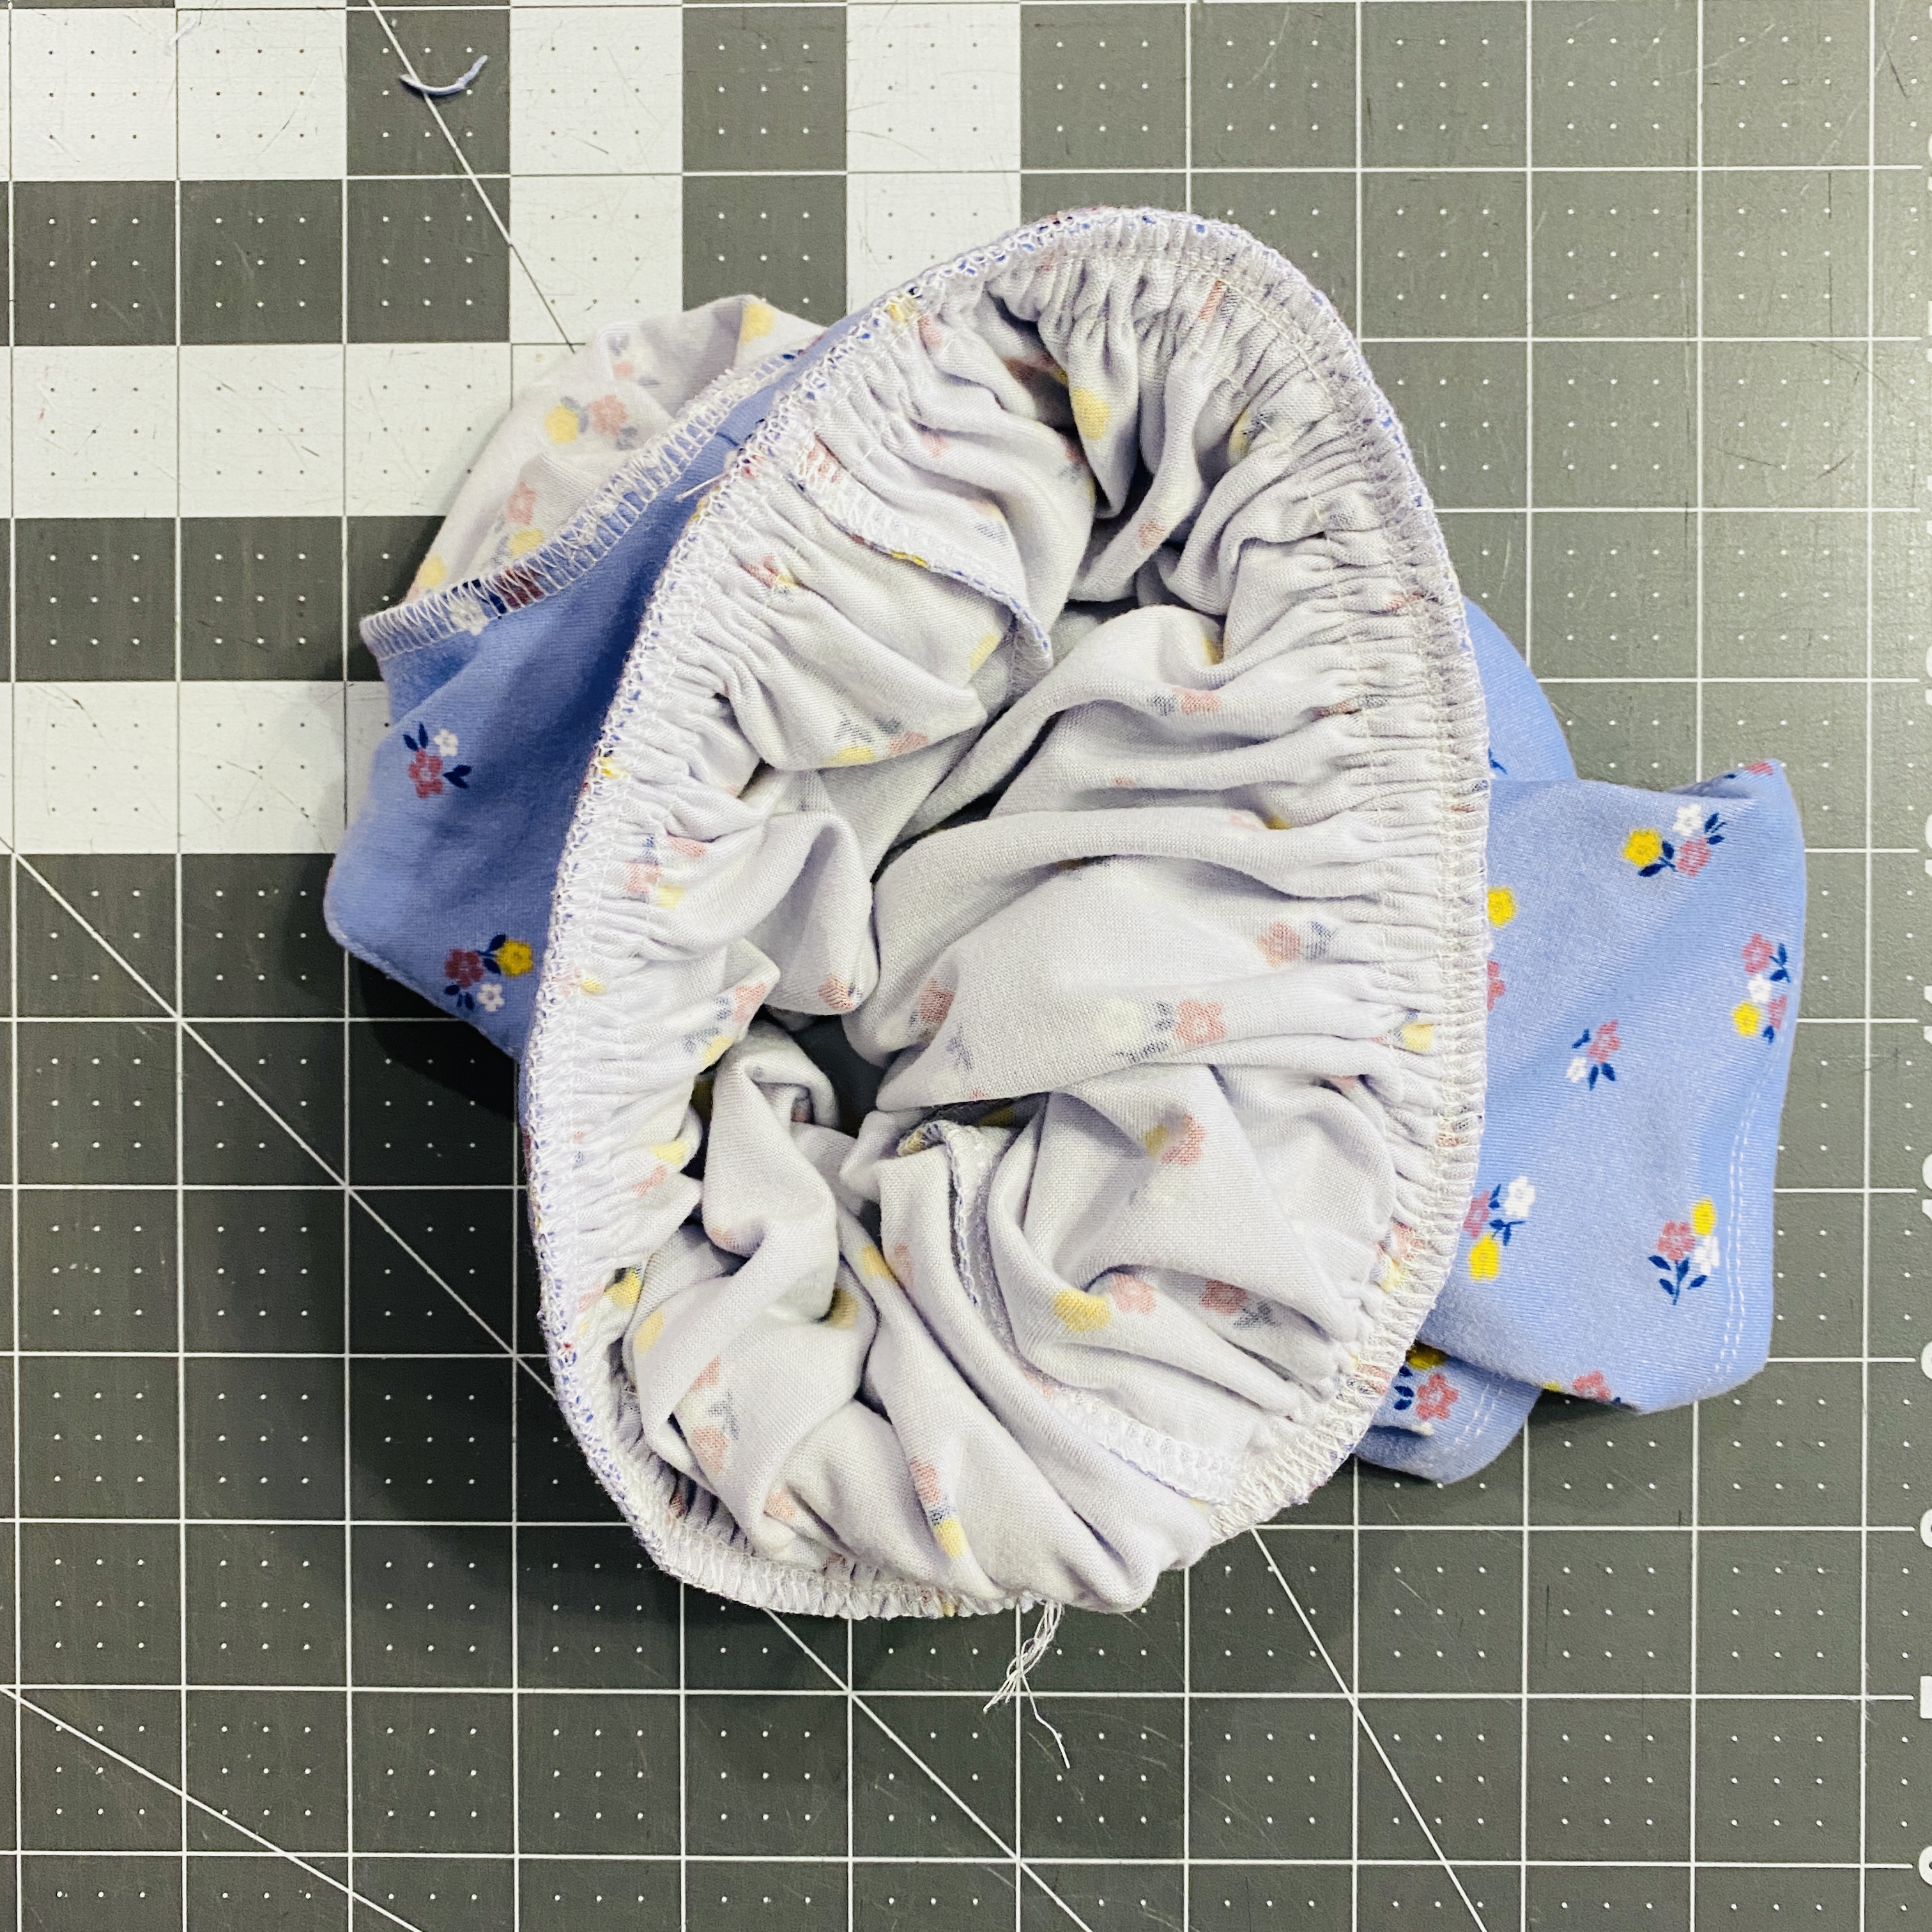
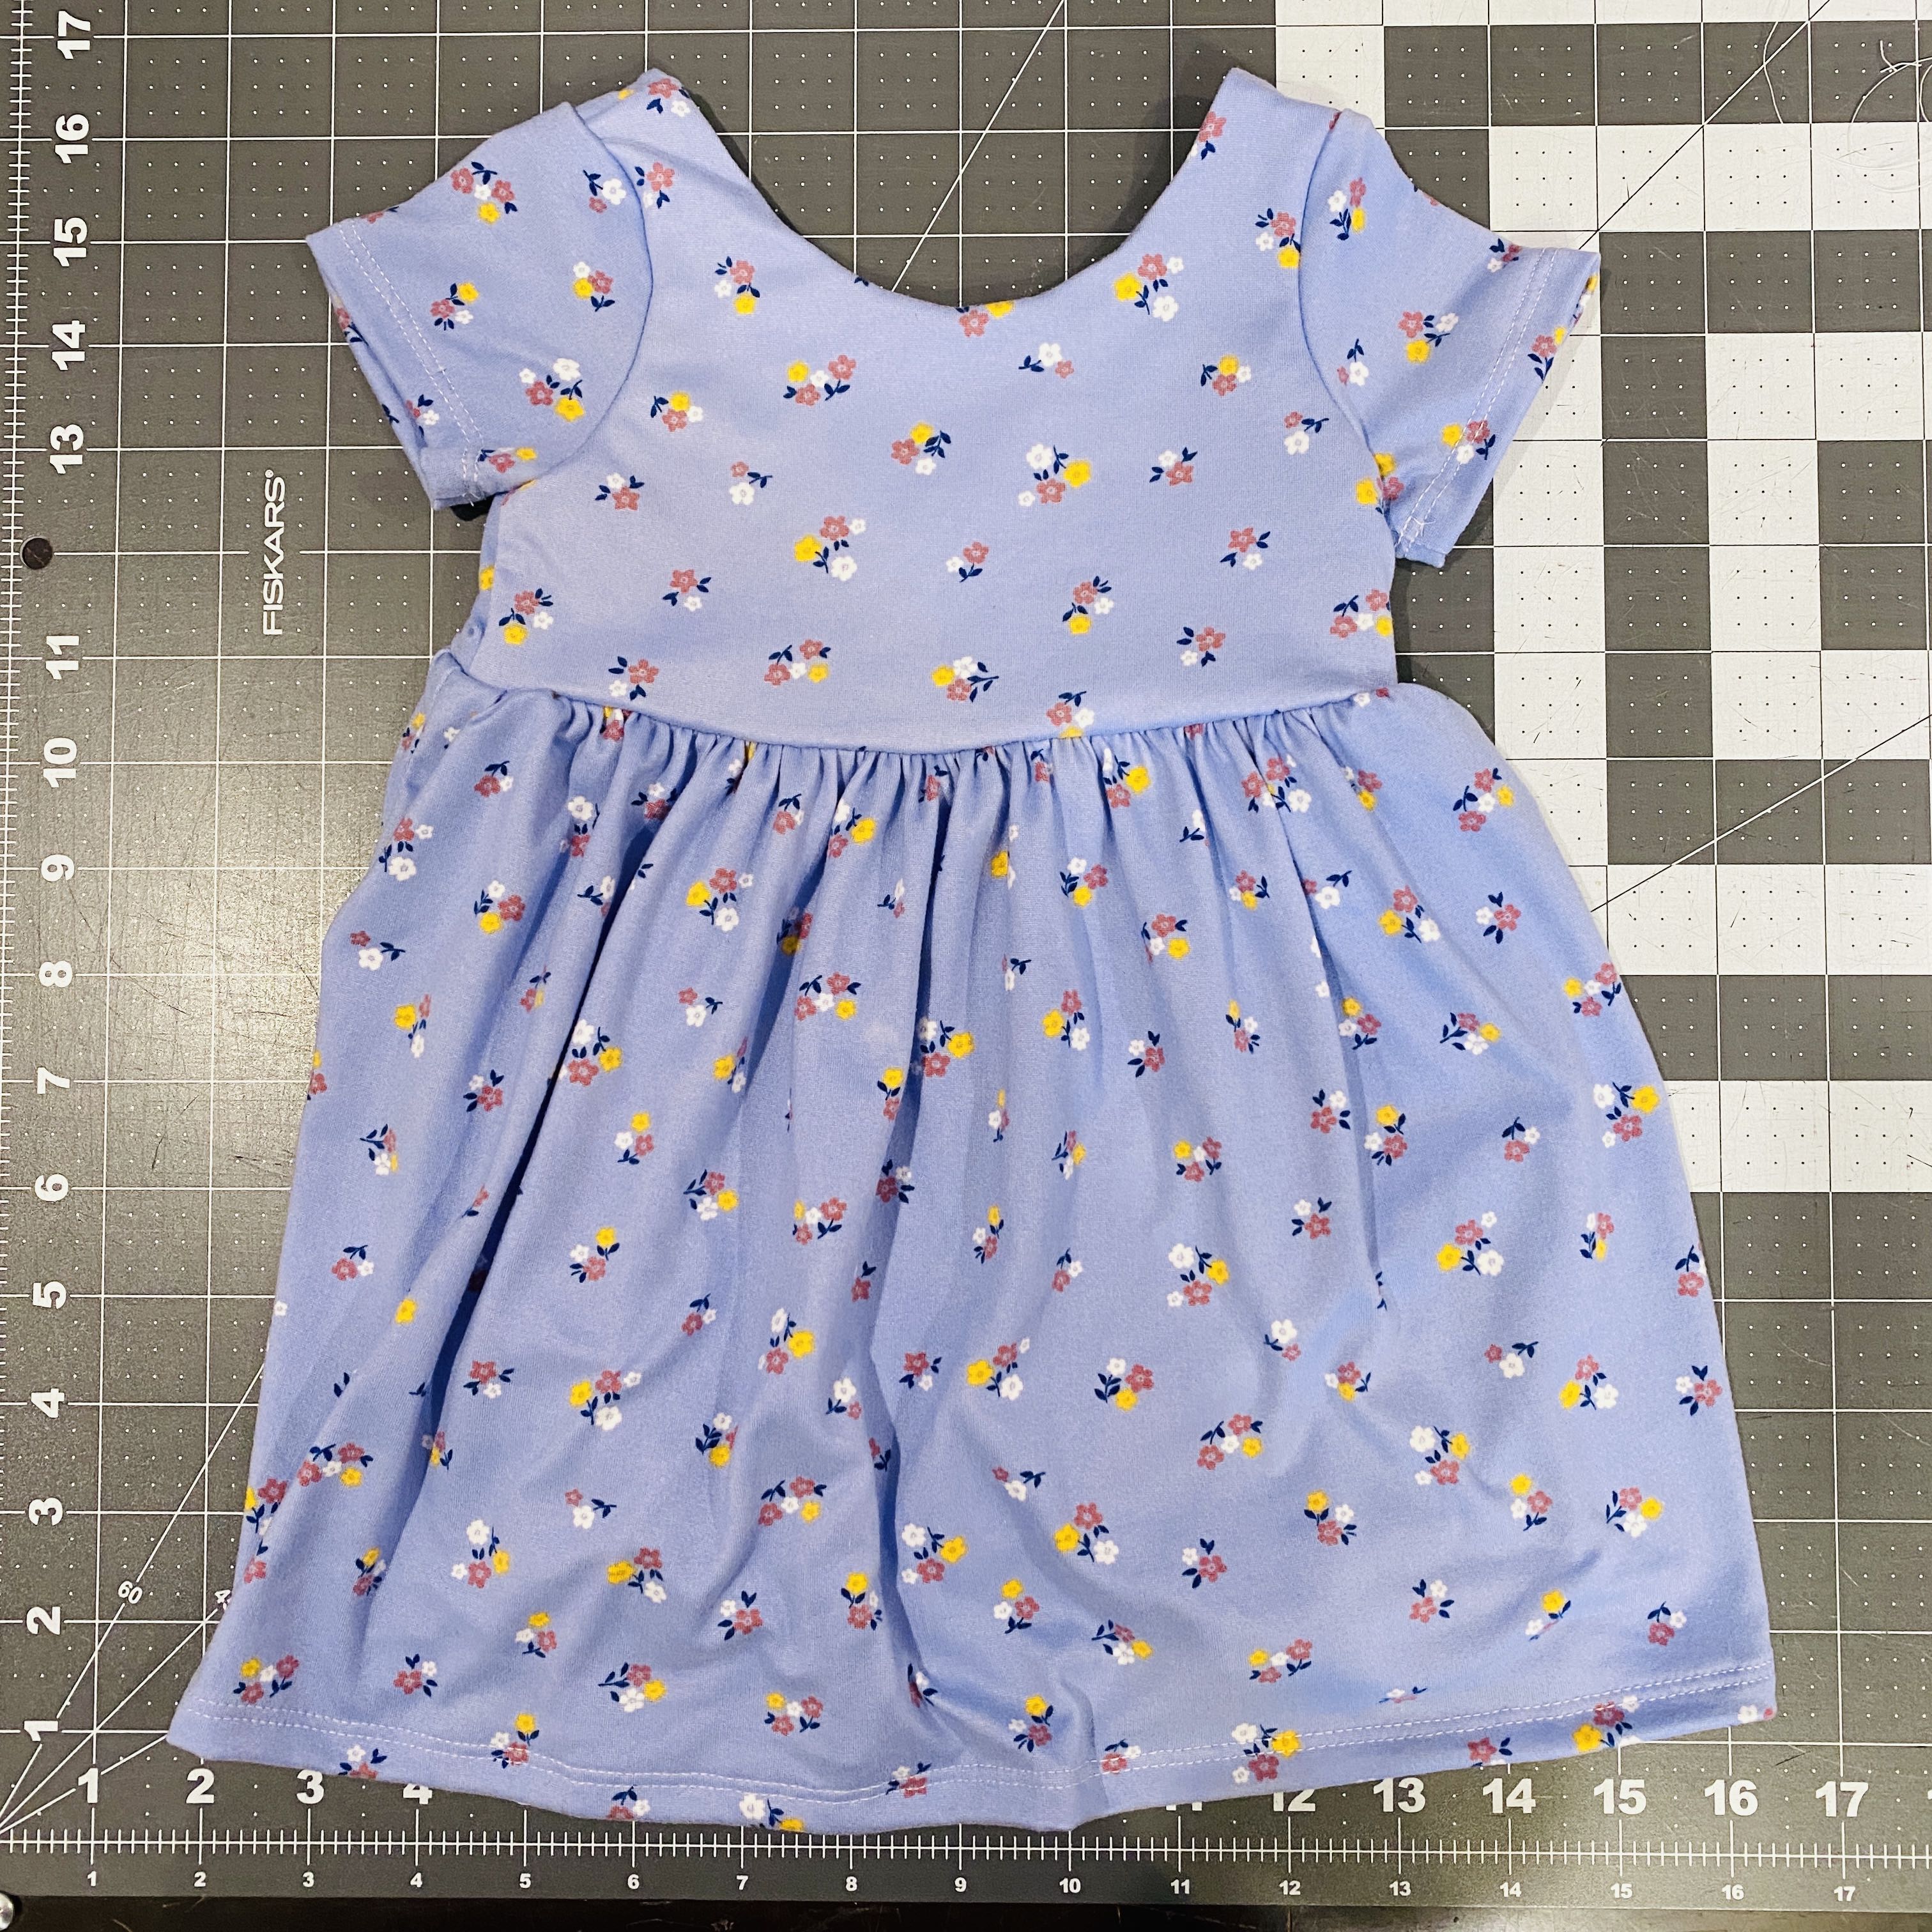
How to: Perfect Gathering with Knit Fabric

One of my girlfriends was having some issues with gathering and I just so happened to be making a Willow dress for my daughter that has a gathered skirt… so now you get a little “How To” on how I do my gathering! Whoop! This is the old fashion way and takes a little longer but I find it looks a lot better. Totally worth the extra time.  You can also gather with your serger, but I don’t really love the way it looks. It’s also annoying because not all my patterns have a 1/4″ seam allowance and to get really nice gathering, you really want to sew on top of the gathers as I do below. 

If you’d rather watch the “How To” in video form, you can check out this video from the Willow Sew Along.

If you are sewing a dress with a gathered skirt, you might want to sew a line of basting stitches along the bottom of the bodice or add clear elastic. This will help prevent the fabric at the bottom of the bodice from stretching out. 

(Click on any of the photos below to enlarge for a better view)

The beautiful fabric used below is Double Brushed Poly from Mily Mae Fabrics

Start off by making 2 rows of basting stitches, one inside and one outside of the seam allowance.

I like to overlap my basting stitches if attaching a skirt (slightly above or below where you started) rather than butting up the thread. Try to start/stop each row of stitching in the same place.

If you are sewing gathers for a skirt, find the 4 quarter points on the bodice and skirt to be gathered. Match up the quarter points with a pin. (I find that pins work better than clips or this since they won’t pinch the basting stitches)

I like to gather one half with the threads on one side and then gather the second half using the other end of the basting stitches. 

Gather the two basting stitches more than you need to. Make sure both of the gathering stitches are gathered at the same rate. Sometimes this means you will need to pull one thread more than the other. You can see in the first two photos below that the top line of stitching is looser than the bottom row. Simply pull on the top (or bottom if the bottom row is looser) until both rows are evenly gathered like the third photo. (This is super important!)

Once both rows are evenly gathered, loosen your stitches until the gathers match up with your bodice  (or the main fabric). 

Don’t worry about distributing the gathers evenly just yet but make sure the gathering stays even between the two rows. 

With the gathers the same length as your bodice, wrap the thread around the pin at the start of the gathers in a figure 8 to hold the thread in place. 

(I prefer this method as it’s easier to make adjustments if I end up needing to tighten/loosen my gathers later. If you tie a knot, it’s a lot harder to untie.)

Now, distribute the gathers evenly along the first half of your skirt. 

Repeat for the other half. 

With the gathering all done, it’s now time to sew it on! I prefer to sew with the gathers on TOP and I start sewing at the side seam, usually where my basting stitches started/stopped. 

When you remove your pin that has all the thread wrapped around it, be sure not to pull on the gathers as this may cause them to loosen. 

Once you have sewn all the way around, remove the basting stitches. If you sewed a row of basting stitches on your bodice, remove those as well, or carefully snip it in a few places (since you most likely will need it to stretch!)

Turn your dress right side out and boom! Now you can admire your beautiful gathers! 

Happy sewing!

Leave a Reply

Your email address will not be published. Required fields are marked *

Never miss a post!

Subscribe via email and receive new posts right to your inbox.