Palm Euro Suit – Reversible Hack

I can’t believe it’s almost swim season! With summer right around the corner, Max needs some new swimsuits (and so do I and so does Brooklyn…ha!) My favorite suit for him is the Palm Euro Suit from Sew Like My Mom. It’s a European style, so it’s fitted and made from regular swimsuit material. It also has three different leg lengths. This is great because I prefer to sew with knits. There is a lot more wiggle room and a LOT less fussy cutting. (I have made Max a swimsuit out of boardshort material before, but I definitely prefer these.) And they are SO quick!

**Funny story, when I first started sewing this mini project, I wasn’t planning on it being reversible. I did it totally on accident. I would have used my nicer swim for the “lining” instead of scrap swim! Oh well. For the next one!

When sewing with swim, hemming can get a little tricky, especially if you don’t have a coverstitch machine (which makes hemming so much easier!). This little hack will leave all your seams enclosed and can be used entirely with your serger (except for some slight hand stitching at the end).

Make sure you are using the proper needles. If you are having skipped stitches, there’s a good change you need to change your needle. And always use polyester thread for sewing swim.

SEW MAIN AND LINING PER PATTERN INSTRUCTIONS

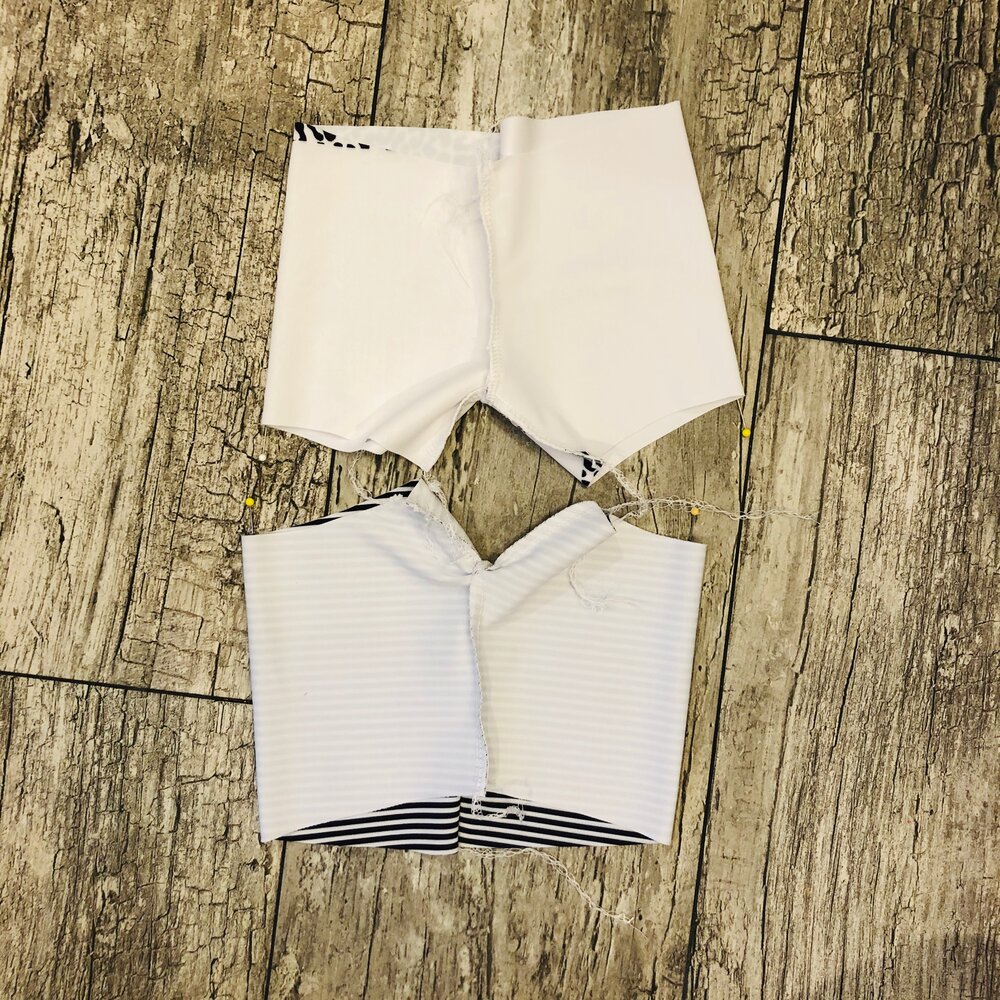
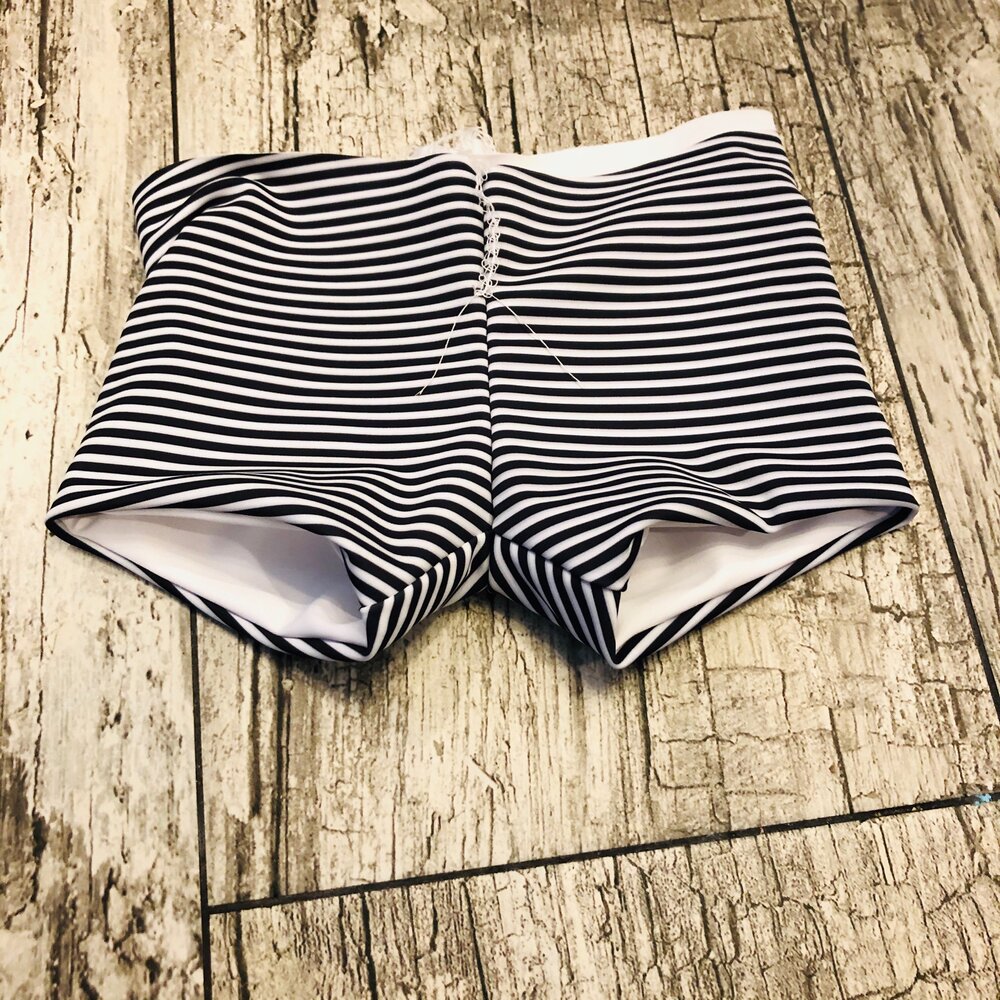
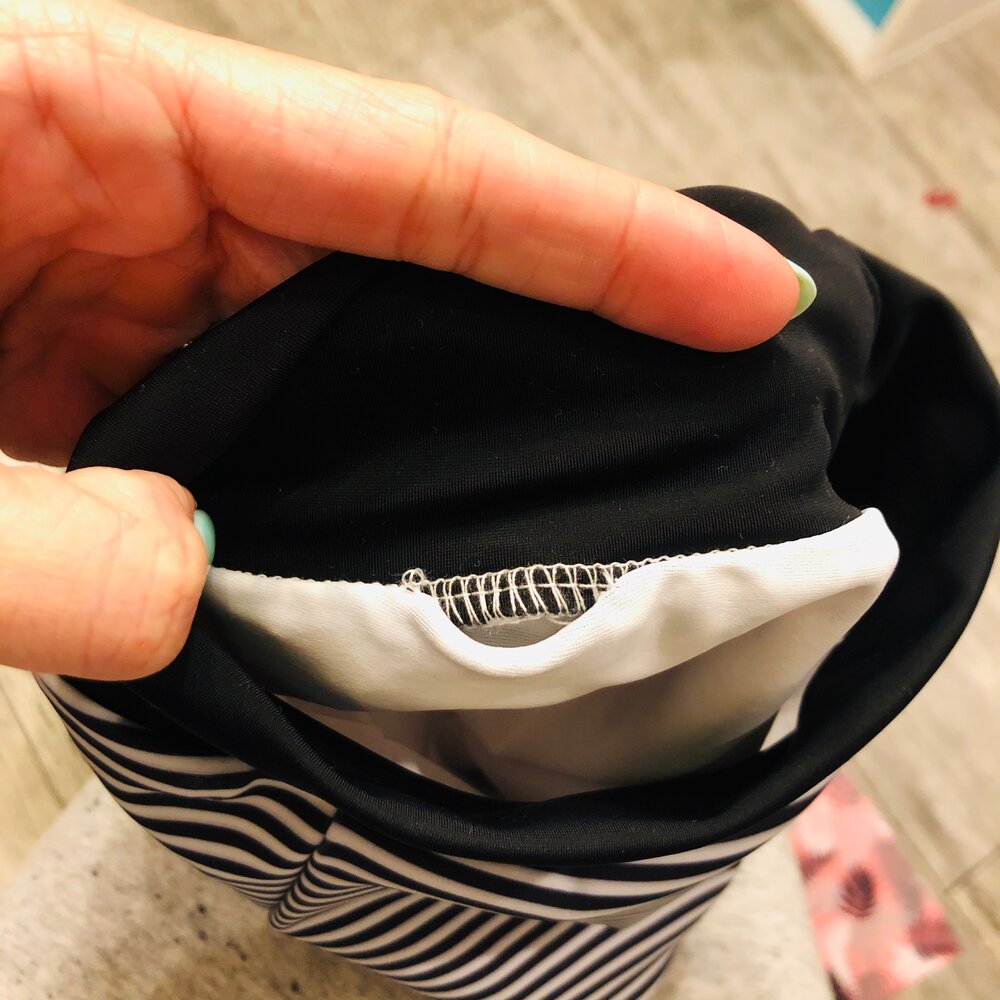
Lay them out so the legs are facing each other. They should be mirror images, meaning both fronts or both backs should be facing up

(Both fronts are facing up in this picture)

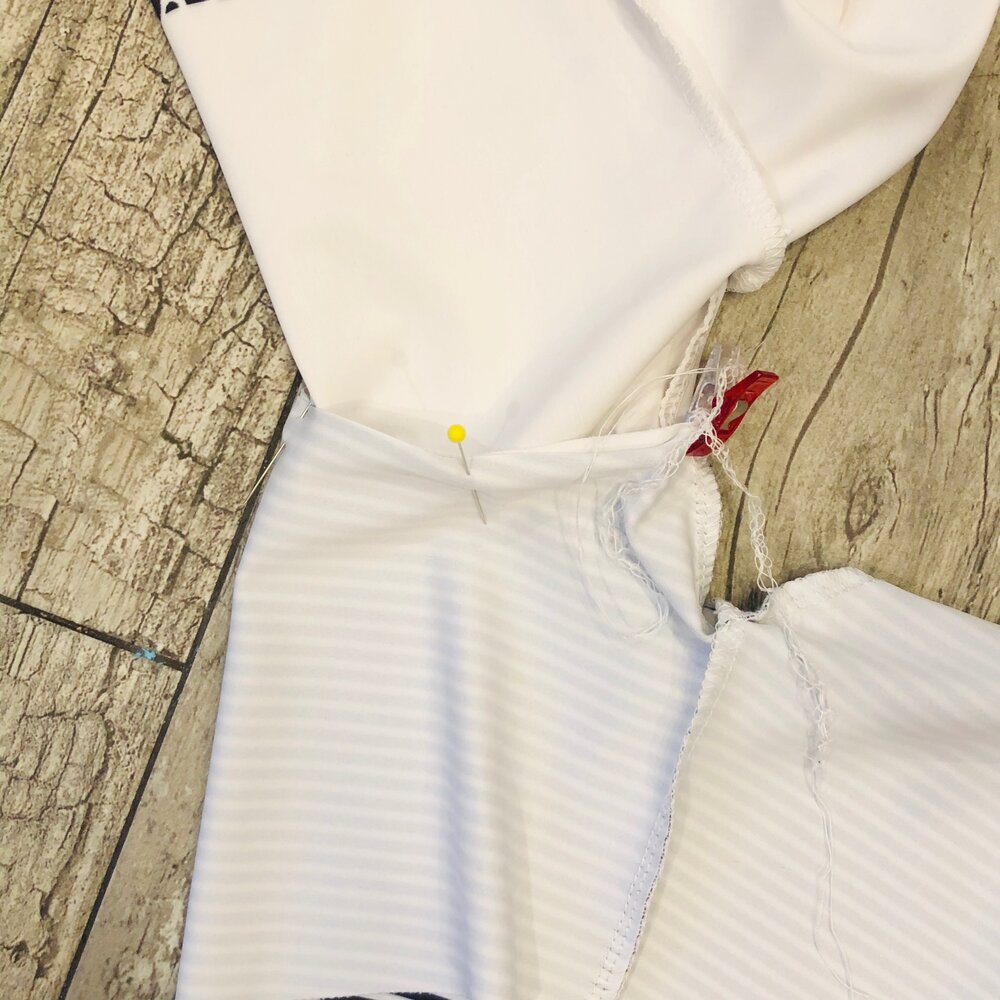
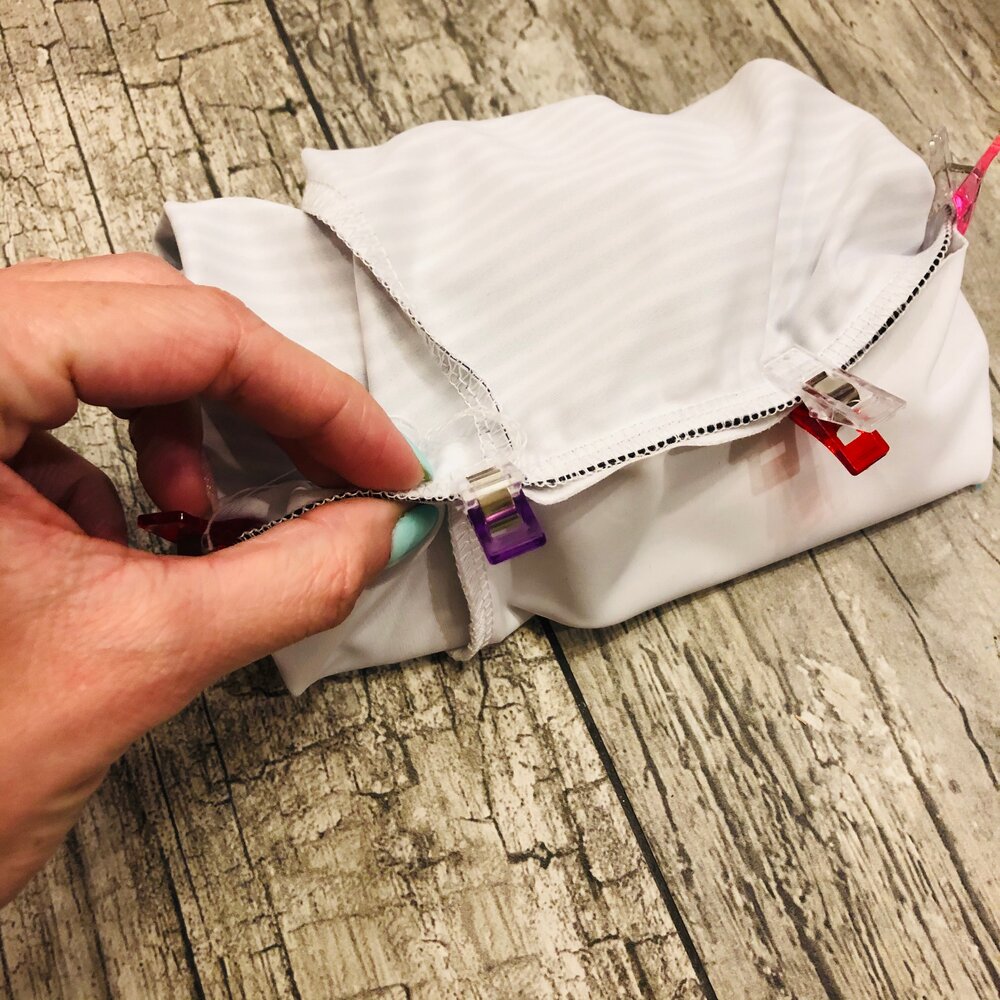
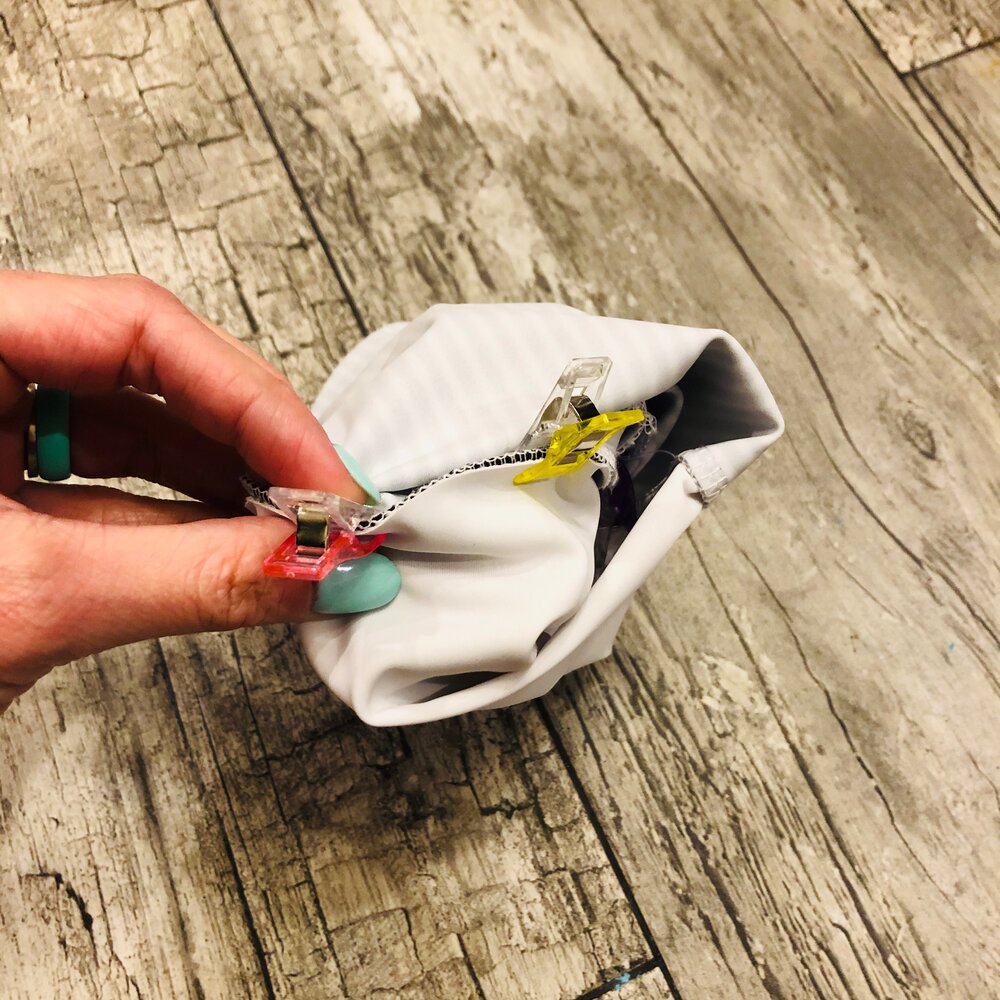
If you want your main fabric to slightly fold under, trim the legs of the lining fabric by 1/4”. This will keep your the underside from peeking through.

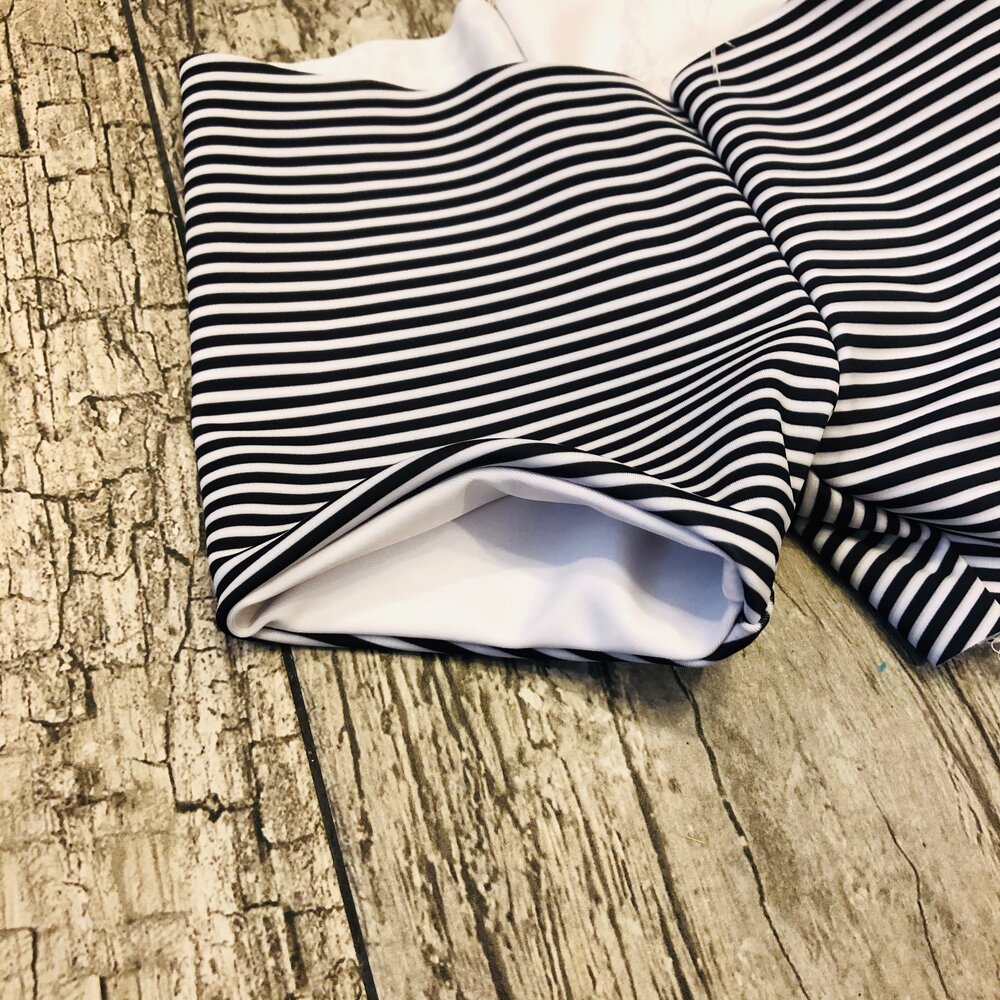
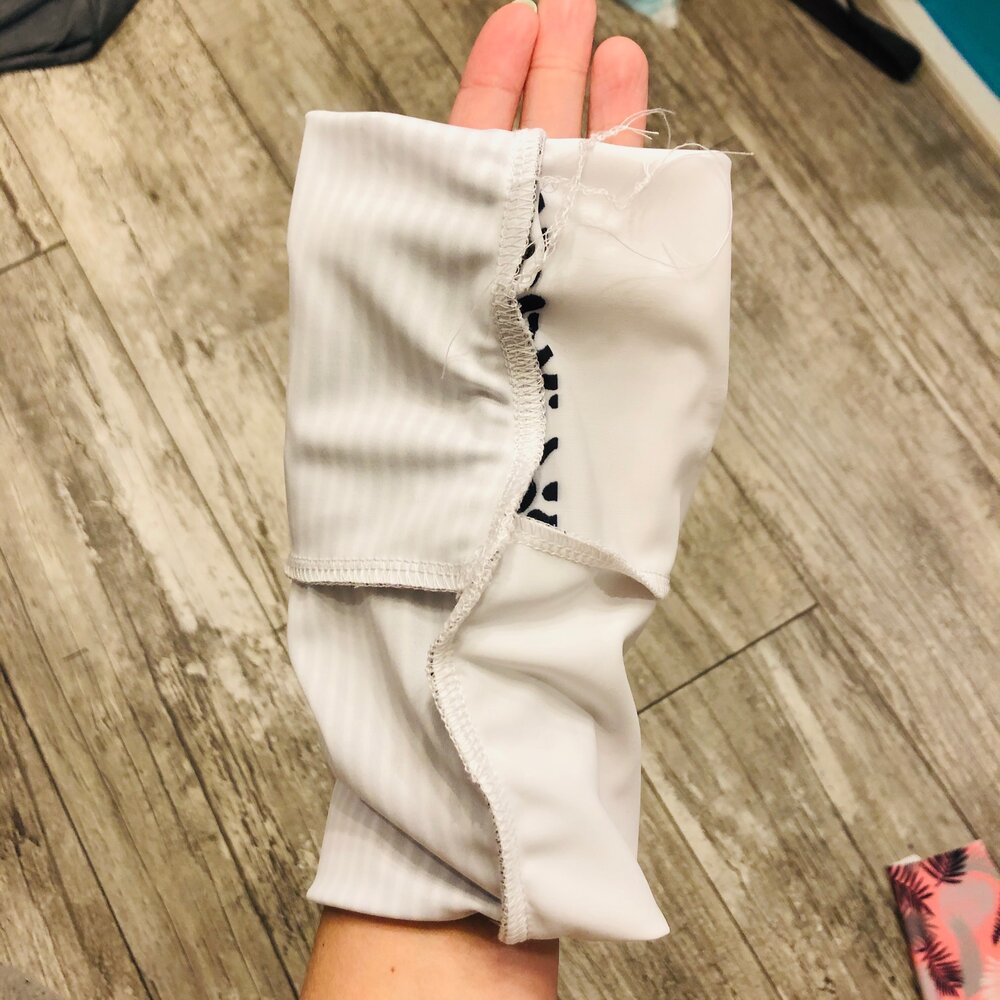
Another option is to add a cuff at the bottom. This will have the best finish on both the “main” and “lining” side on the reversible suit. Just sew the cuff to the main, right-sides together and follow the rest of the instructions below.

MARK QUARTER POINTS ON MIRRORED LEG PIECES

Match up the quarter points from main and “lining”, keeping your fabric wrong side out, but pinned/clipped with right sides together (as shown).

Sew with a 3/8” seam allowance.

If you are adding the cuff, it will be sandwiched inside the suit and should not be visible from this view.

IF YOU FLIP YOUR SUIT SO WRONG SIDES ARE FACING, THIS IS WHAT IT SHOULD LOOK LIKE.

Repeat for the other side. Be careful not to get your suit all twisted!

If you sewed a cuff, it should be right side out and all seams should be enclosed.

WHAT IT SHOULD LOOK LIKE WITH BOTH LEGS SEWN TO EACH OTHER

WHAT IT SHOULD LOOK LIKE WITH BOTH LEGS SEWN WITH WRONG SIDES FACING.

**Sewing the waistband can get a little tricky. I highly suggest using thread that matches your waistband. You will be less likely to see the stitches when your “lining” is on the outside!

Sew your waistband per the pattern instructions but only attach to the MAIN fabric. You are more than welcome to sew your waistband to both swim layers, but your suit will not be reversible and your waistband seam will not be enclosed.

NOW WE ARE GOING TO SEW THE “LINING” TO THE MAIN/WAISTBAND

This is the tricky part. You want to keep the waistband pointing down towards the inside of the suit. Find both back crotch seams and pin/clip those together with right sides together. Continue “walking” the edges of the suit together until you get to the front crotch seams and pin/clip together. Add a few more pin/clips all the way around.

It’s going to look a little weird, as you can see below. Make sure you are doing this part correctly or else you will have a big mess on your hands!

Sew all the way around leaving a 1.5-2” opening in the back (that you will handstitch closed). This little opening is necessary or you won’t be able to turn your fabric out. I like to have this hole on the smaller side, but big enough to still fit all my fabric through.

**When serging, make sure your left serger needle is just barely on the outside of your previous waistband stitches. This will ensure that your thread won’t show through on the “lining” side of the waistband. (This is also why I suggest using thread that matches your waistband, in case you can see the thread.)

ONCE THE WAISTBAND HAS BEEN SEWN, IT SHOULD ESSENTIALLY BE A TUBE.

Your suit should now be connected at the legs and at the waist with a small opening in the waistband for turning the suit right side out. Go ahead and turn your suit right-side out through the tiny opening.

HAND STITCH THE OPENING CLOSED AND YOU ARE DONE!

Boom! A new reversible suit!

How neat is that?! If you don’t want to worry about the lining side rolling to the outside, you can easily add a leg cuff using the same instructions above, but sewing the cuff to the main leg first. Similar to how you sew the lining to the main on the Ollie Bomber Jacket here (skip to 13:00 on the video). Now I need to find more swim for my son so I can make him a real reversible suit with fun fabric on both sides.

I hope this tutorial was helpful and that it makes enough sense! But if you have any questions, please feel free to drop a comment below.

Happy sewing!

Cheers!

**Fabric from Raspberry Creek Fabrics new 2020 swim line.

Leave a Reply

Your email address will not be published. Required fields are marked *

Never miss a post!

Subscribe via email and receive new posts right to your inbox.