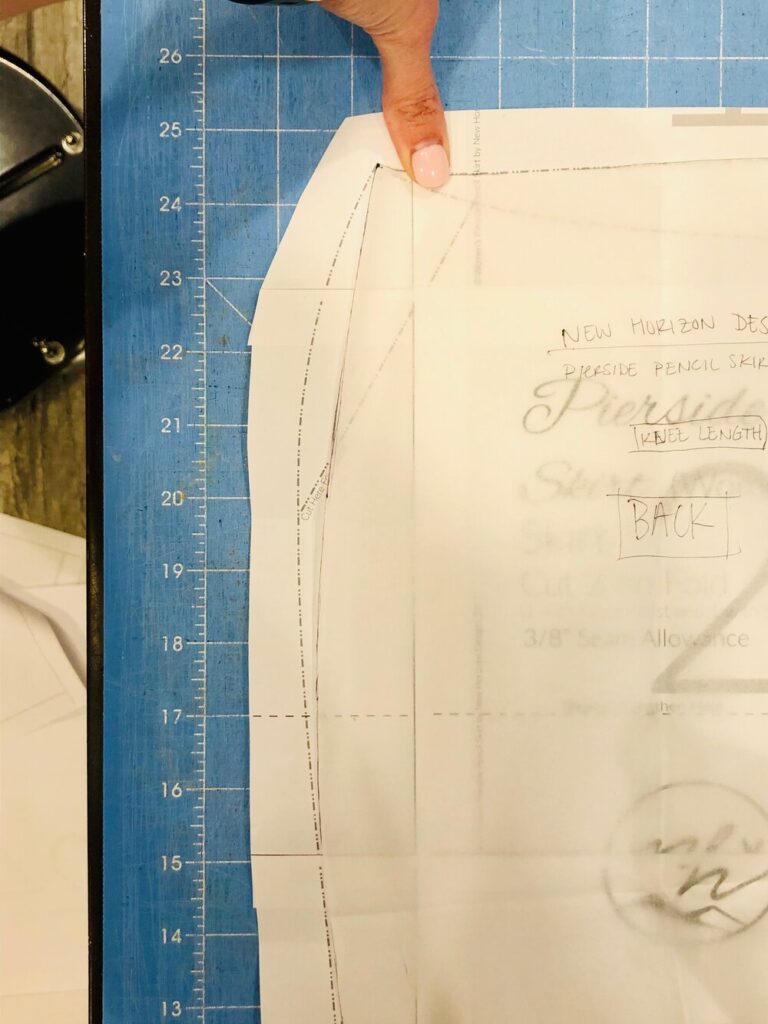
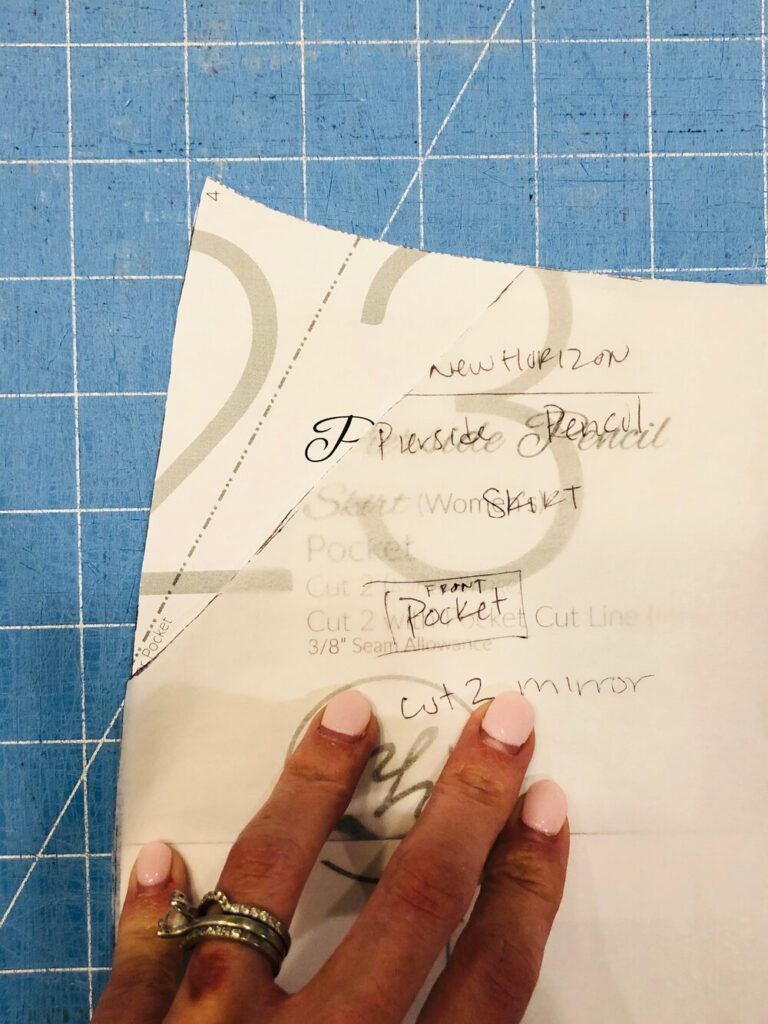
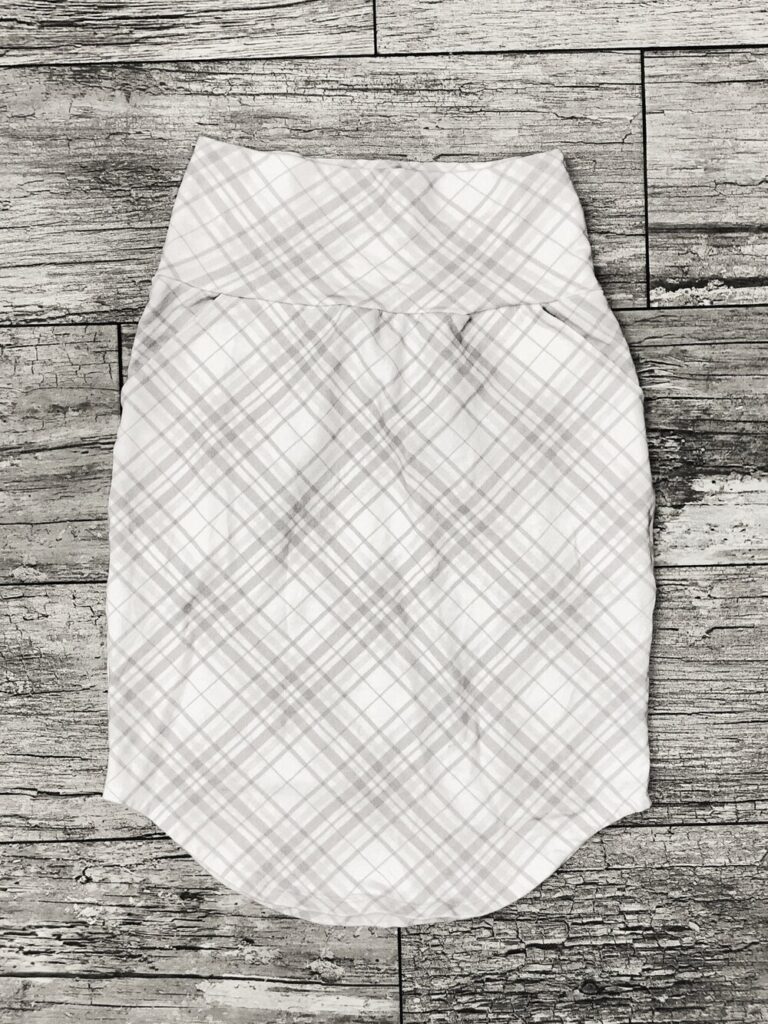
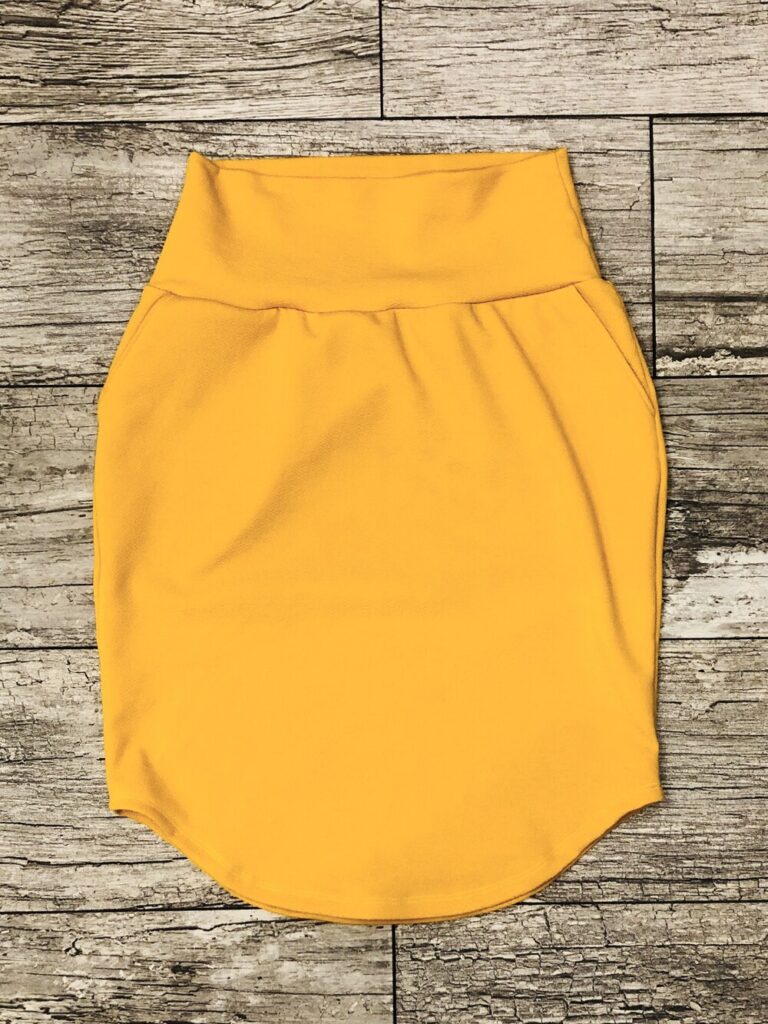
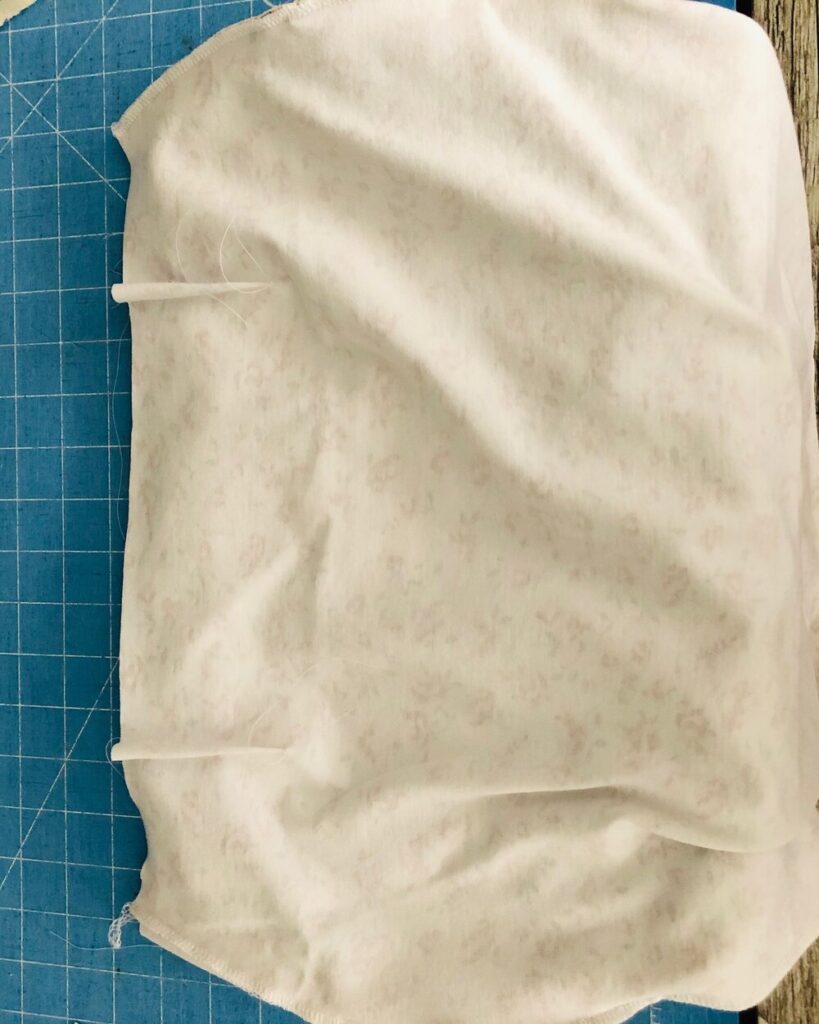
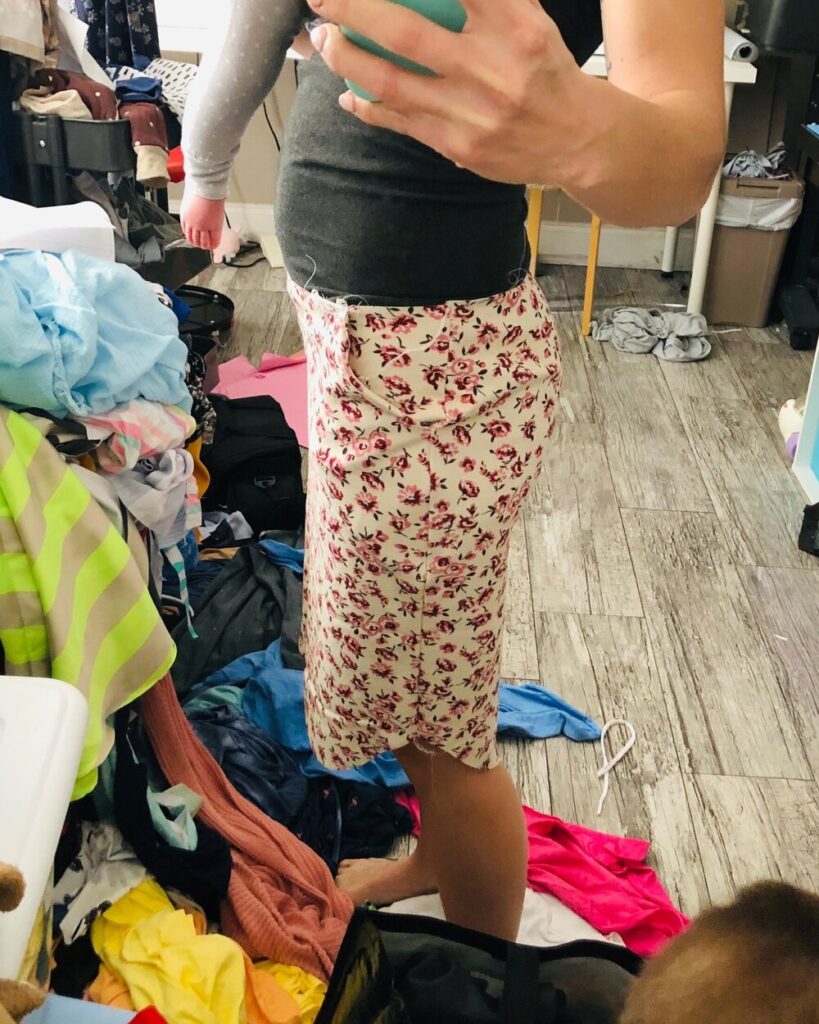
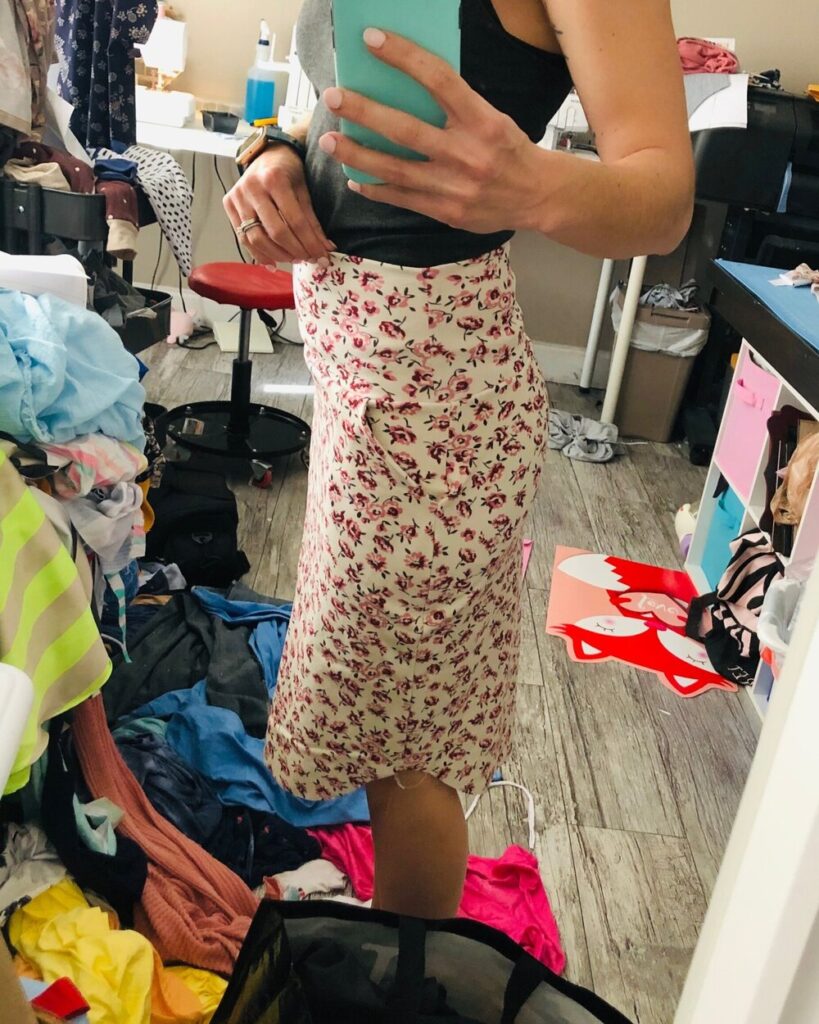
New Horizon Designs – Pierside Pencil Skirt


You May Also Like

Joggerathon – Rockerbye – Jammin Joggers
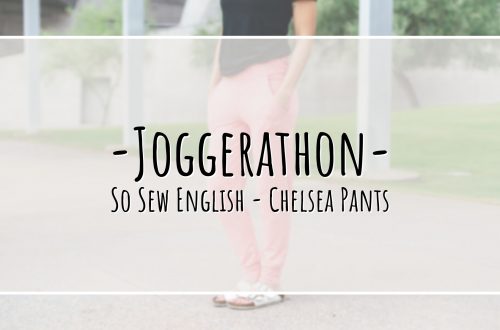
Joggerathon – So Sew English – Chelsea