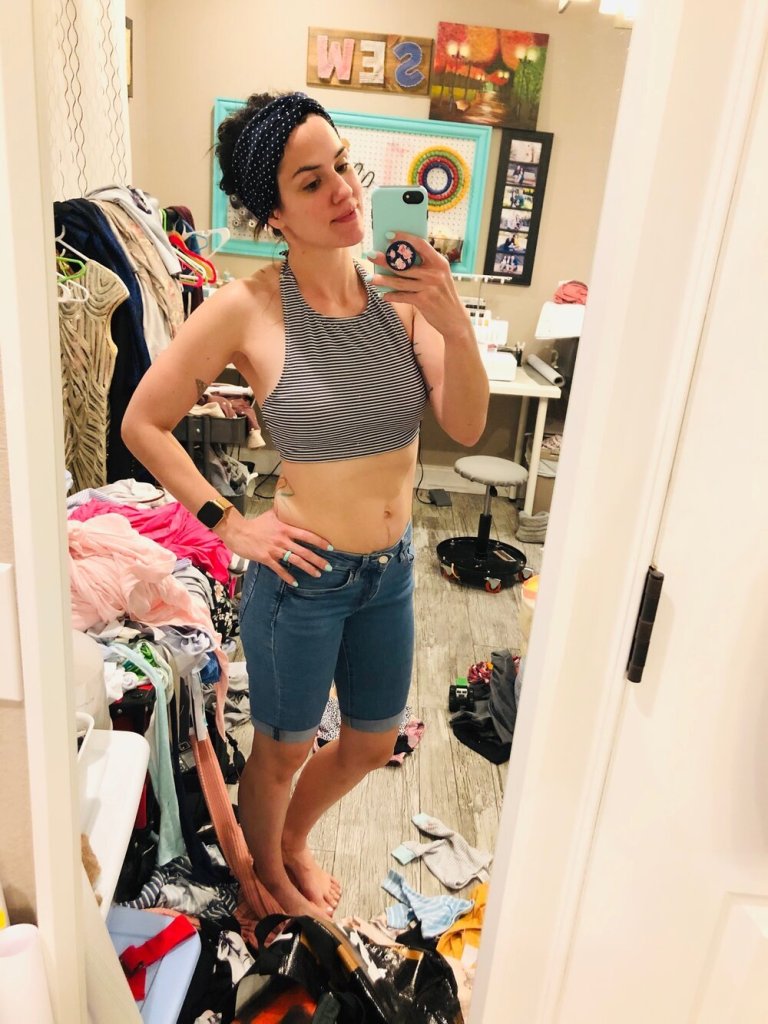
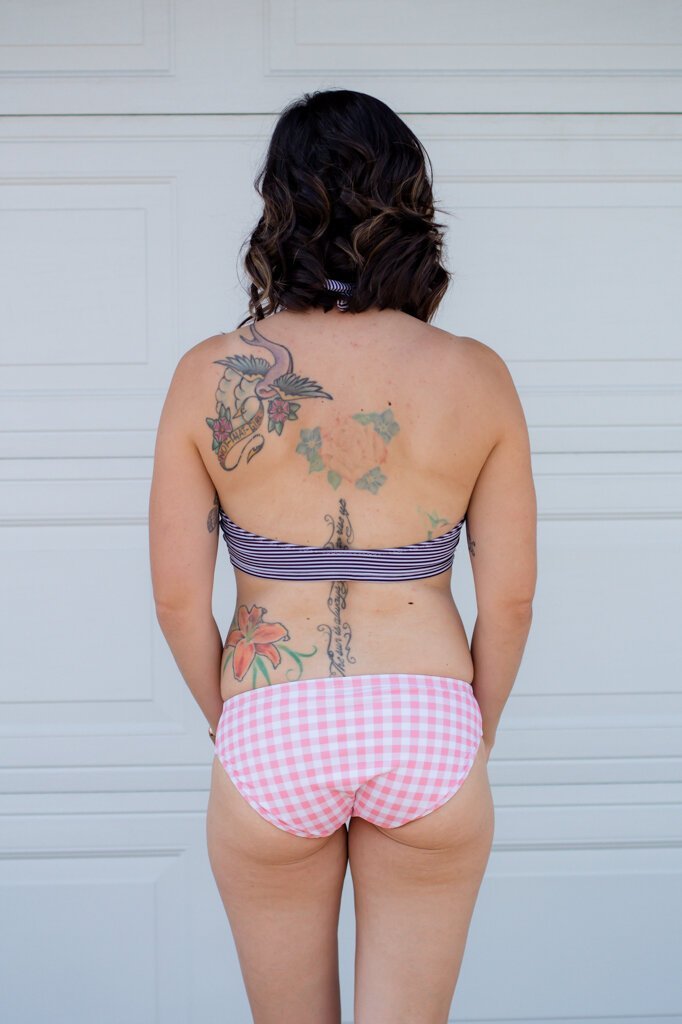
If you haven’t checked out the Mairin Swimsuit from Sew A Little Seam, you are missing out! And if you haven’t noticed, it’s one of my favorite swimsuit patterns. There are a ton of options for so many different swimsuit combinations. There also is a Children’s Mairin with a ton of options as well. (Almost too many that it’s sometimes hard to pick!)
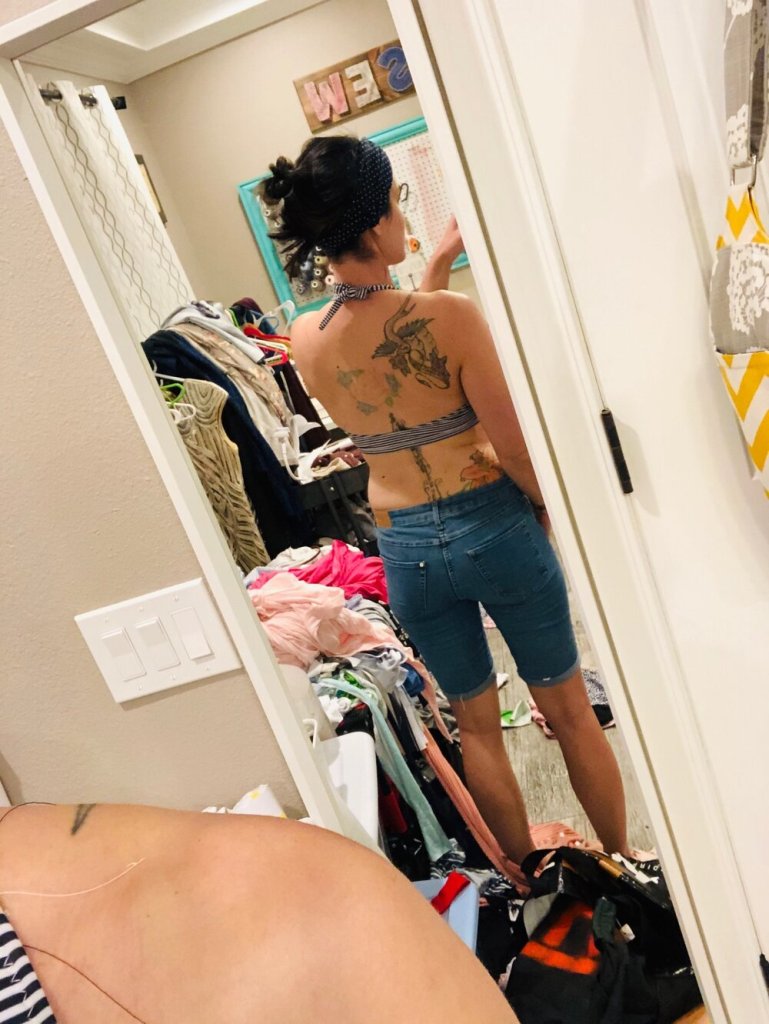
In this post I’m going to break down the Halter version a bit. With all the different options, the instructions can get a little confusing. This particular version is the Wide Strap Halter, High Neck Bikini. Most of these tips will apply to any/all of the halter versions. If you want to add removable cups to your suit, start HERE.
ATTACHING ELASTIC TO FRONT NECKLINE
For the wide strap halter version of the Mairin Swimsuit, you will need to shorten your front elastic measurement by .75” (2cm).
– Make sure you stretch/exercise your elastic before cutting so it doesn’t grow as yous sew
To attach your elastic to the front neckline, I find it easiest to baste the ends of the elastic to the raw edge of your swimsuit and pinning the center of the elastic to the center of the front neckline. This ensures that it’s stretched evenly across the neck.
Note: My elastic is a bit too short. The instructions have a slight typo (which I let Kelly know about) that says to trim the wide front elastic by 1.75” but the 1 shouldn’t be there, so your elastic should be a bit longer than this photo! <3
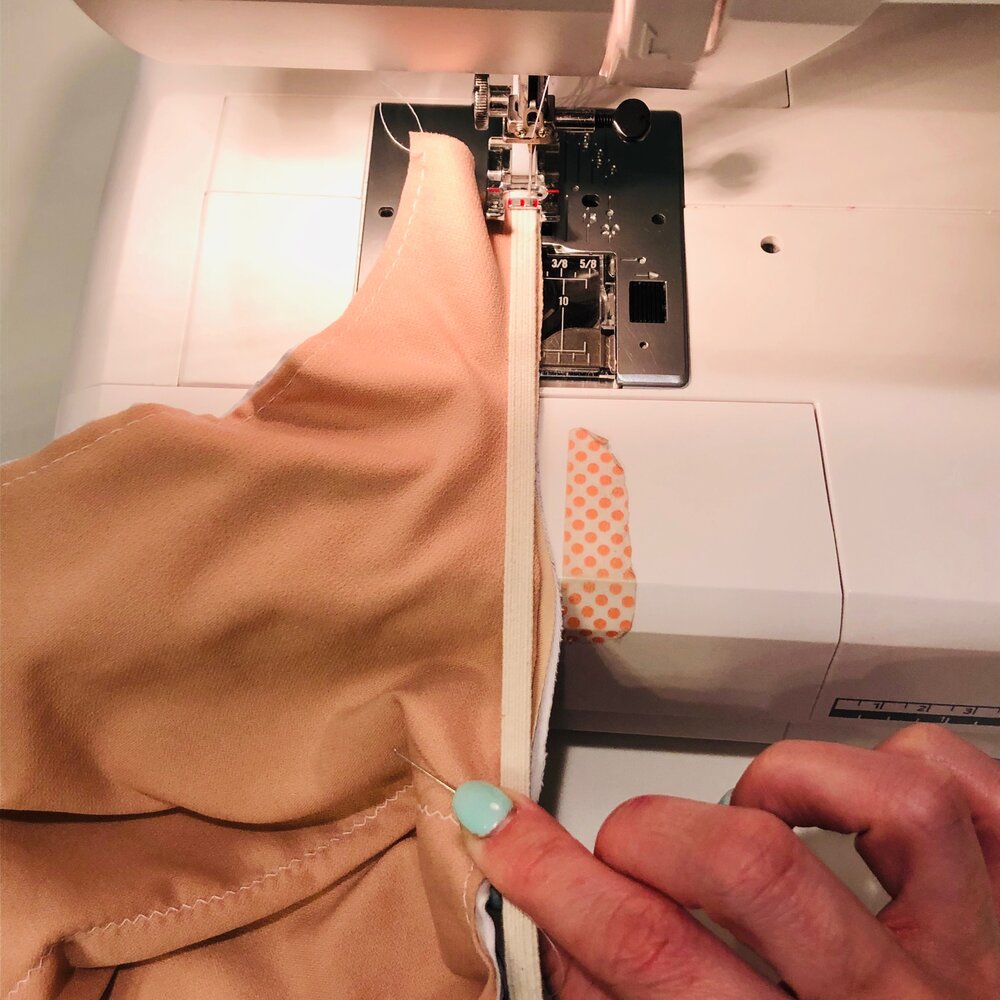
BASTING ELASTIC
Start sewing your elastic a few stitches, leave your needle down and pull the elastic so it matches the length of the raw edge.
I like to hold the fabric at the beginning of stitching and at the center as I sew, to help keep tension even while sewing.
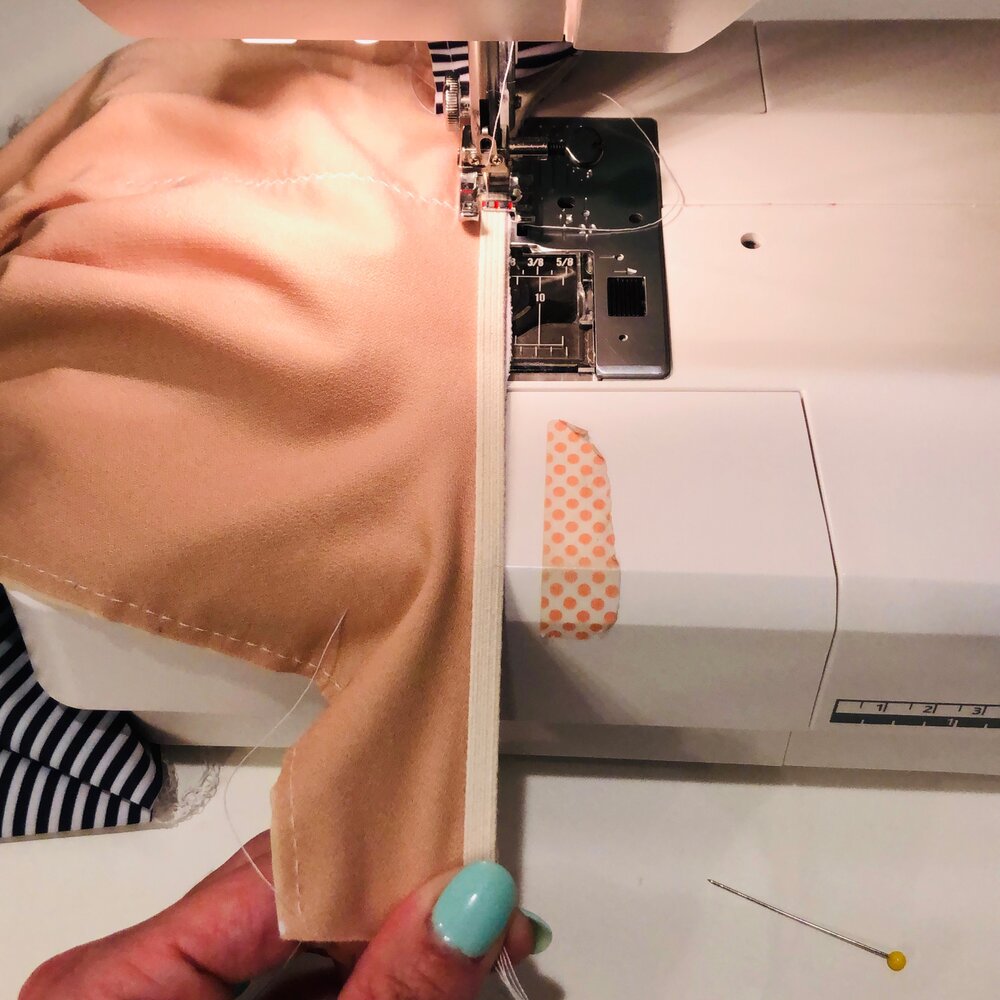
BASTING ELASTIC CONT.
Once you get to the center, keep the needle down, remove the pin and pull the rest of the elastic taught against the bikini’s raw edge, holding just past where you’ve sewn and the end, as you did for the first half of attaching the elastic
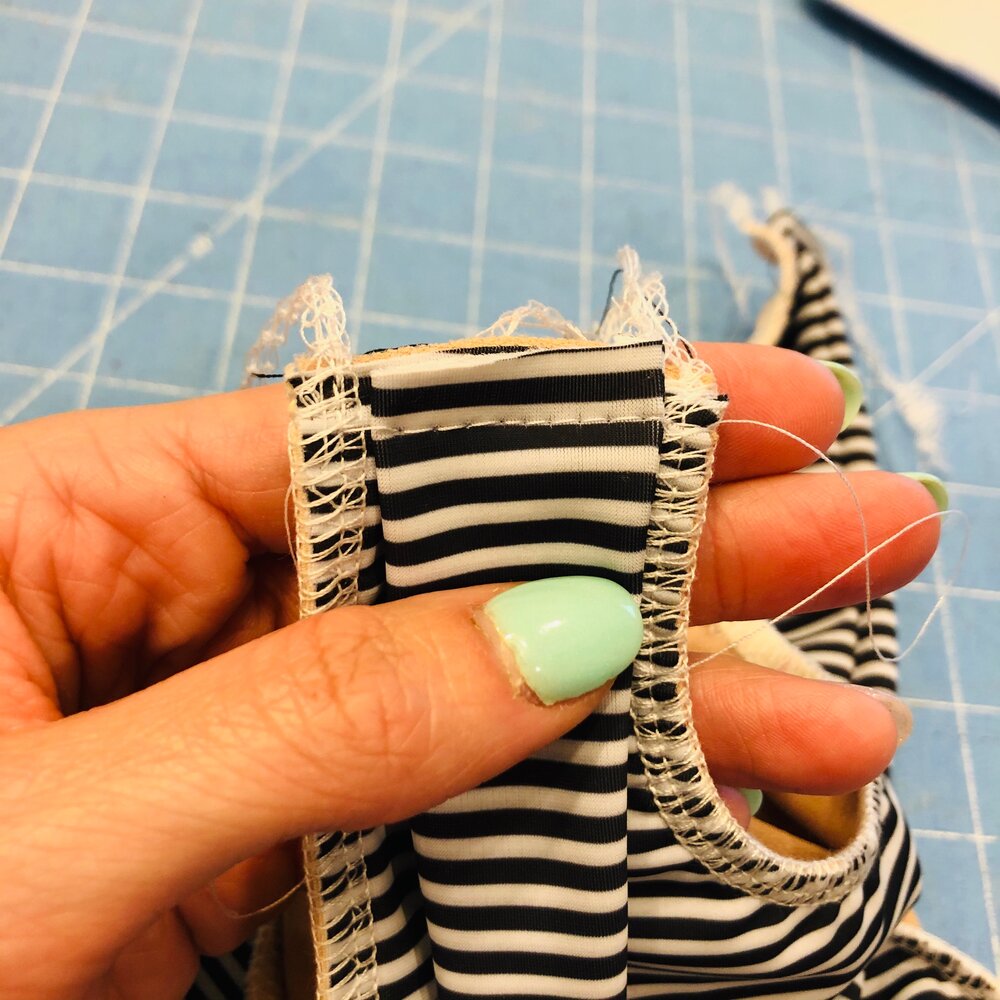
Once the elastic is all basted on, I like to sew it on my serger. It’s not necessary but I think it gives it a nice finish and keeps the edges more together than just a zigzag stitch.
You will also need to attach the back elastic. I like to mark the center and sometimes the quarter points on both the elastic and the swimsuit. It makes it easier to keep even tension on the elastic when attaching.
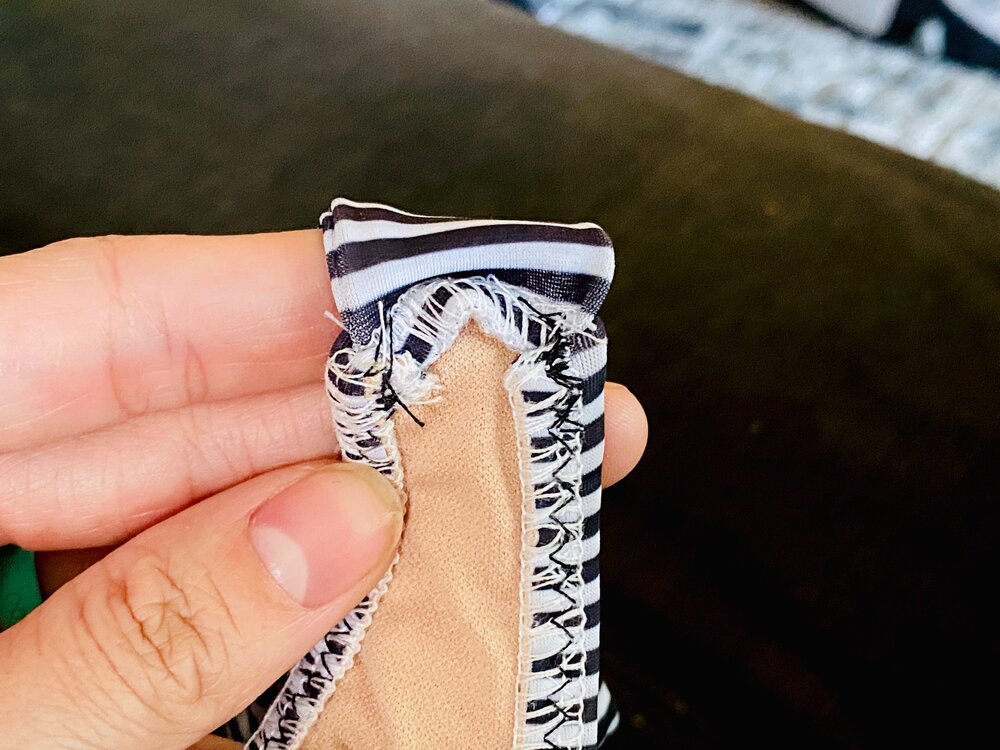
PIN STRAP TO SHOULDER
Your halter tie should be inside where the elastic is sewn on, that way it ends up flush after you turn the elastic
SEW STRAP TO SHOULDER
I like to sew this together on my sewing machine first to hold everything in place before sewing on my serger.
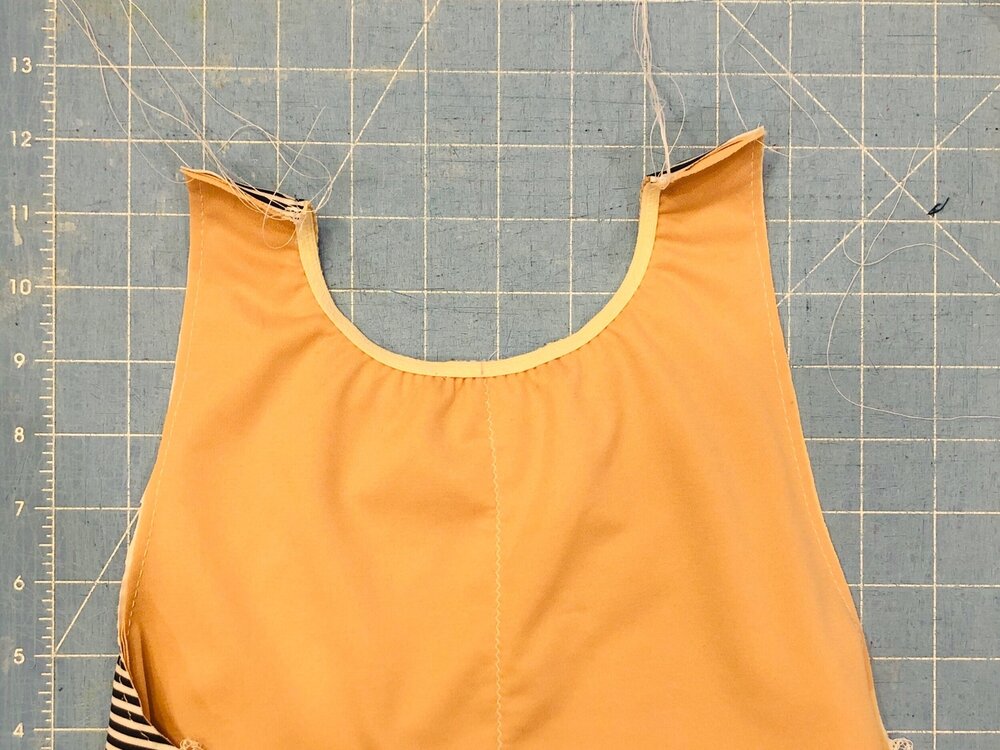
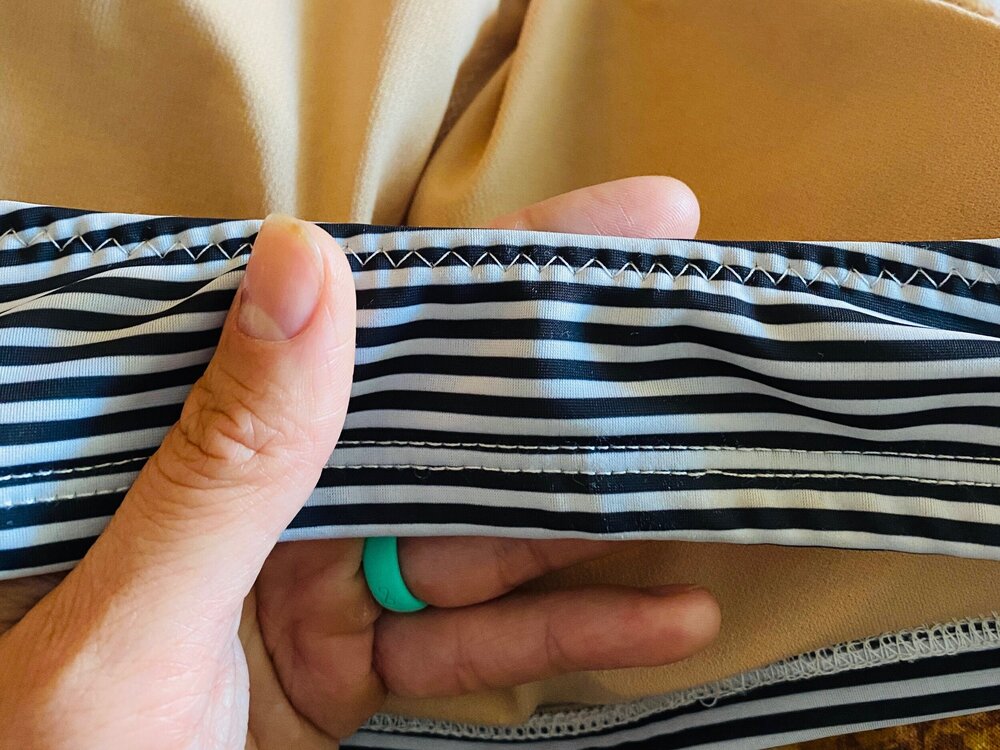
TURN AND TOPSTITCH
Turn your elastic over to the wrong side so it’s enclosed. I like to use clips to pin around before I topstitch. Again, I like to hold on either side of the foot on my machine to ensure that the material is getting fed through evenly. If not, there’s a chance you can have uneven stitches.
TURN AND TOPSTITCH CONT.
I go back and forth between using my sewing machine and my coverstitch to topstitch. Both of them work great but have slightly different looks. One isn’t really more “professional” than the other since I’ve seen plenty of RTW swimsuits with zigzag stitches.
I do really like the look of my coverstitch though, but sometimes my machine is being a bit temperamental (but really I probably just need to change the needles) so I’ll use my sewing machine instead. But let’s be real, sometimes my thread is just the wrong color and I don’t feel like changing it.
AND THAT’S PRETTY MUCH IT!
If you have any questions, be sure to leave them in the comments below.
.- Make sure you stretch/exercise your elastic before cutting so it doesn’t grow as yous sewTo attach your elastic to the front neckline, I find it easiest to baste the ends of the elastic to the raw edge of your swimsuit and pinning the center of the elastic to the center of the front neckline. This ensures that it’s stretched evenly across the neck.Note: My elastic is a bit too short. The instructions have a slight typo (which I let Kelly know about) that says to trim the wide front elastic by 1.75” but the 1 shouldn’t be there, so your elastic should be a bit longer than this photo! <3")


