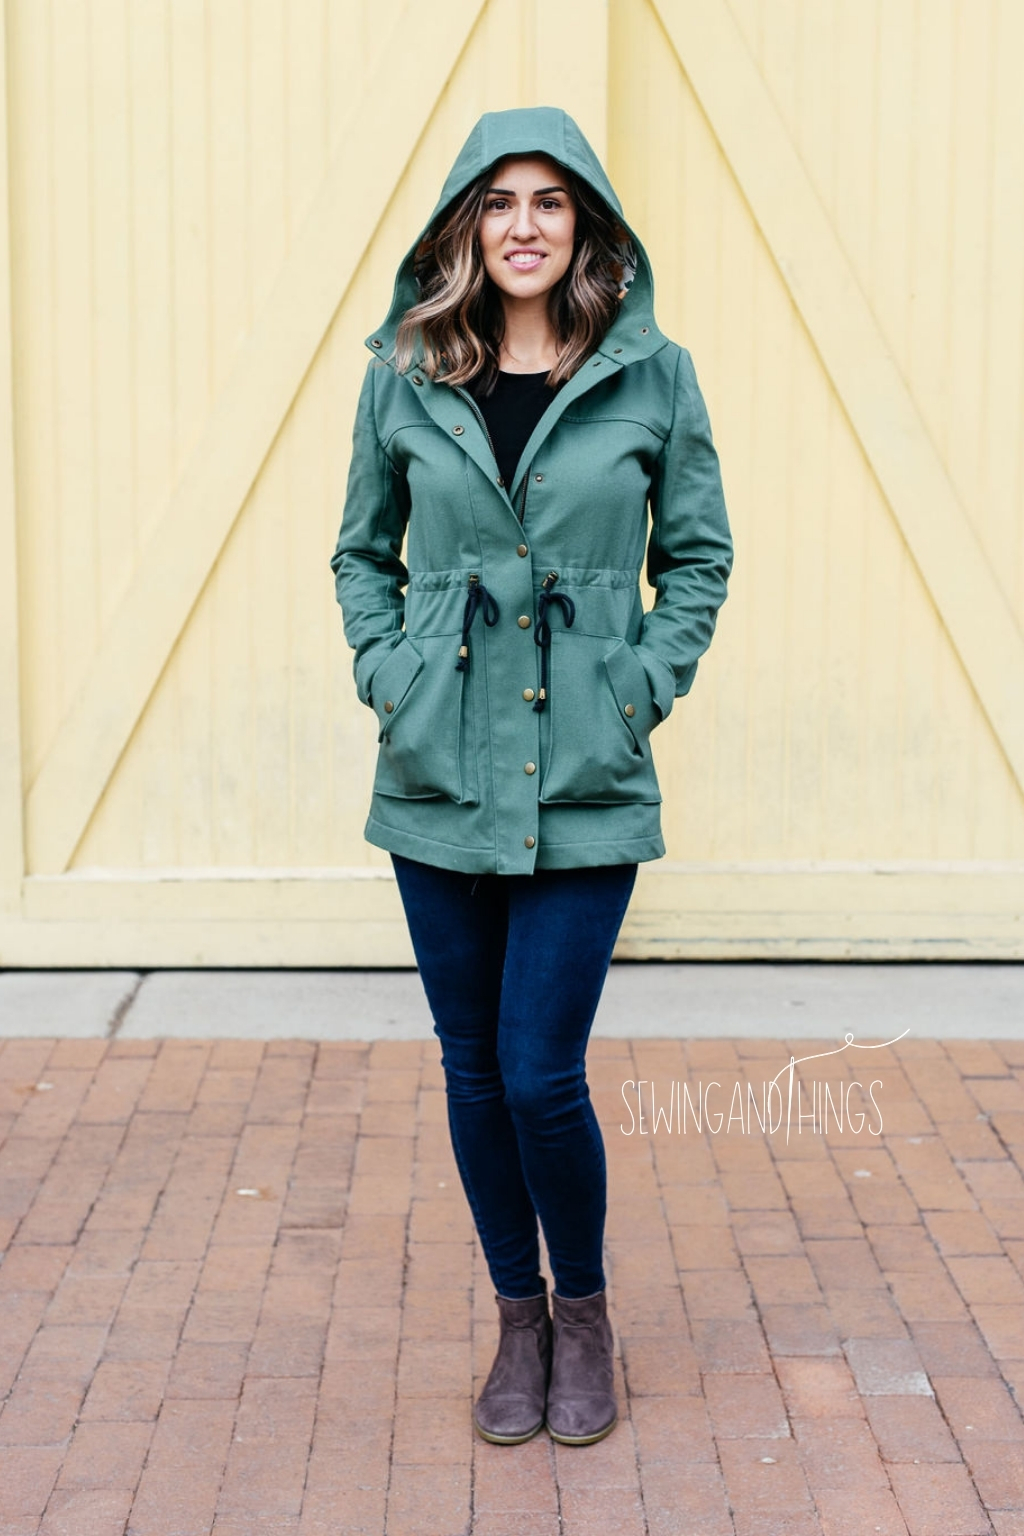
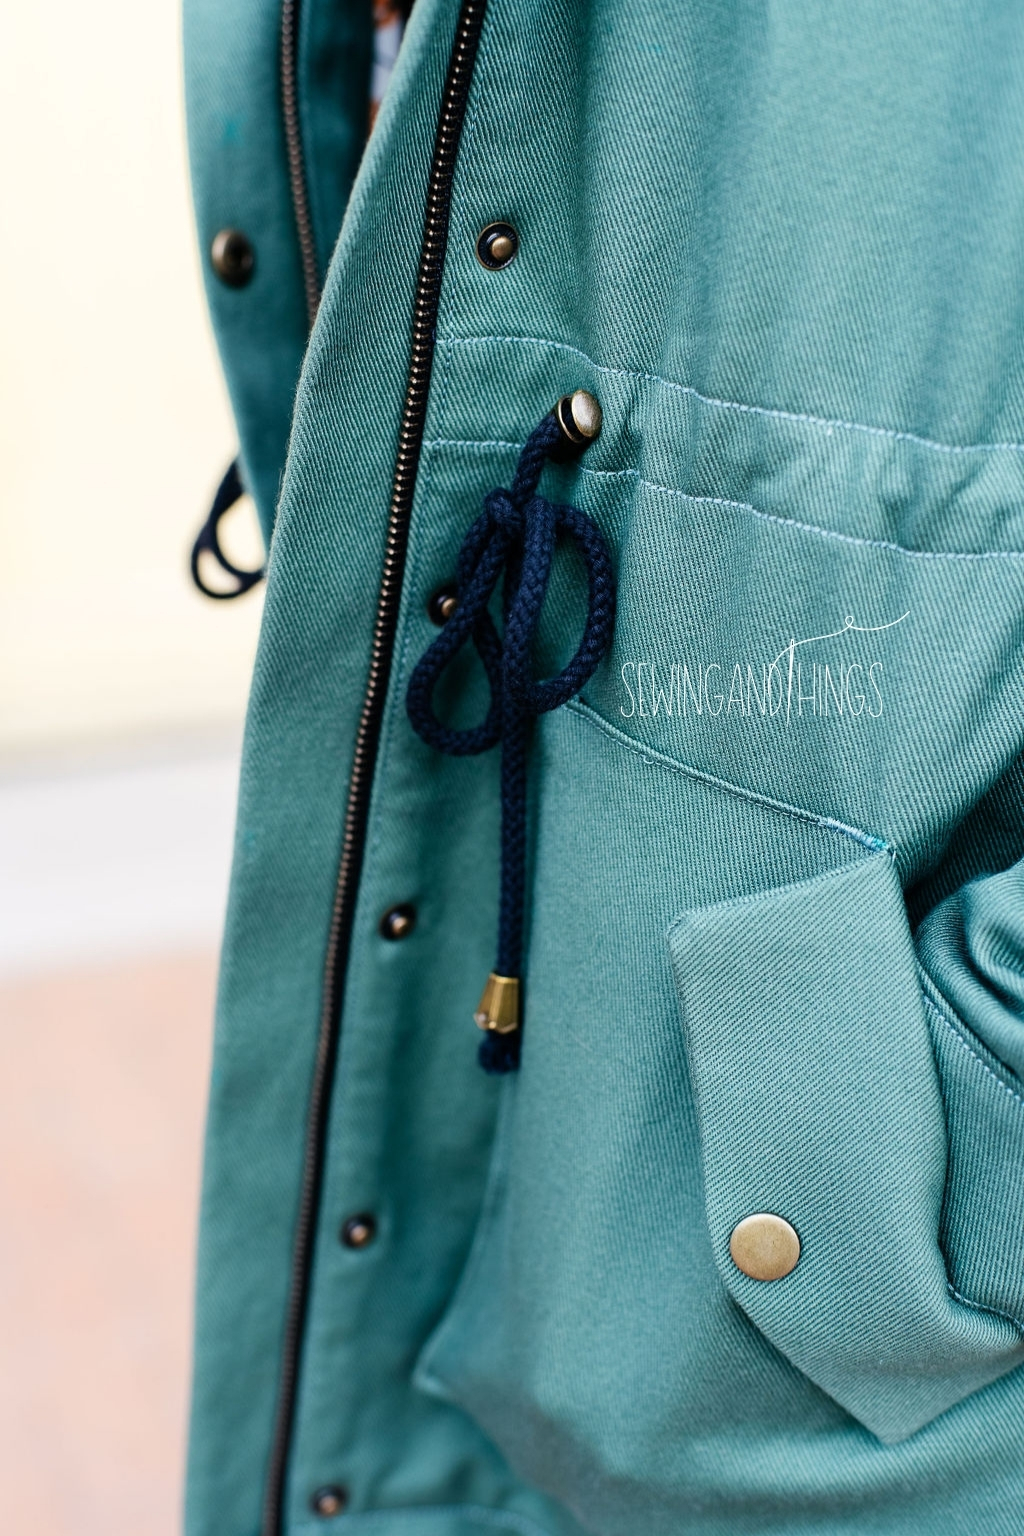
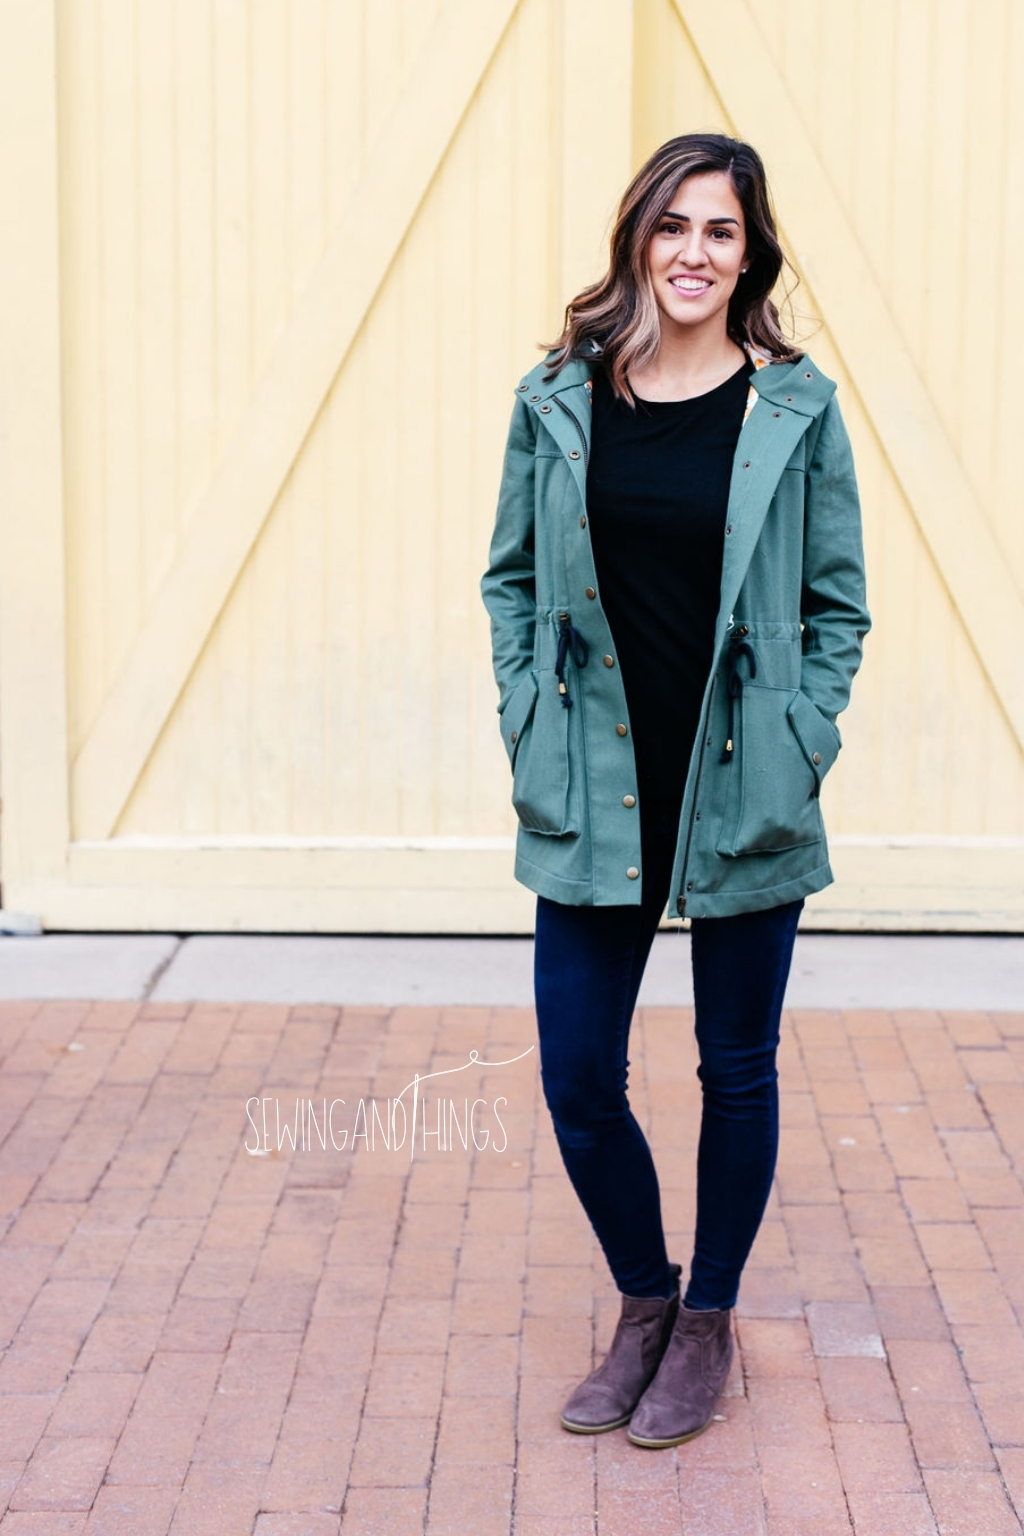
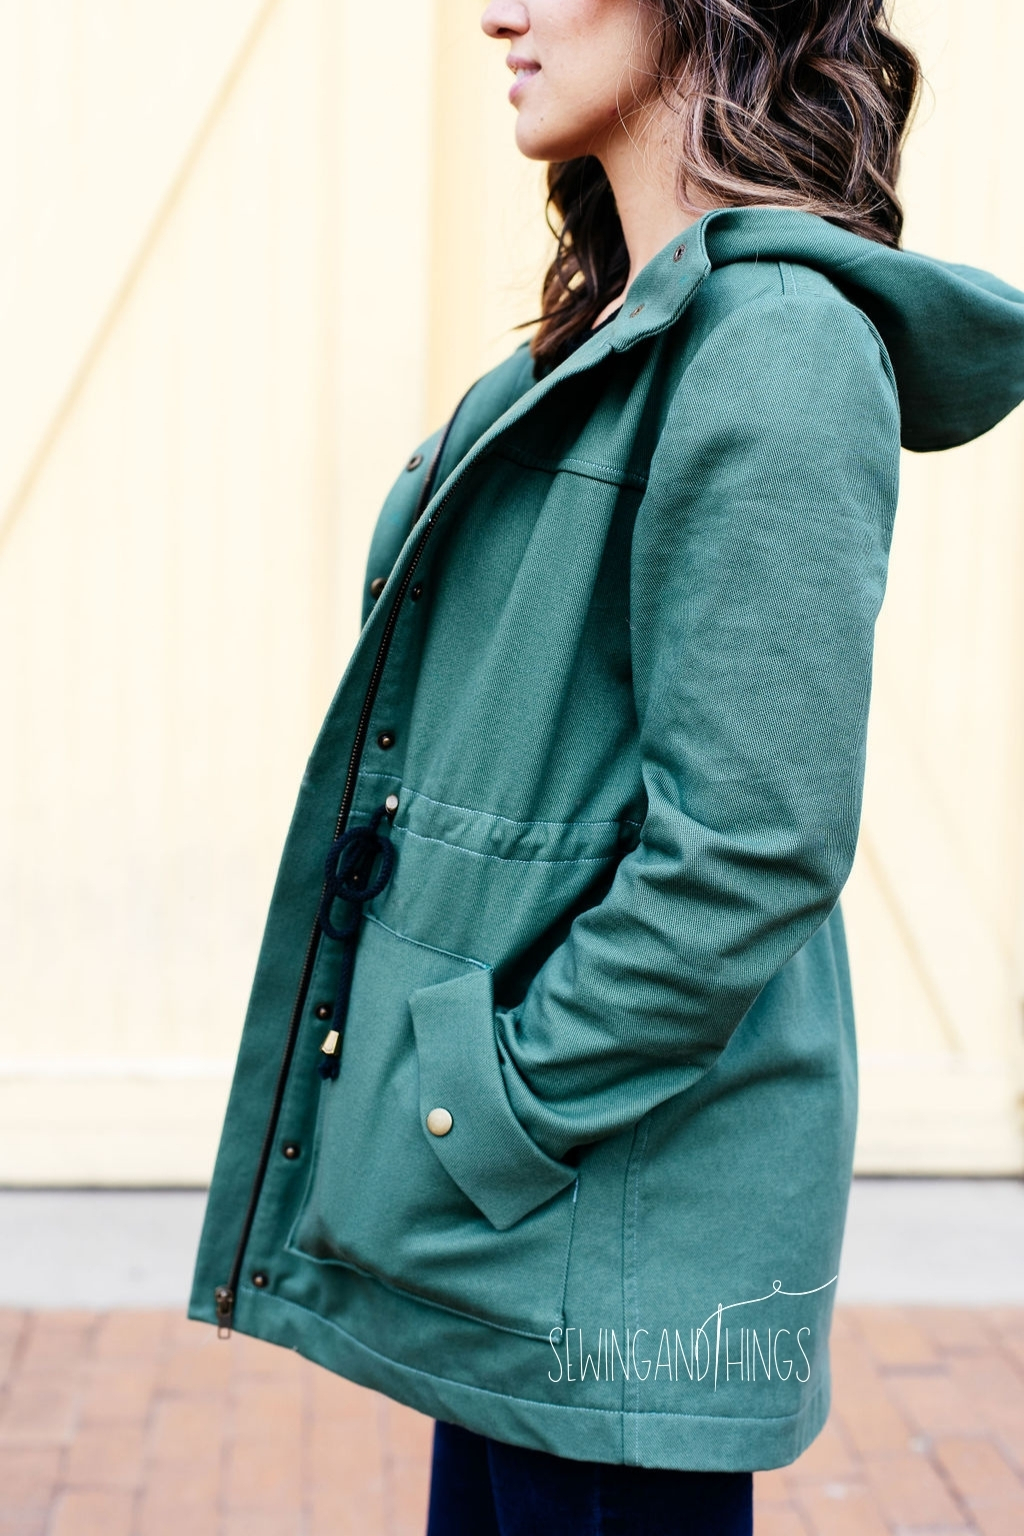
Closet Core Patterns – Kelly Anorak

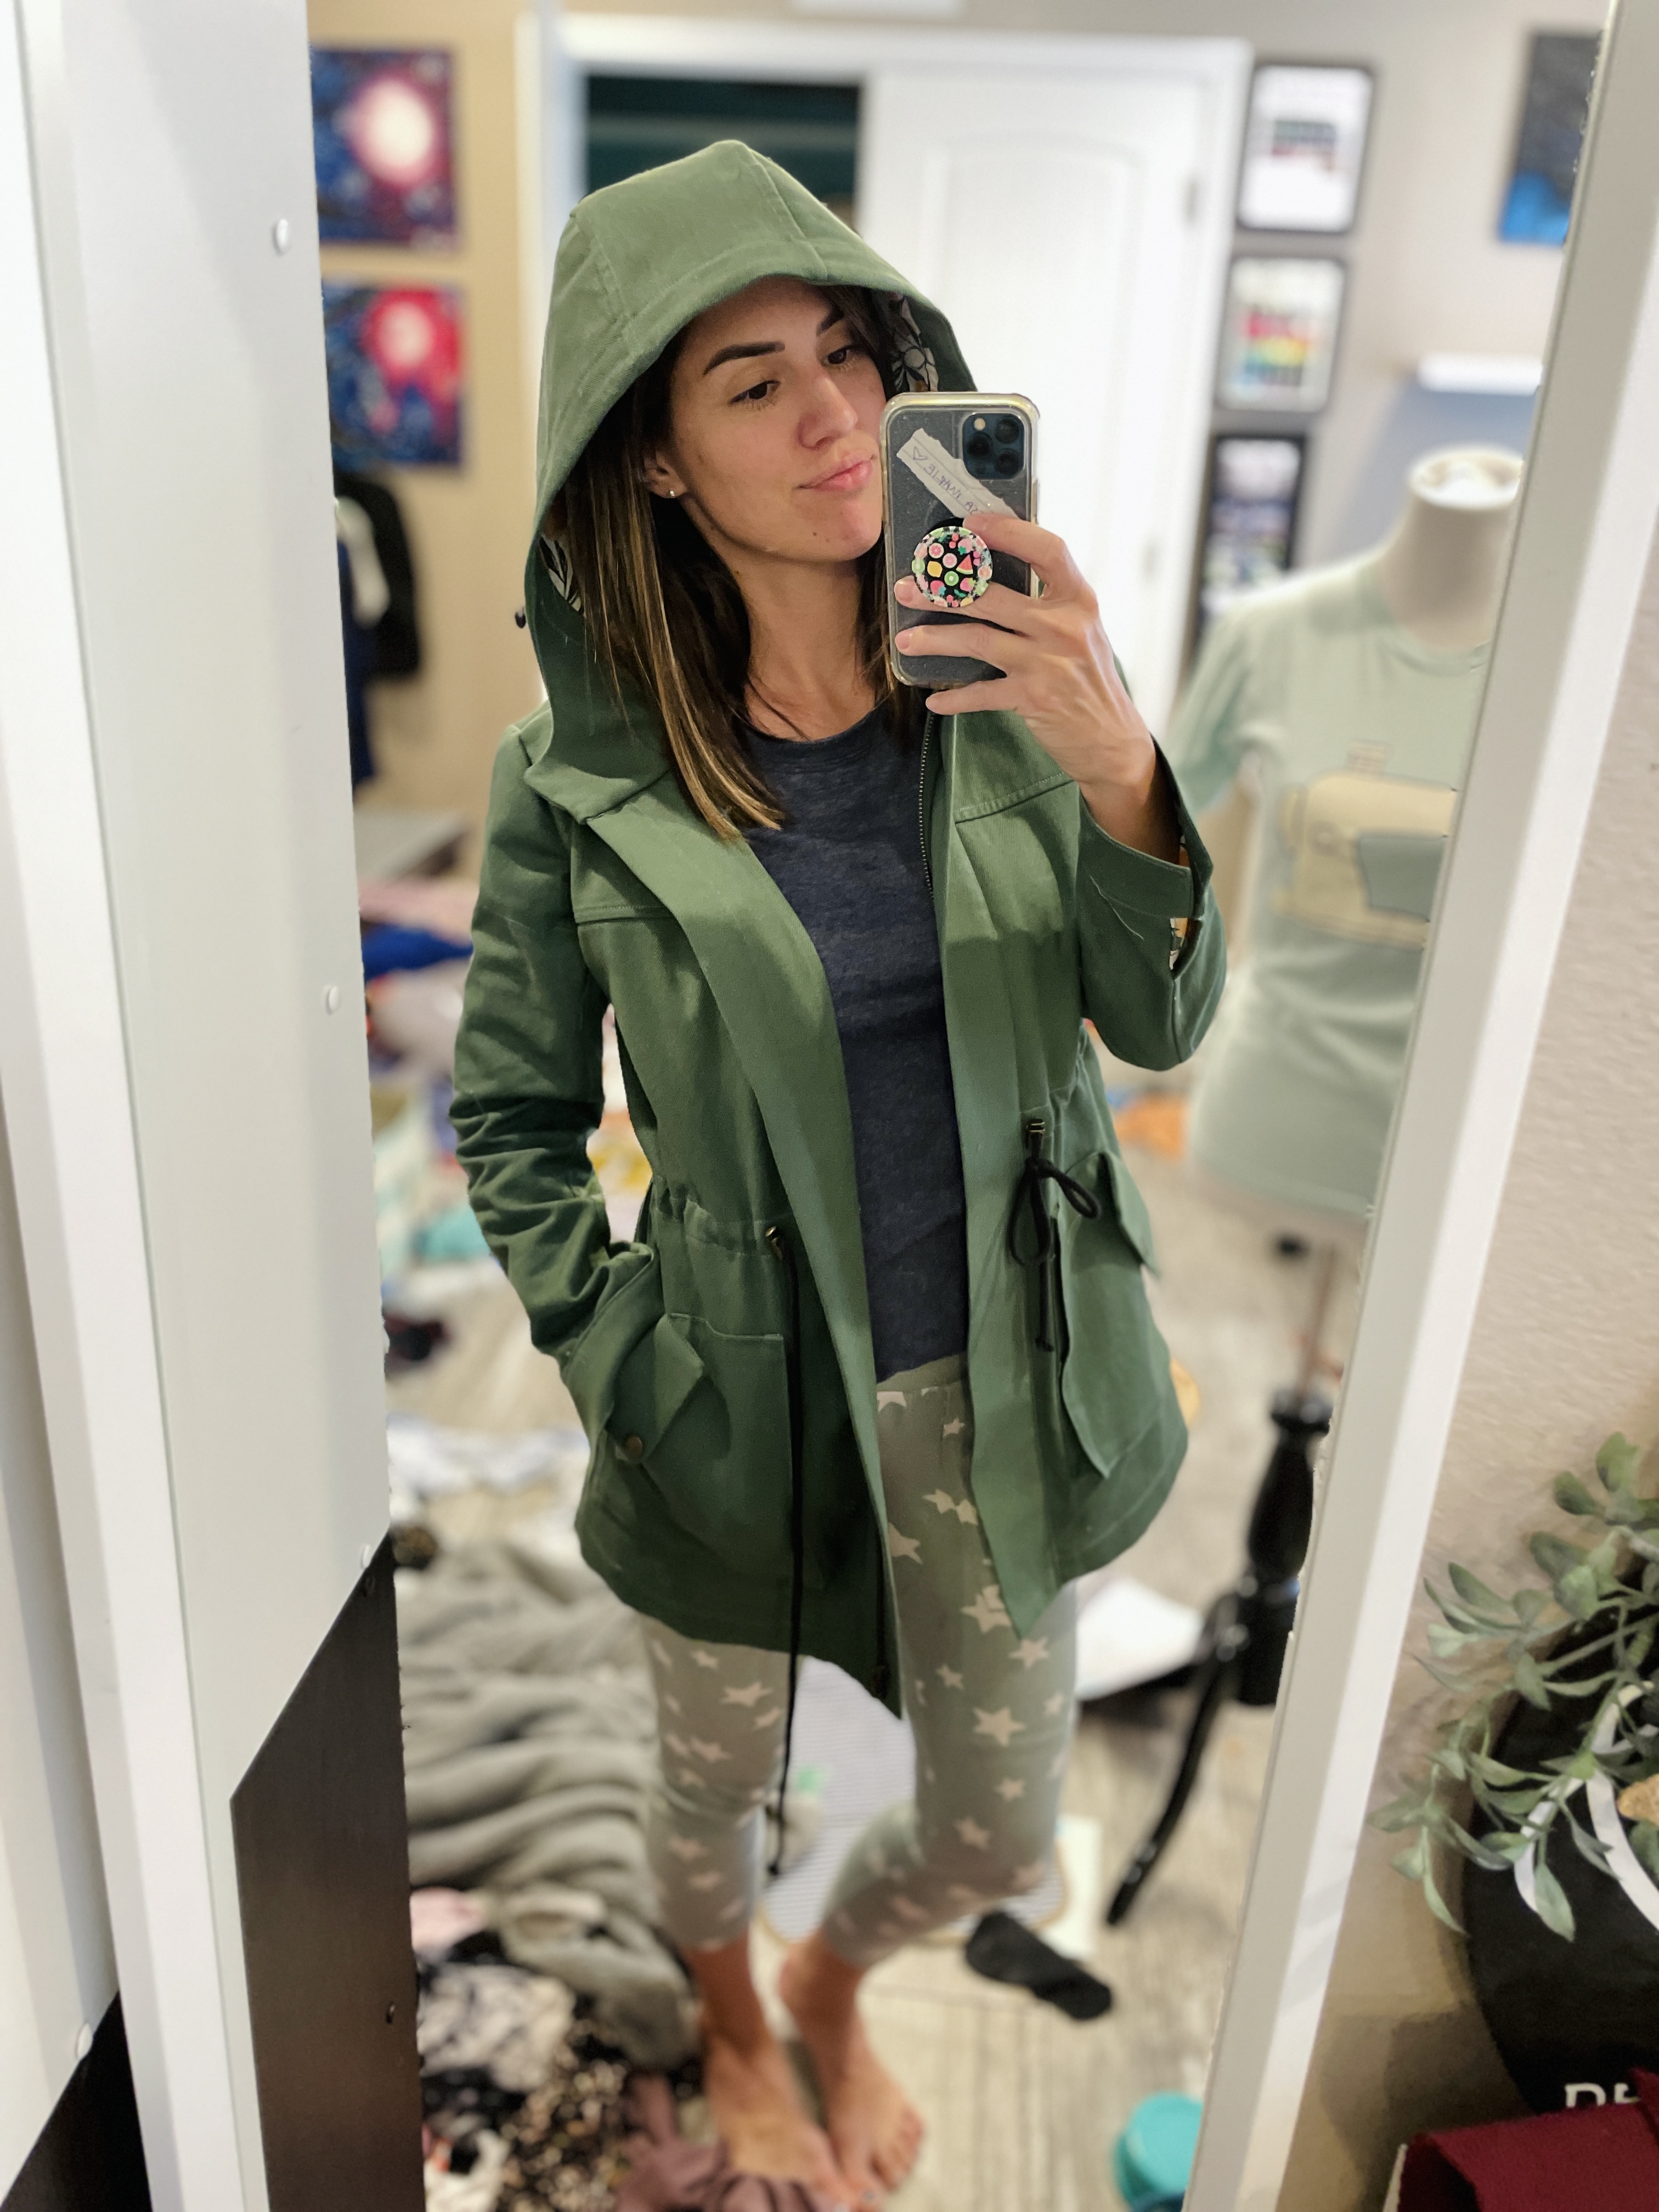


Welcome to my sporatic little life


5 Comments
Suzanne Mills
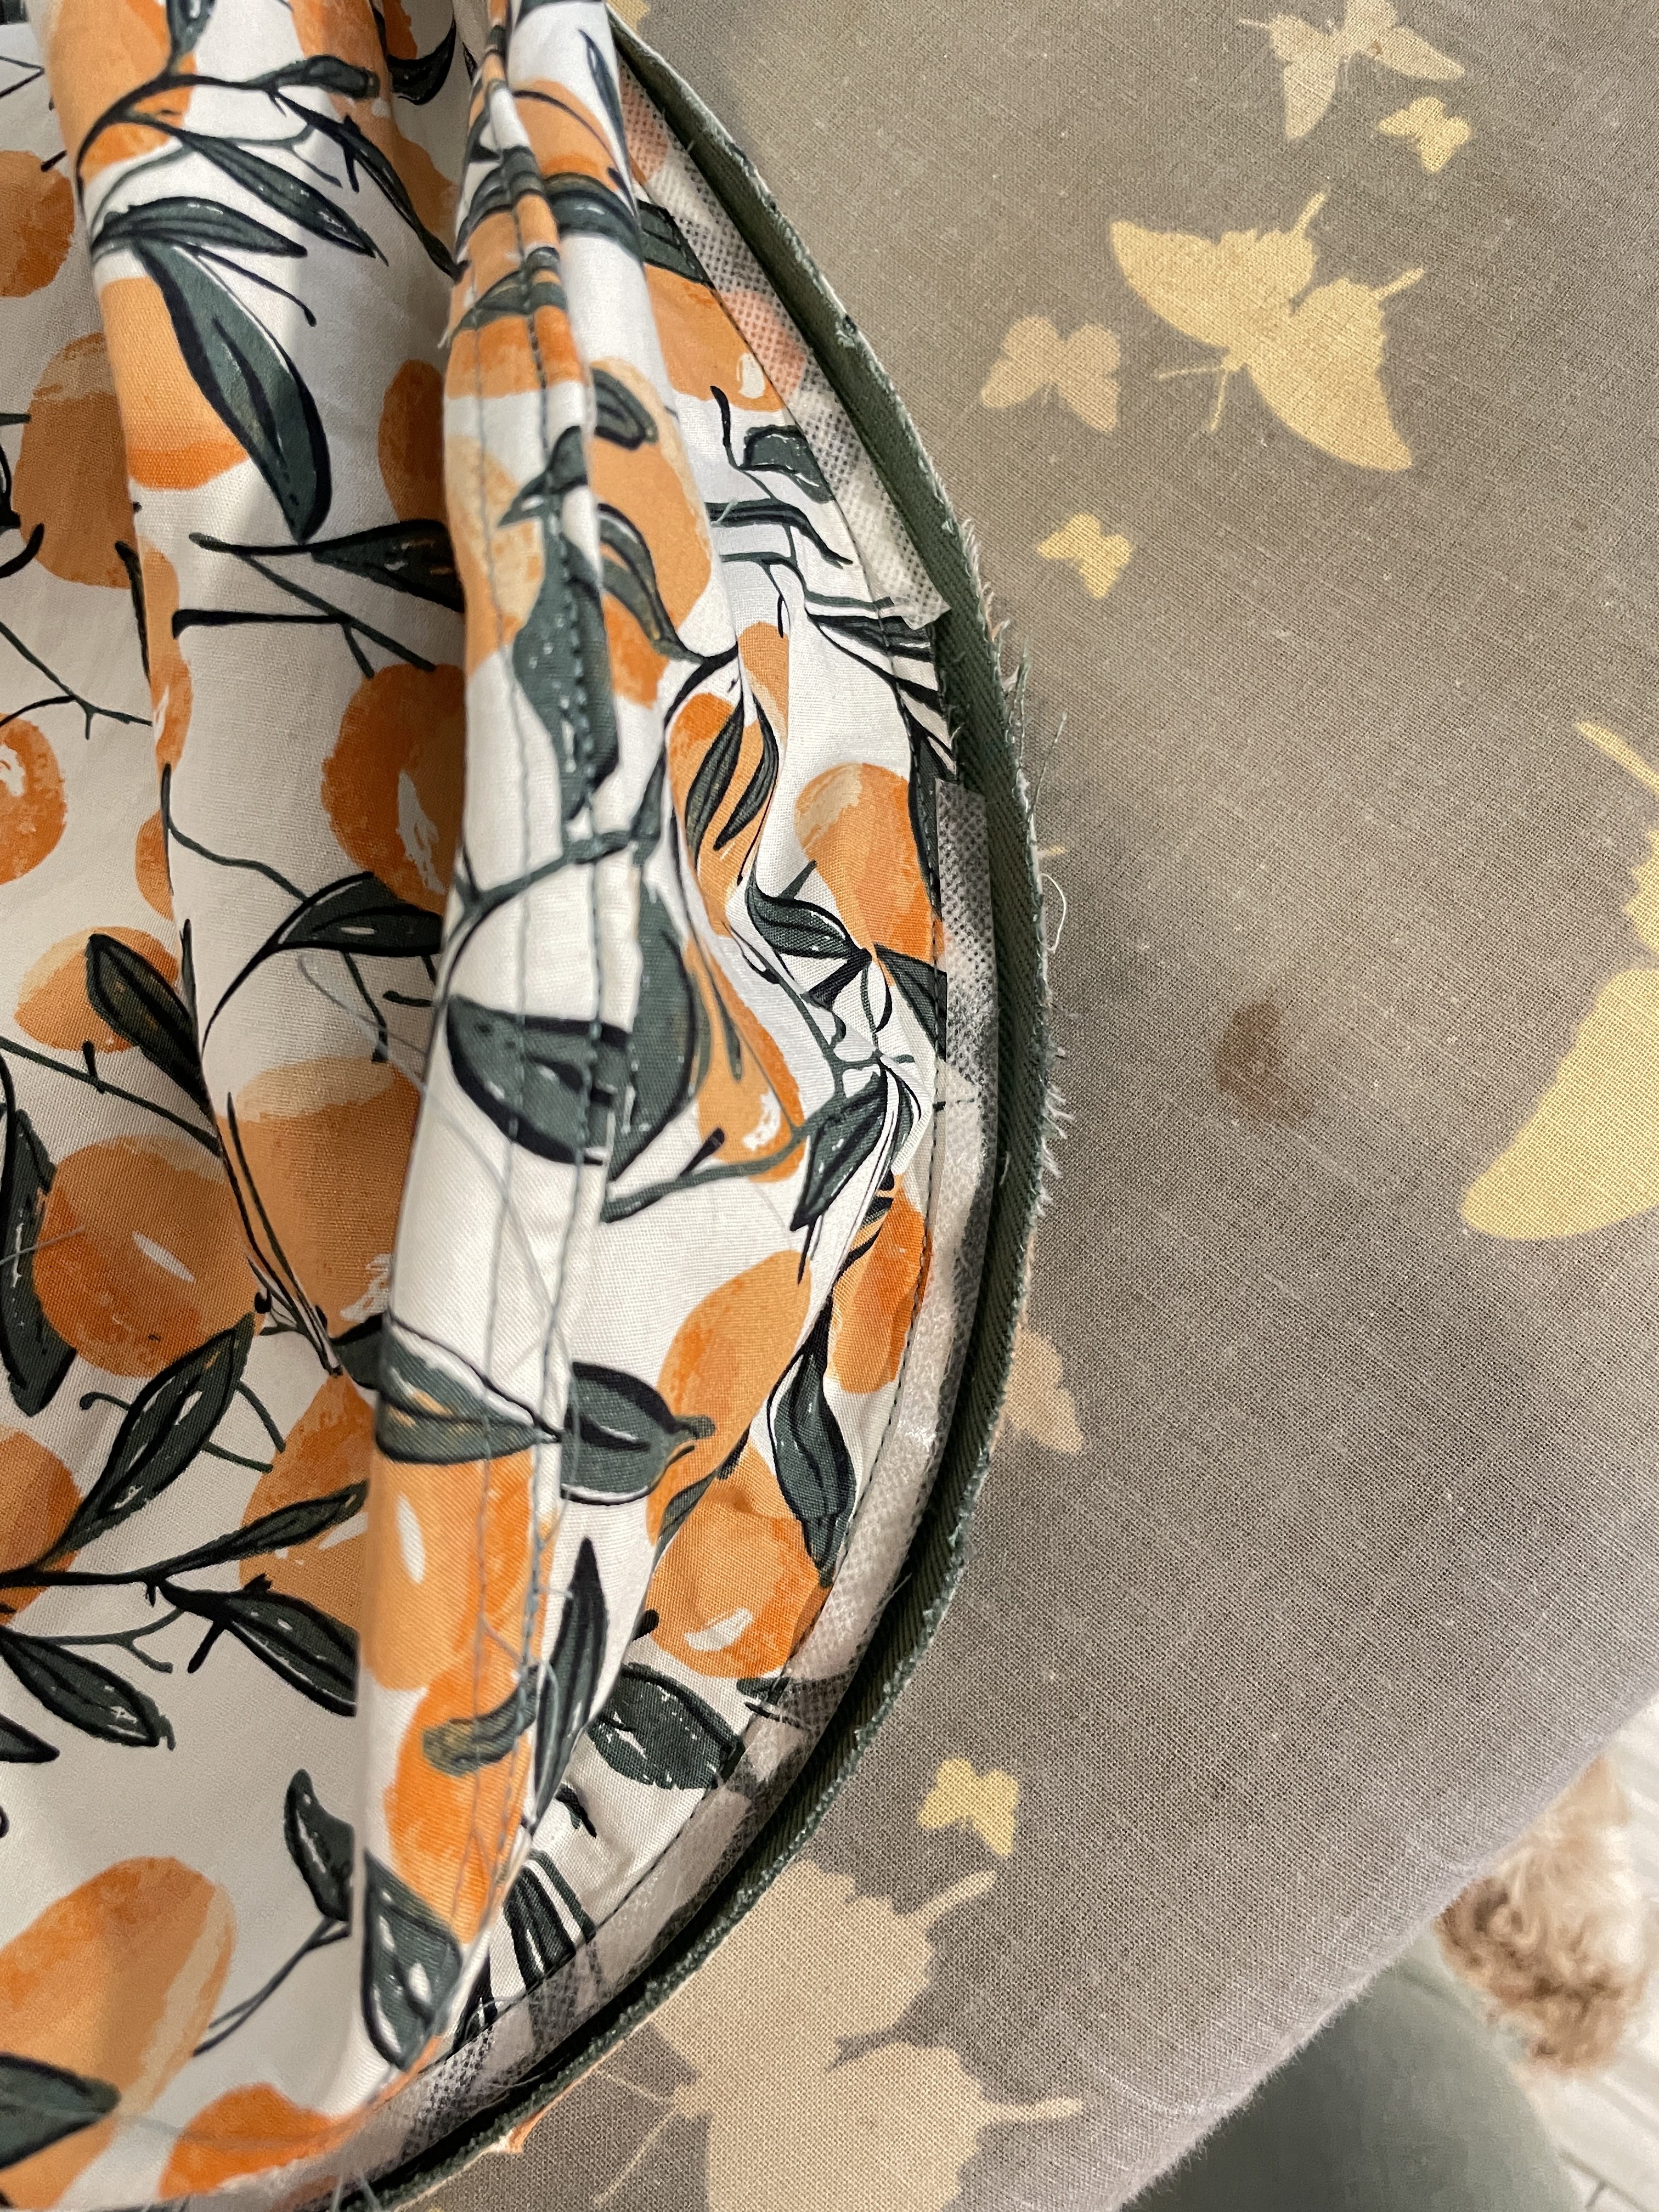
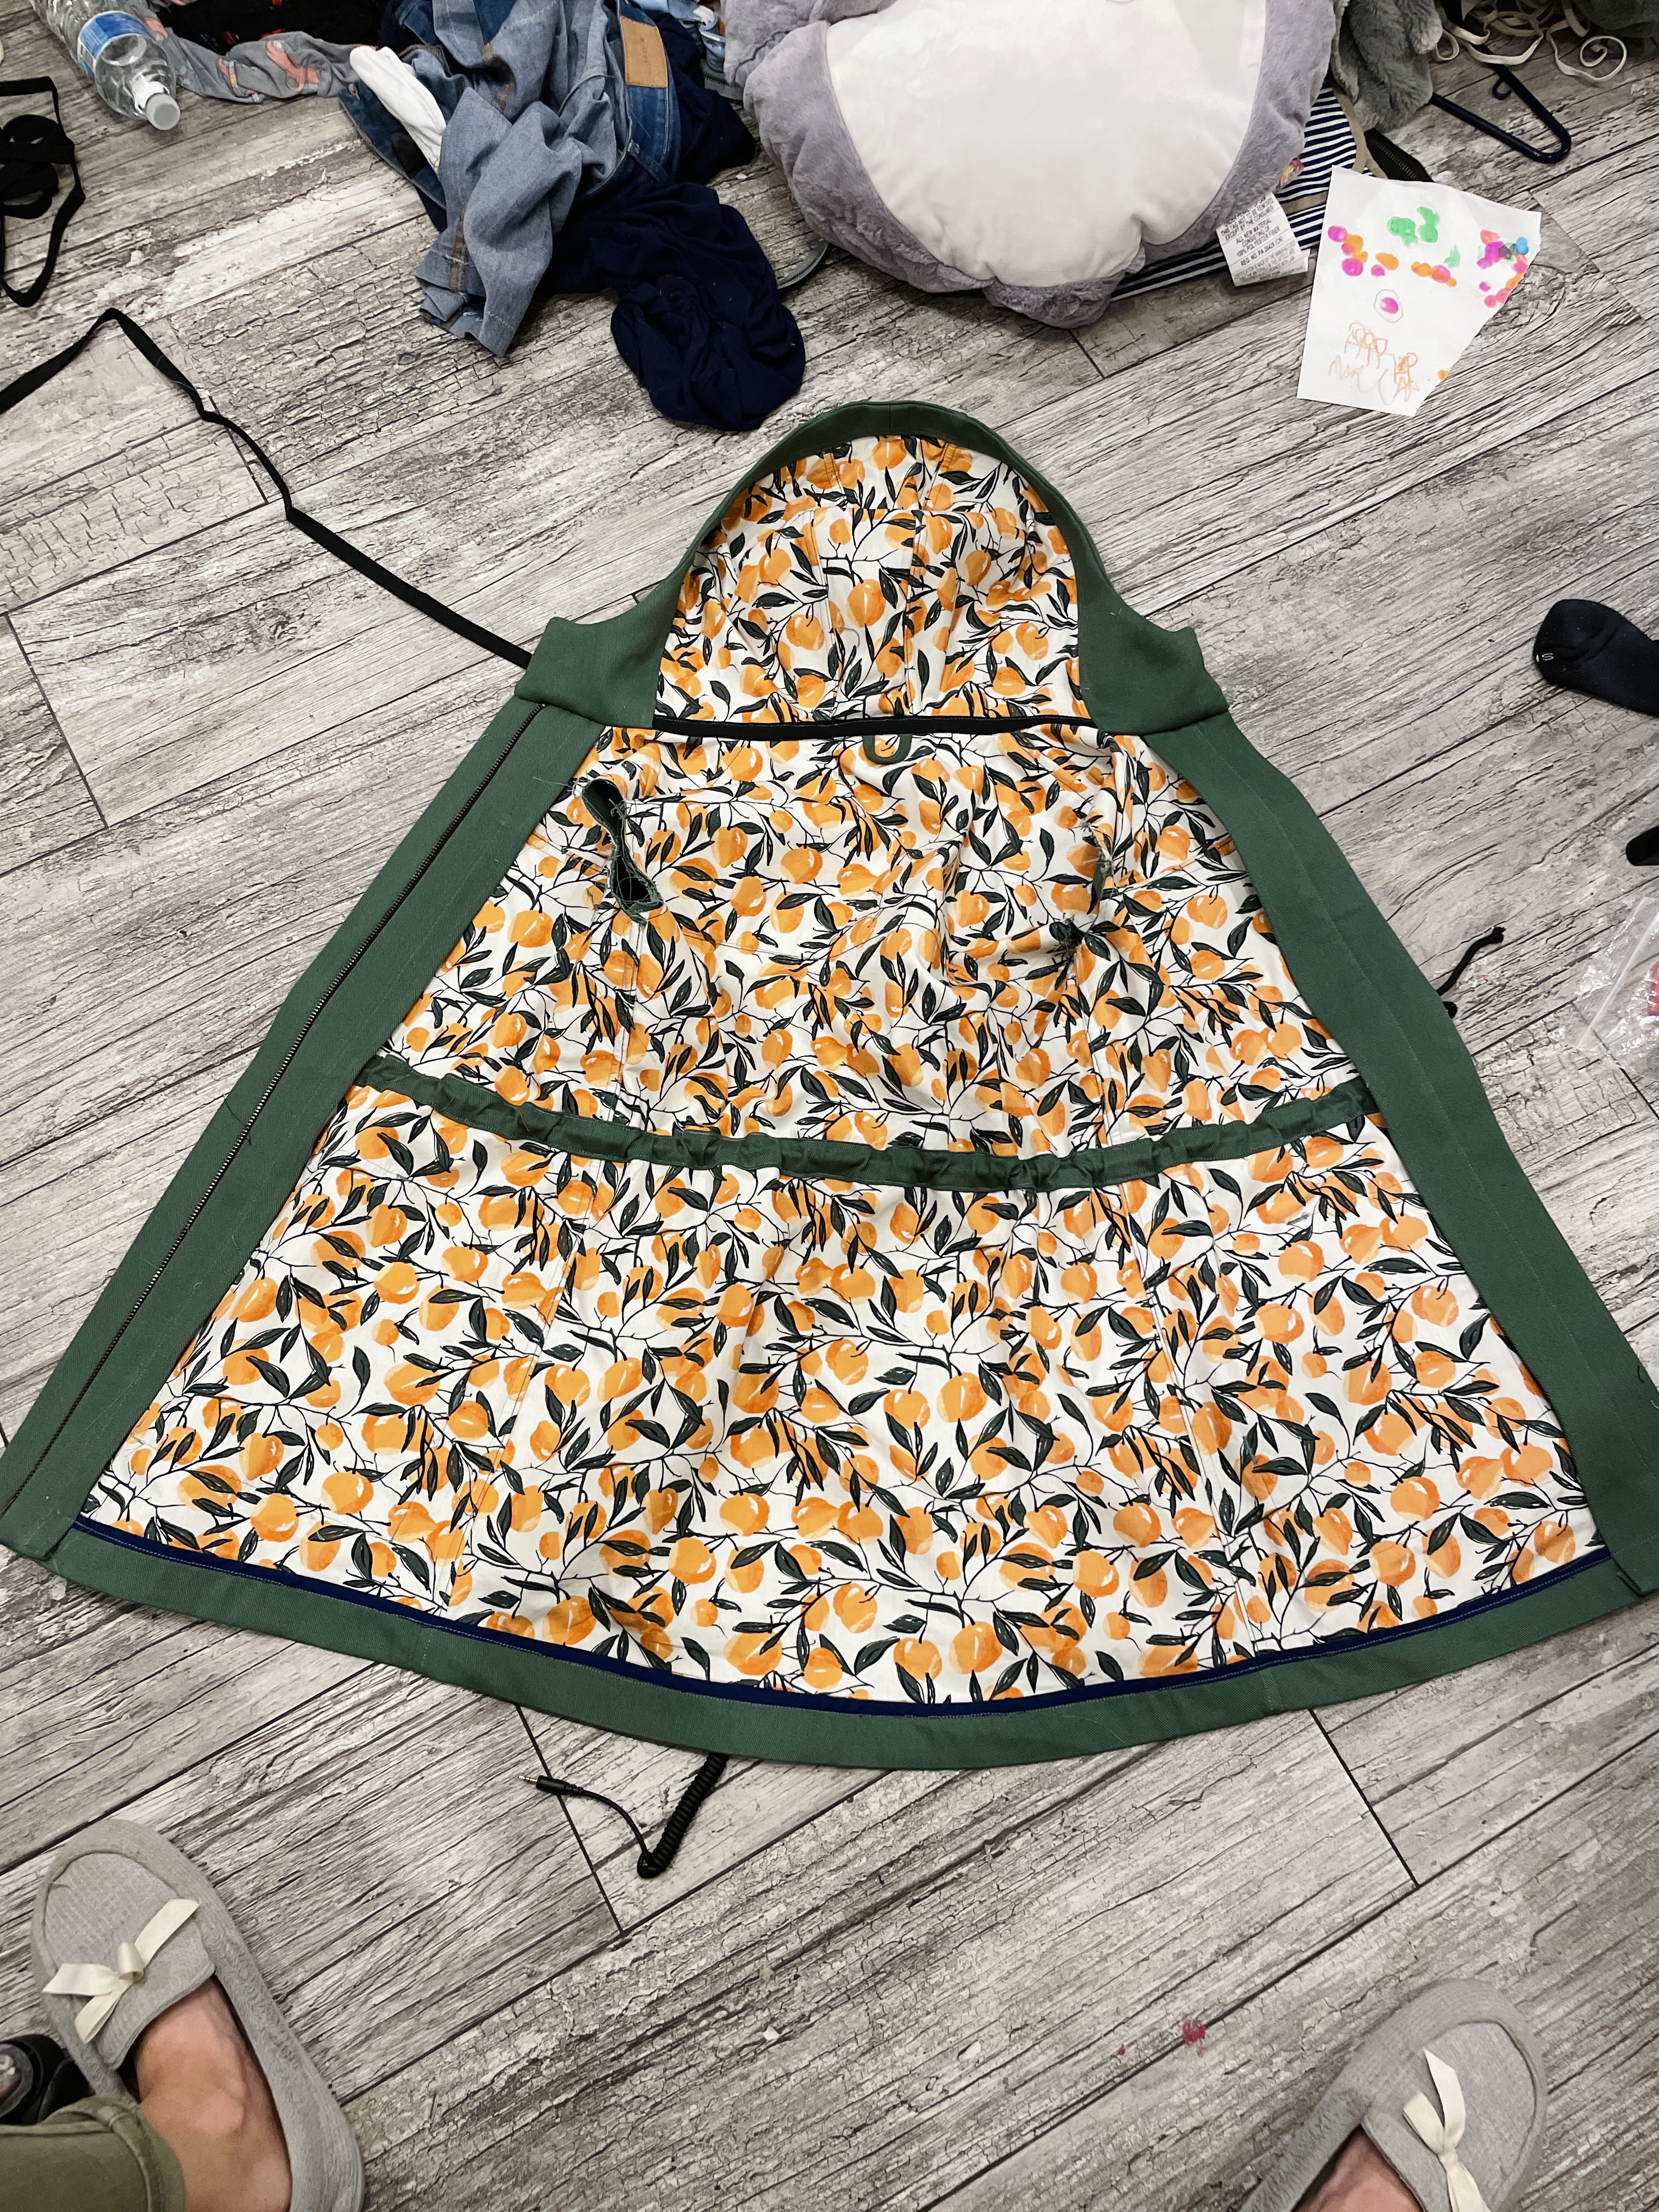
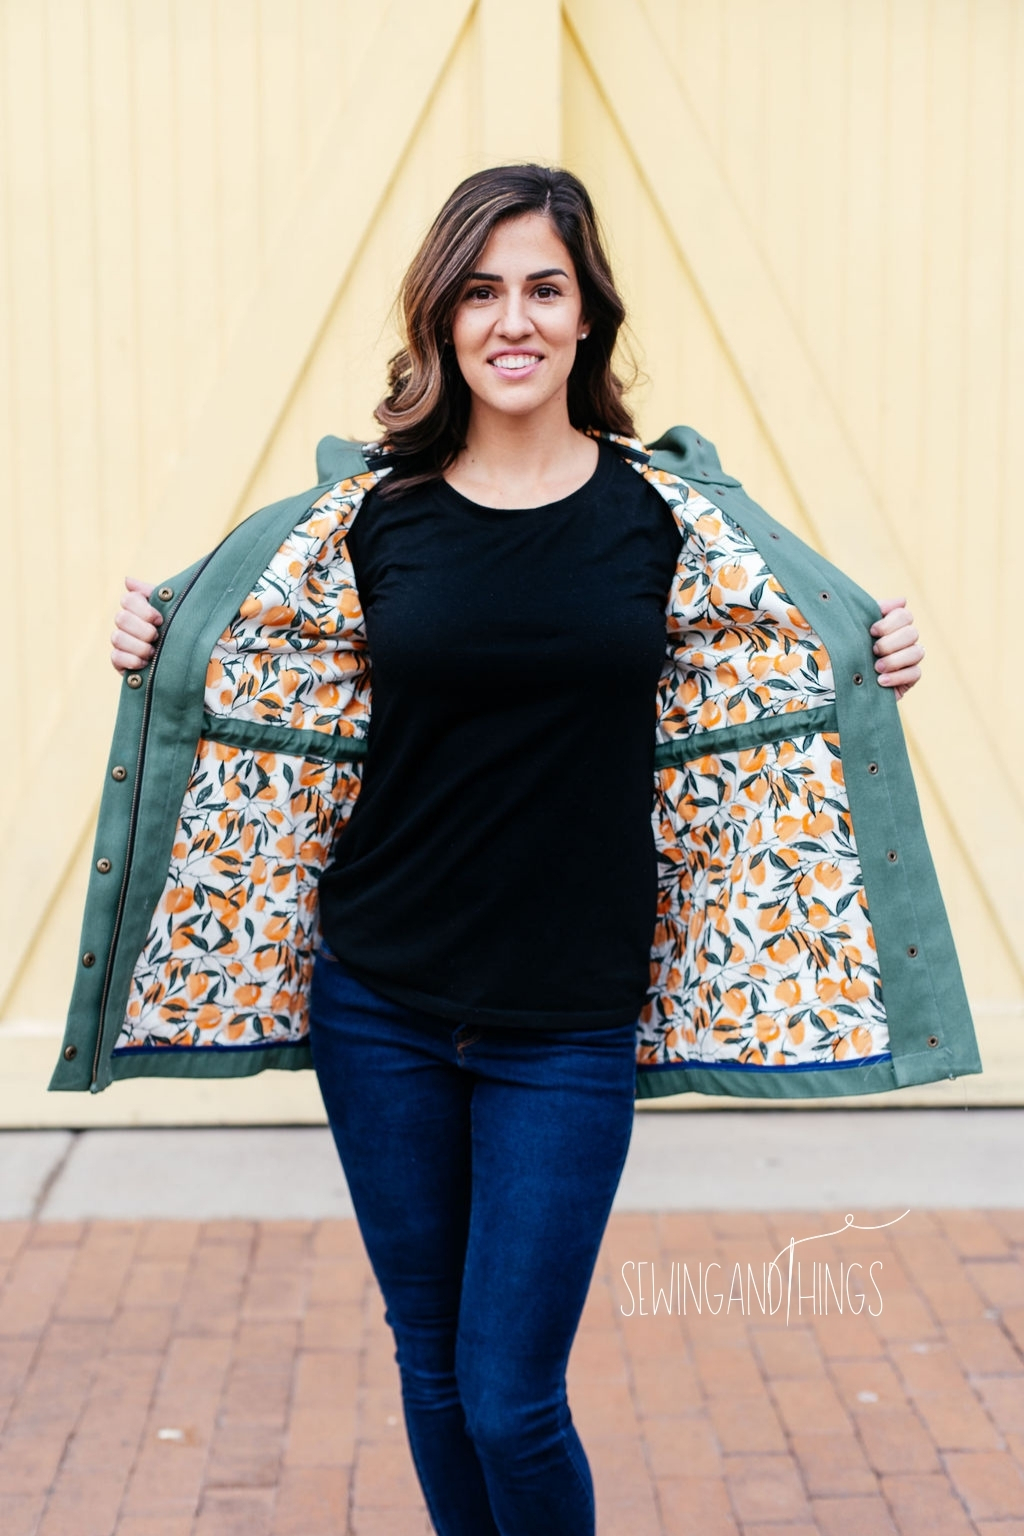
Love that coat. The lining fabric makes it for me! Fantastic job.
Trissa Marie
Thank you!! I’m so glad I picked the peaches for the lining. It really was the perfect combination <3
Janelle
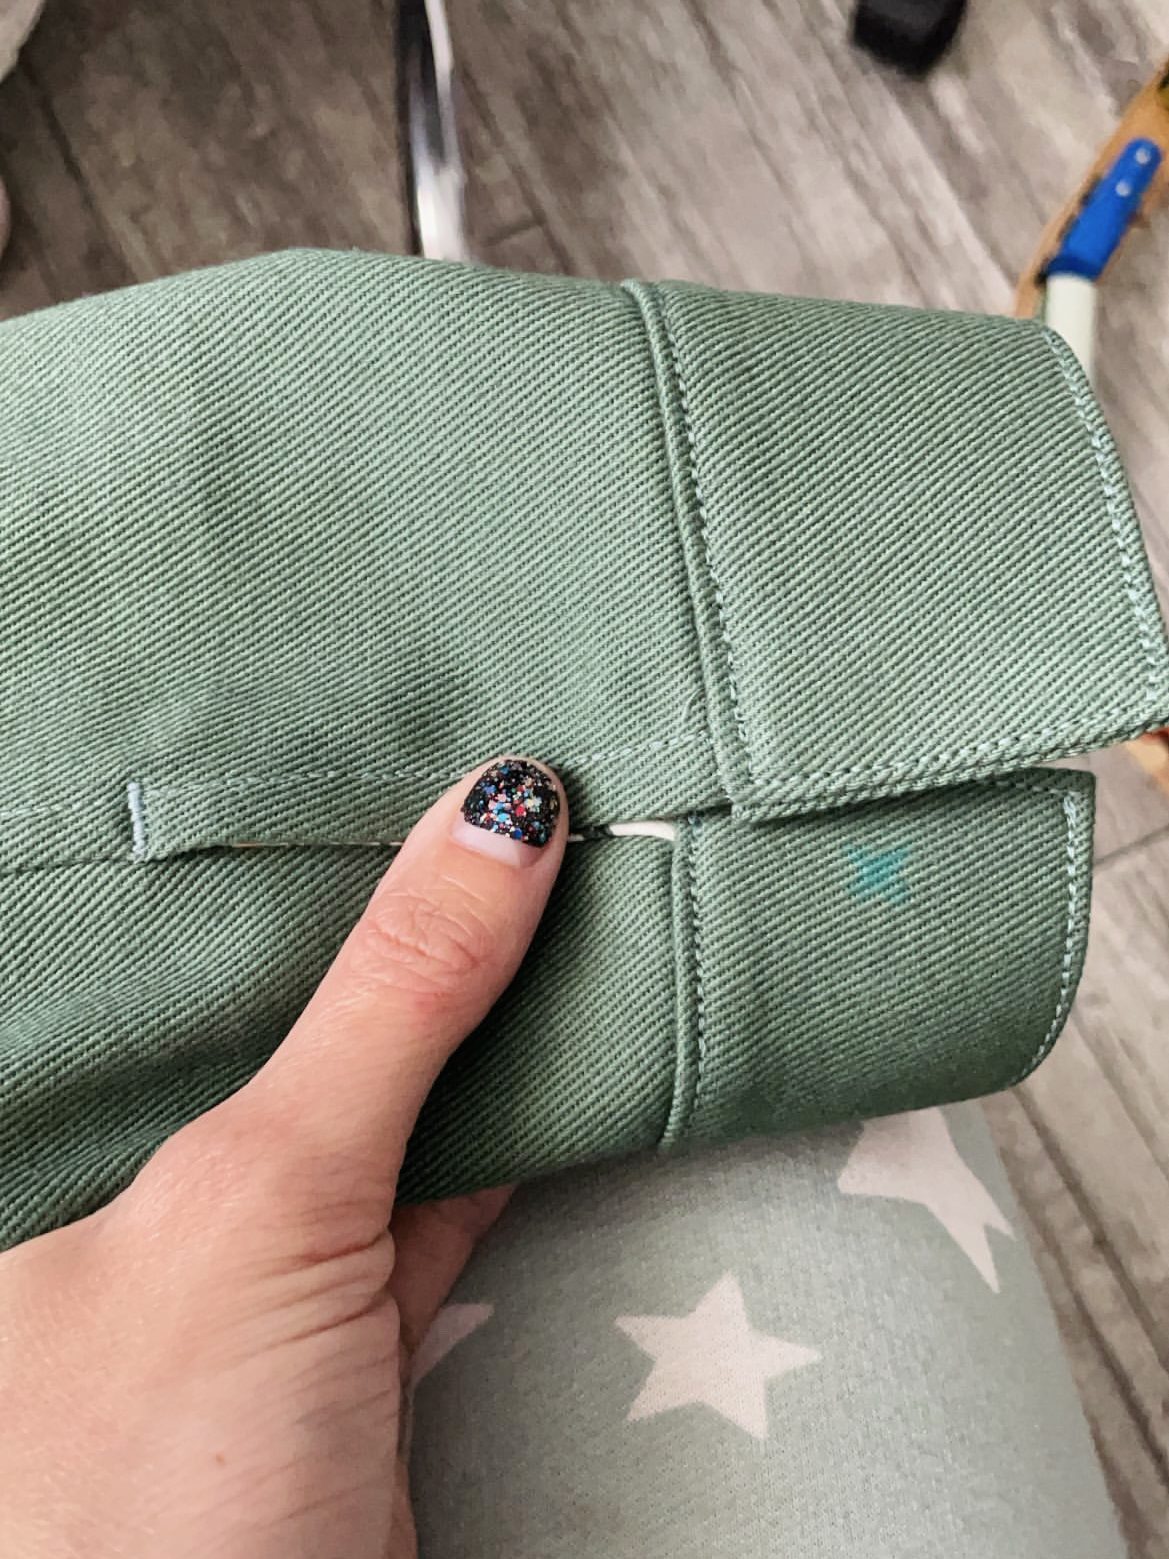
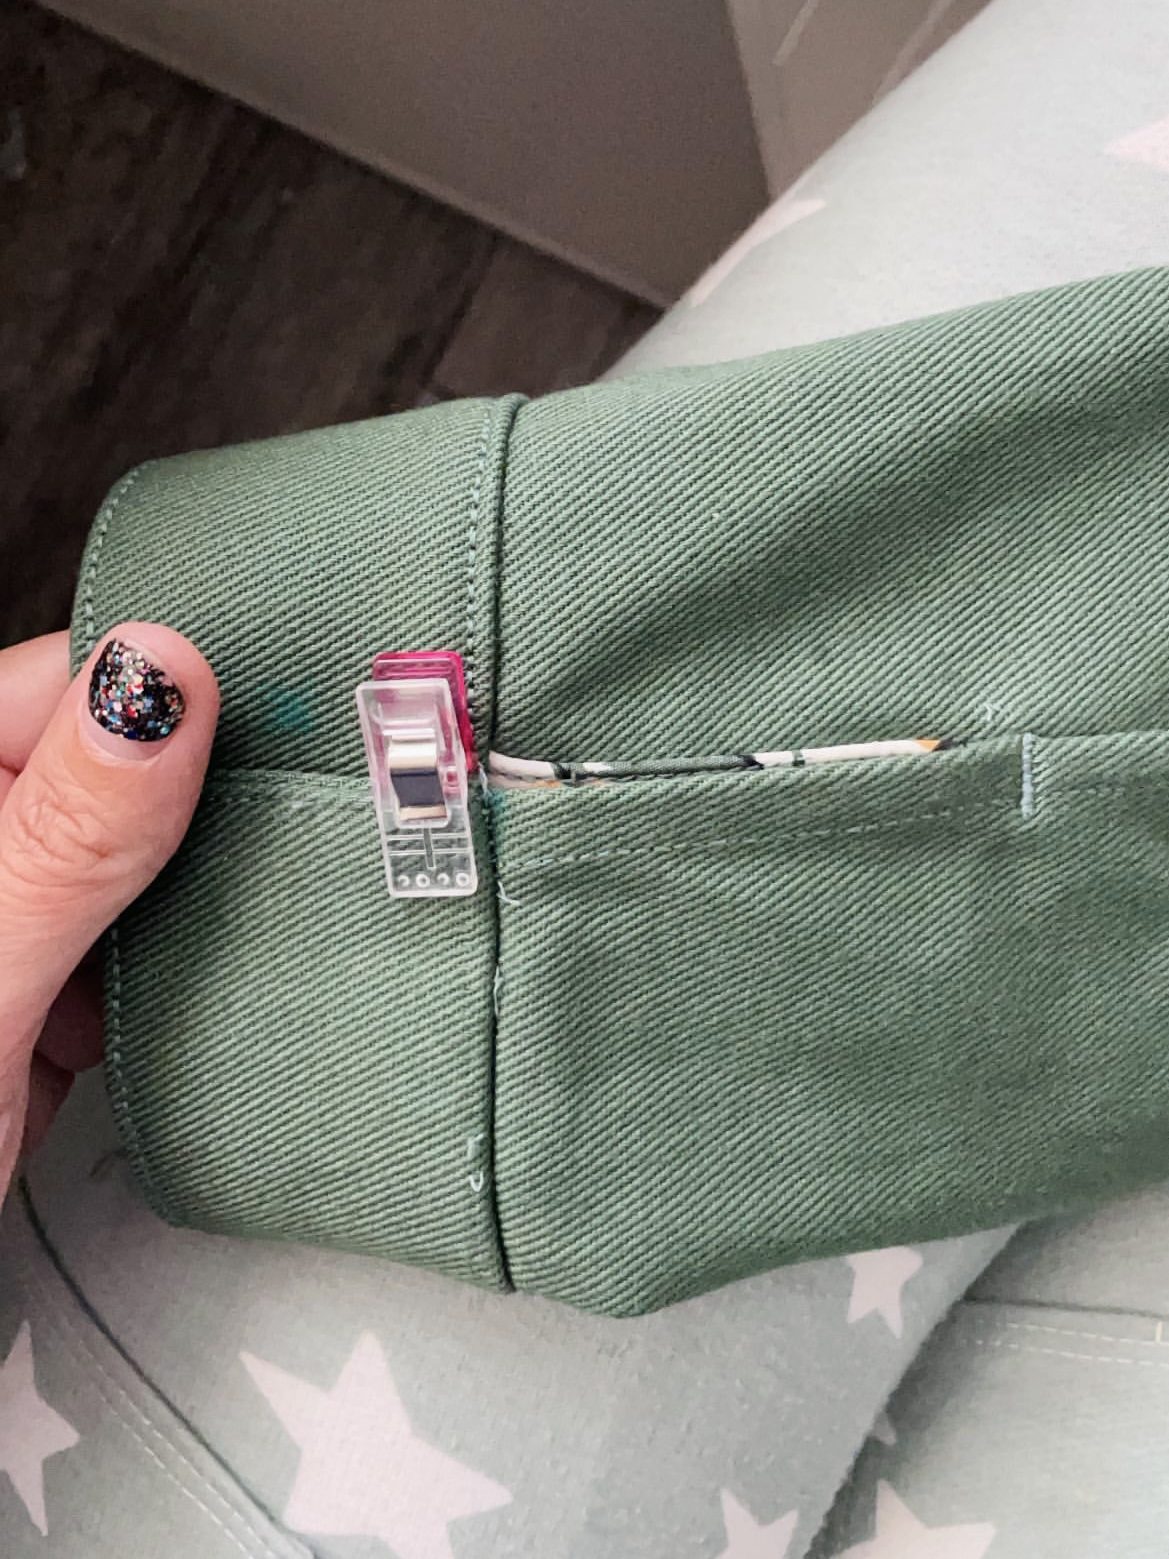
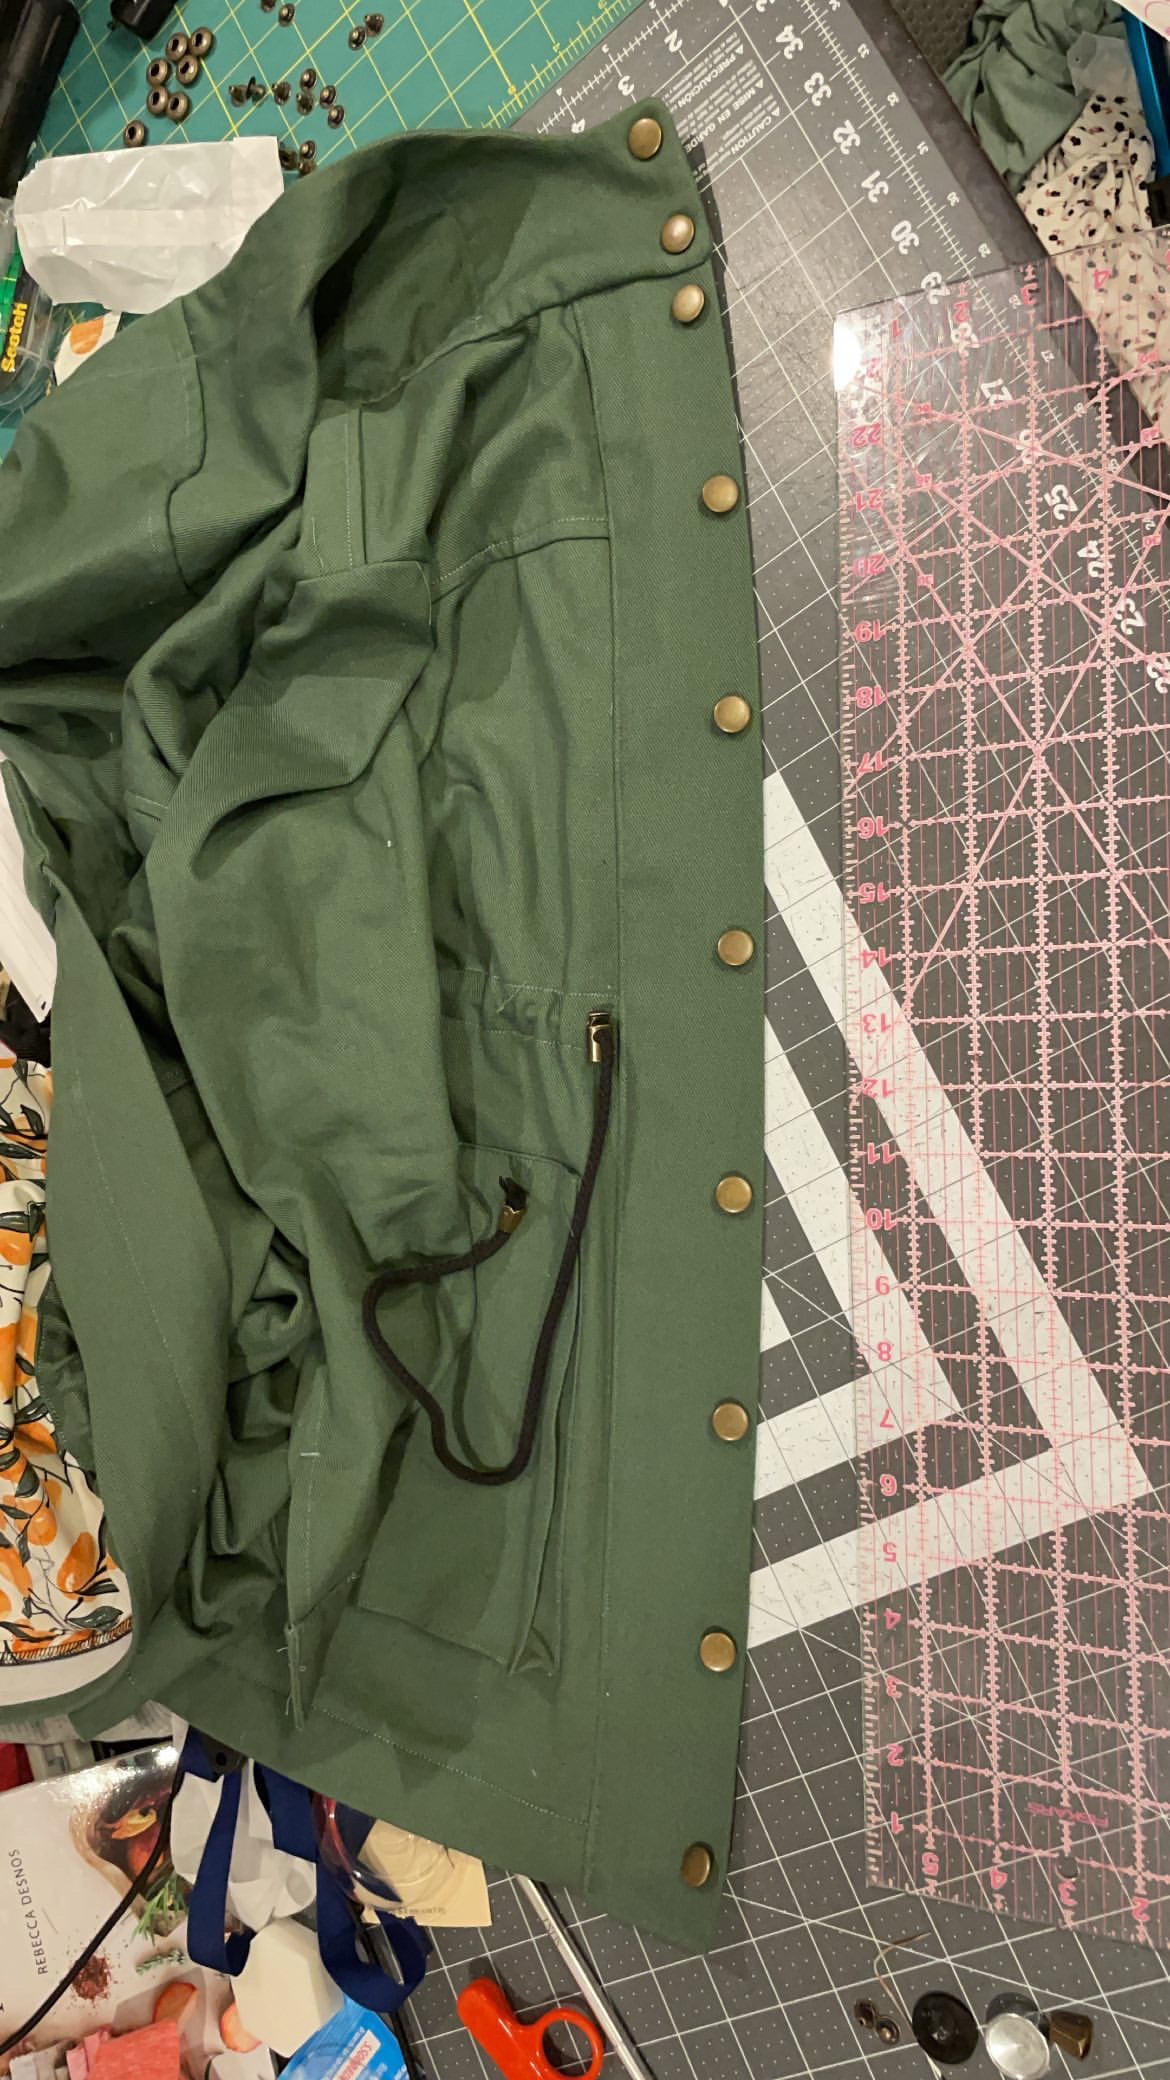
Wow, that looks great! Doing underlining plus a Hong Kong finish sounds a lot easier than using the add-on lining pattern.
Trissa Marie
Thank you! It was super easy and still looks sooooo good! I’ll probably always do the underlining instead of the lining add-on since I just love the look of the cuffs.
Debra Bouchard
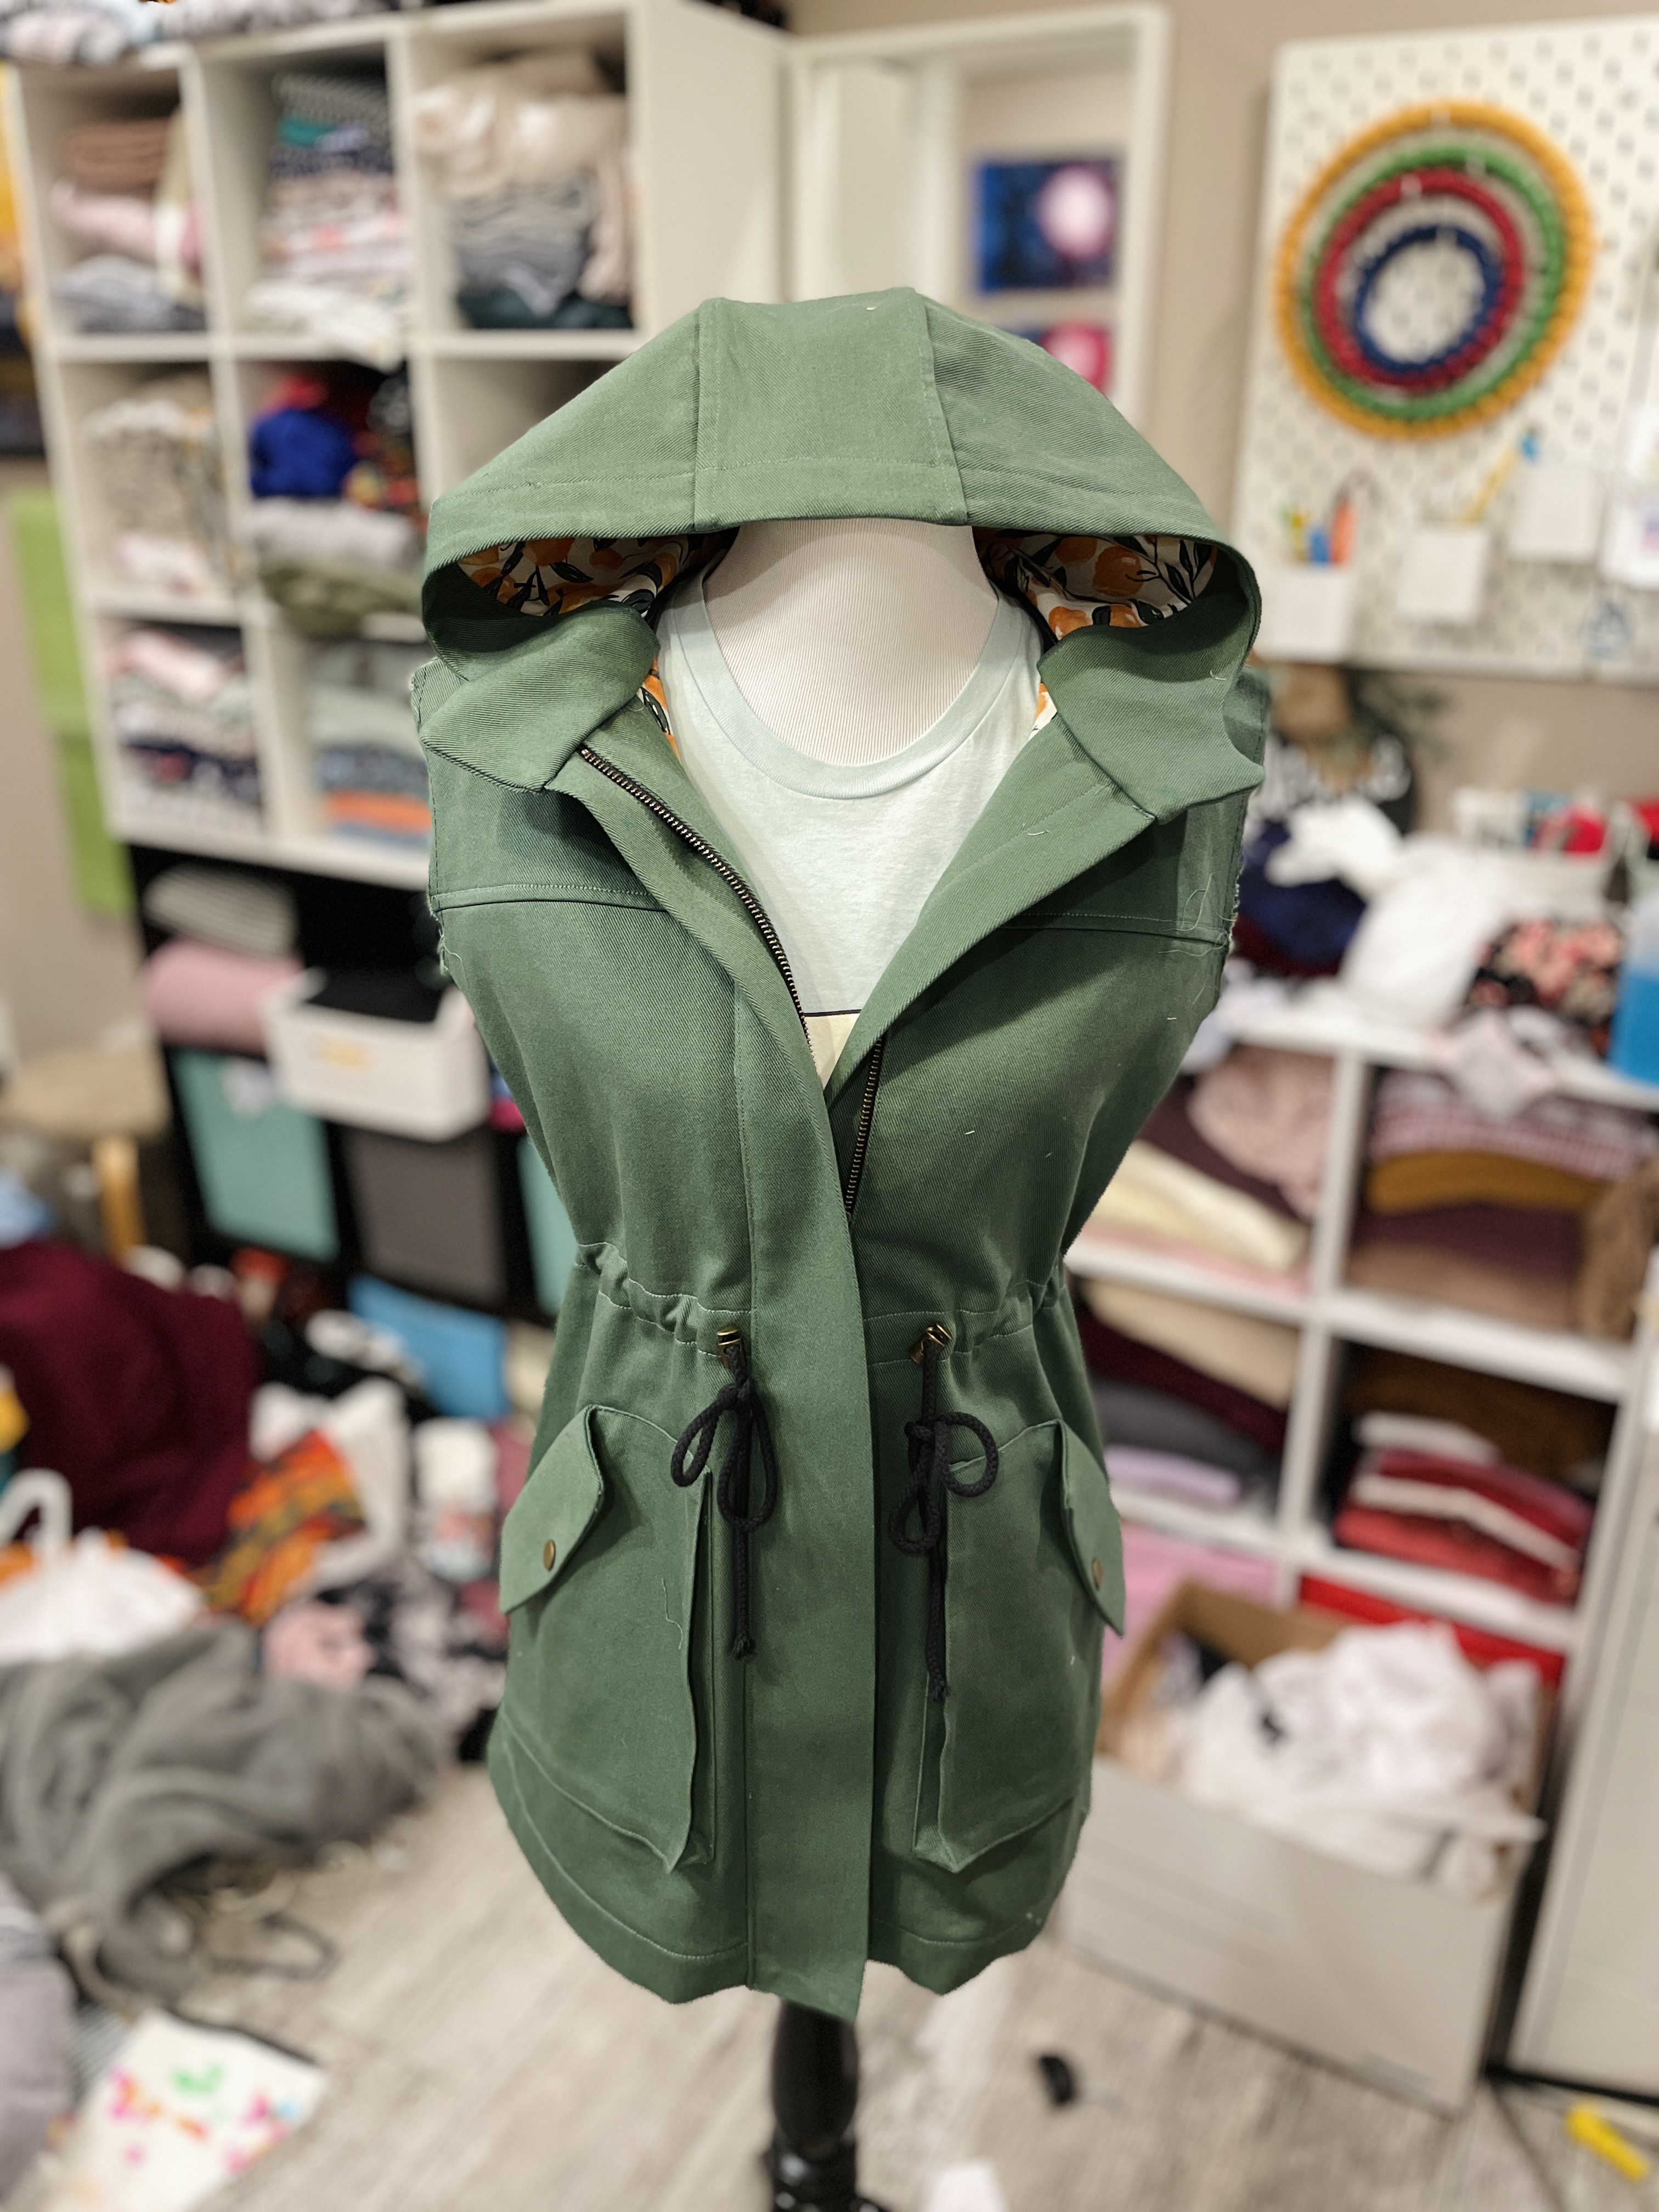
All I can say is WOW…. that looks fantastic on you!