Projectors for Sewing
Projectors for sewing is all the rage right now and let me tell you, it is a bandwagon you definitely want to hop on! It’s great for cutting out your patterns directly, or you can trace them on some tracing paper. I do both but it’s so nice not having to store a master copyshop print anymore!
Back in 2018, my husband actually suggested using a projector but I couldn’t quite picture it in my head. Around that same time I also was gifted a large format printer from my dad, which means I could print all the A0/copy shop prints I wanted! As nice as that printer was for the last 2 years, it had to go, especially once I got my projector set up and running. Replacing ink, printer heads and rolls of paper (in addition to storing all the prints) was getting expensive! My magenta and black printer heads went out and those are about $60 to replace A PIECE. And that printer was HUGE. It took up so much room in my sewing space. So, I sold the printer and got a projector. I do not regret it one bit.
To start off, there is a group on Facebook specifically for sewing with projectors and its called Projectors for Sewing. They have lots of info on different projectors and other folks trial and error with projectors. I pretty much just downloaded the calibration PDF guide and left it at that. (The calibration guide is not my favorite though. Some of the lines are far too thick IMO. But whatev’s, it’s good enough! There are also a few other calibration guides in the group as well.) There are also some links and posts on how people have converted their home PDFs to a copy shop/A0 file, but I’ve been doing it for a few years now and I wrote up a “how-to” post on the blog back in 2018 after I got my giant printer, before sewing with projectors was even a thing. So I slightly feel like I’ve been copied…lol. My post has been circulating around for awhile too. You can read all about How to Convert a PDF Sewing Pattern to a Copy Shop File here. And of course, if you have any issues or problems, please let me know! I am more than happy to assist.
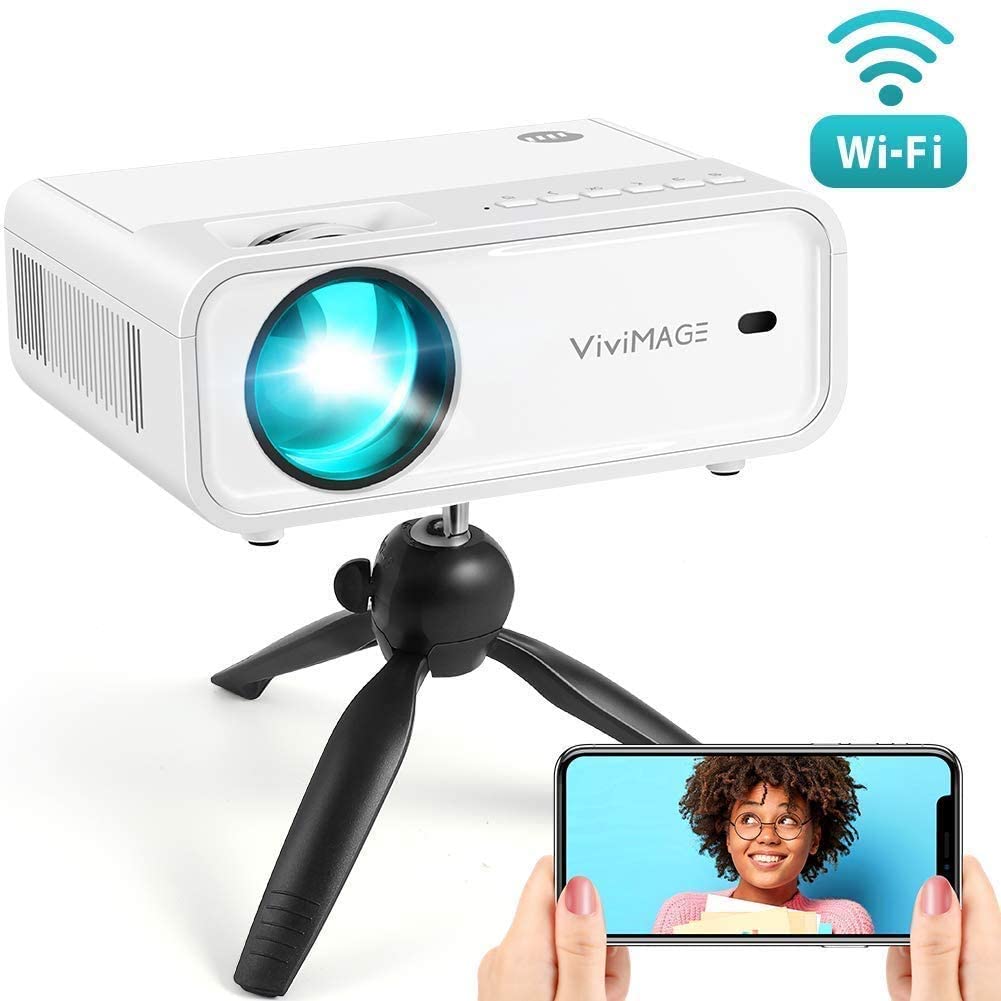
Vivimage Explorer 2 Projector
The projector I have is the Vivimage Explorer 2. It’s the most used projector for sewing. It’s also a great bang for your buck at only $130 on Amazon. It’s a mini projector, lightweight and has a remote, which means you don’t have to stand on your table to turn it on and off every time you want to use it. (Don’t forget a ceiling mount!) It’s also has a pretty quick set up. The only thing that sucks with this projector, is that you manually have to focus it while standing on your table (but you get what you pay for, right?). It can be a bit tricky because there is a dial that you have to spin to focus the projection. If you spin it too far to the left, it goes out of focus and if you spin it too far to the right, it goes out of focus. You have to find that sweet spot somewhere in the middle…while standing on your table. It would be nice to be eye level at my table to get it perfectly focused, but that’s not going to happen! Luckily, once it’s good enough, you shouldn’t ever have to mess with it again.
Connecting your Projector
I connect my projector to my MacBook through Google Chromecast. The projector says it can be connected through wifi, but I opted for this route instead. When you first get your Chromecast, you have to connect it to your phone via the Google Home app to get everything setup, configured and accessible on your WiFi. Once that’s done, make sure it’s plugged into your projector.
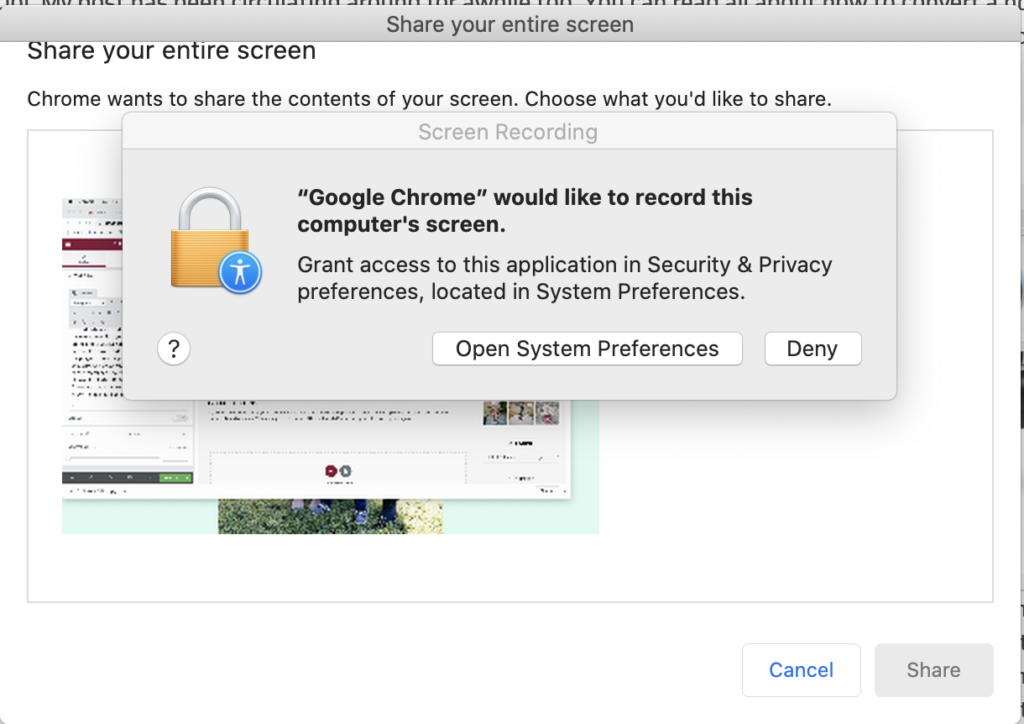
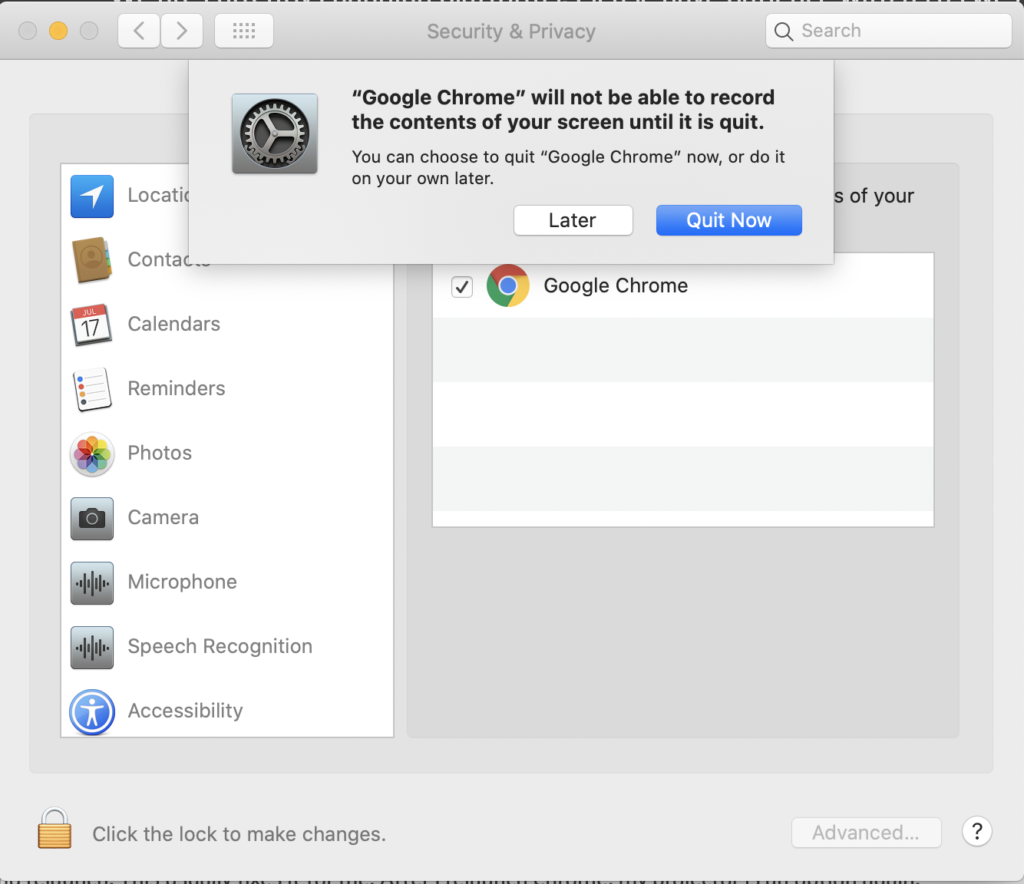
Even though you are most likely going to be projecting from Adobe Reader for your sewing patterns, you will turn on casting via your Google Chrome Web Browser. With Chrome open, select VIEW in the upper left hand corner menu bar > select CAST > under SOURCES, change it to CAST DESKTOP > Select the Chromecast you just set up (mine is labeled Sewing Room TV). You should get a popup that asks if you would like to record the computer’s screen > select OPEN SYSTEM PREFERENCES (see image below) > When you select the checkbox next to Google Chrome you will get the below pop-up. If you have anything up on you browser that needs to be saved, make sure you quit LATER, or else select QUIT NOW. Chrome will essentially have to reboot before you can start casting. Once you’ve reopened Chrome, repeat the process above, click the display of your desktop screen when it pops up and click SHARE. It should now be casting to your projector.
When you are casting, you will have a little blue casting icon on the upper right-hand corner of your browser. If you “two-finger” click it, it will bring up a few options. I like to select the “Always Show Icon”, that way I don’t have to click on view…cast…every single time I want to project. It probably only saves a few seconds of time but it’s way more convenient to have it already there. The icon will be blue while your screen is currently being casted or grey when it’s not.
Calibration
Now that you can officially cast your desktop, it’s time to calibrate your projector! (Granted, it’s already been installed on your ceiling…) On the VivIMAGE, there are two dials, a bigger one and a smaller one with a little nob thing. The bigger one is your focus. As you spin it, the lens will get closer or further away. (This is the one where you will find a sweet-spot somewhere in the middle.) The other dial is for the tilt of the lens. With your calibration guide projecting on your cutting table, adjust the TILT first, making sure all the corners of the projection are at a right-angle/90 degrees. You may have to slightly adjust your projector on it’s mount if you have one of the position adjusting/360 mounts. Once the projection is nice and squared, it’s time to FOCUS! Use the other dial to find that sweet spot somewhere in the middle. Now, this process can be a little annoying if your projector is on the adjustable mount because every time you touch it, it feels like it moves! It might move slightly but whatever. You can spend a lot of time trying to make it perfect, or just get it as good as you can without wasting a bunch of time for the next hour…
Now that your projection is squared up and in focus, it’s time for CALIBRATION. For my cutting space, my cutting mats are attached to my table so they won’t slide around all over the place. If you plan on having your mats stuck to your table, GREAT, just make sure you attach them AFTER your projector is calibrated. Trust me. It will make the calibration process a lot easier.
Open up the calibration guide (that you can download from the Projectors for Sewing group on FB) in Adobe. Center the middle of the guide in the middle of your projection. It’s often best if you are working in FULL SCREEN, but it’s not always the case. You are basically going to adjust the ZOOM PERCENTAGE on Adobe until it matches the cutting mat. Instead of trying to move the projected image in Adobe to match the mat, just move the mat to match the projection. (Once it’s calibrated, you can move your mat to it’s permanent location on your table.) Whatever that zoom percentage is will be the number you will zoom in all your A0/projector files to in order for them to be at proper scale when you cut out or trace your pattern. If you are like me, you may have a pretty good projection between two decimal points. Don’t stress out too much. Just pick the one that looks the best or is close enough. Projector specific patterns will have a grid layer included, but if your projector is calibrated, you don’t necessarily have to check the grid every time. I sure don’t! Just make sure your zoom is at your specific sweet spot.
Boom! You are all set! Now you just will have to make sure you remember to check that zoom percentage before you cut something out. I’ve only forgotten once so far but I have had a few slight panic attack moments when I thought I forgot to check the zoom after I already started cutting…
Troubleshooting
If you’ve successfully set up your Chromecast but for some reason your projector is not showing up under the CAST, quit Chrome completely and relaunch. This usually fixes it for me. After I relaunch Chrome, my projector is an option again.
The Vivimage does allow you to change your projection mode (front desktop, rear desktop aka mirrored, rear ceiling, front ceiling) but you have to do that in your settings when you first turn on your projector or go all the way back to the main screen. I usually always am in front desktop and occasionally in rear when I want to mirror something instead of moving my fabric.
Inverting Colors in Adobe
So. This took me way longer than I’d like to admit to figure out! When projecting, if you have dark fabrics, it might be helpful to invert your colors. HOWEVER, if you converted your print at home PDF to a copy shop file like I explained in my blog post HERE, inverting colors won’t work this way. It won’t invert anything that is an image in adobe. So if you have a regular A0, copyshop or projector file, this should work just fine.
On a MAC, there are two places to get to accessibility. Once is wrong and one is right. The wrong way is going to edit>accessibility. That just gets you to reading accessibility options.
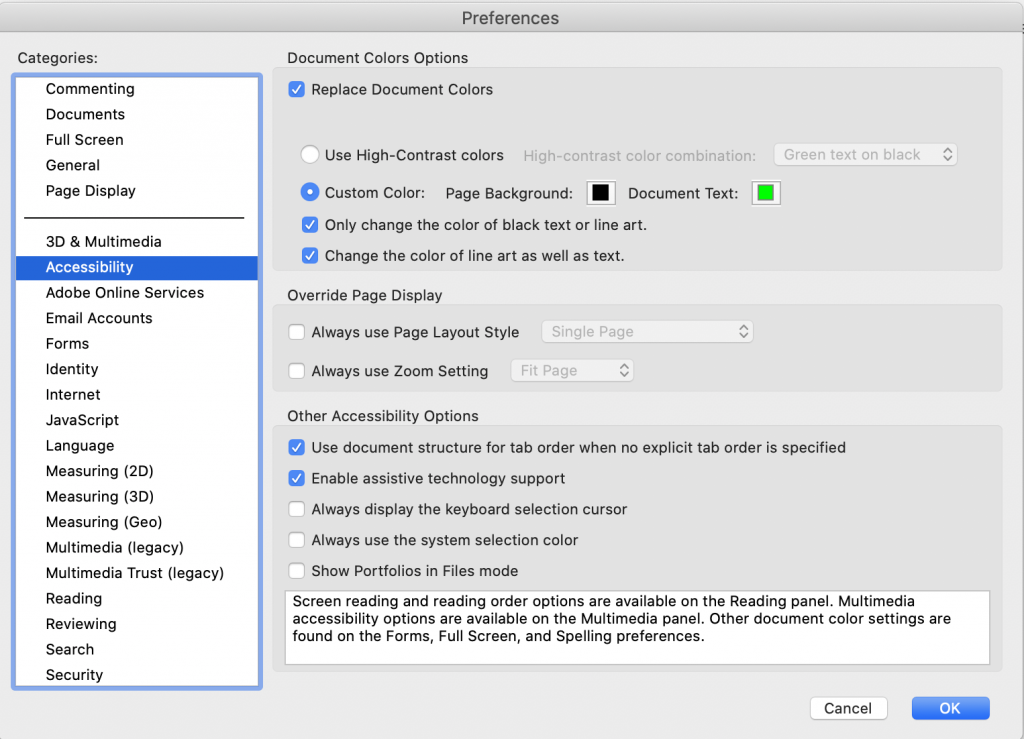
The right way is to click on the Adobe Acrobat in the upper left hand corner of your screen, next to the little Apple. Then click on Preferences > Accessibility. Click on the checkbox at the top of that says “Replace Document Colors”
I think I’ve covered it all but if you have any questions, let me know and I’d be more than happy to try and assist!


You May Also Like

Joggerathon – Sonia Estep Designs – Penelope
September 6, 2021
Grady Sew Along – Day 2 – Front Construction
September 22, 2020