New Horizon Designs – Tami Revolution Hoodie


You May Also Like

Sew A Little Seam – Pet Movie Night Pajamas
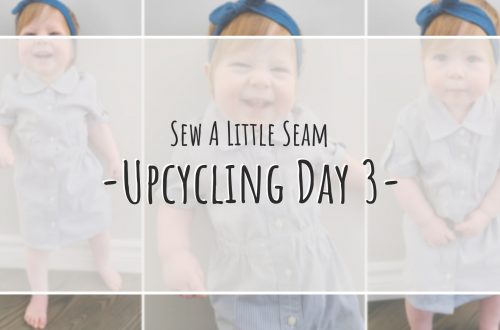
Upcycling with SALS – Day 3 – Juniper Dress with and without Collar
Welcome to my sporatic little life