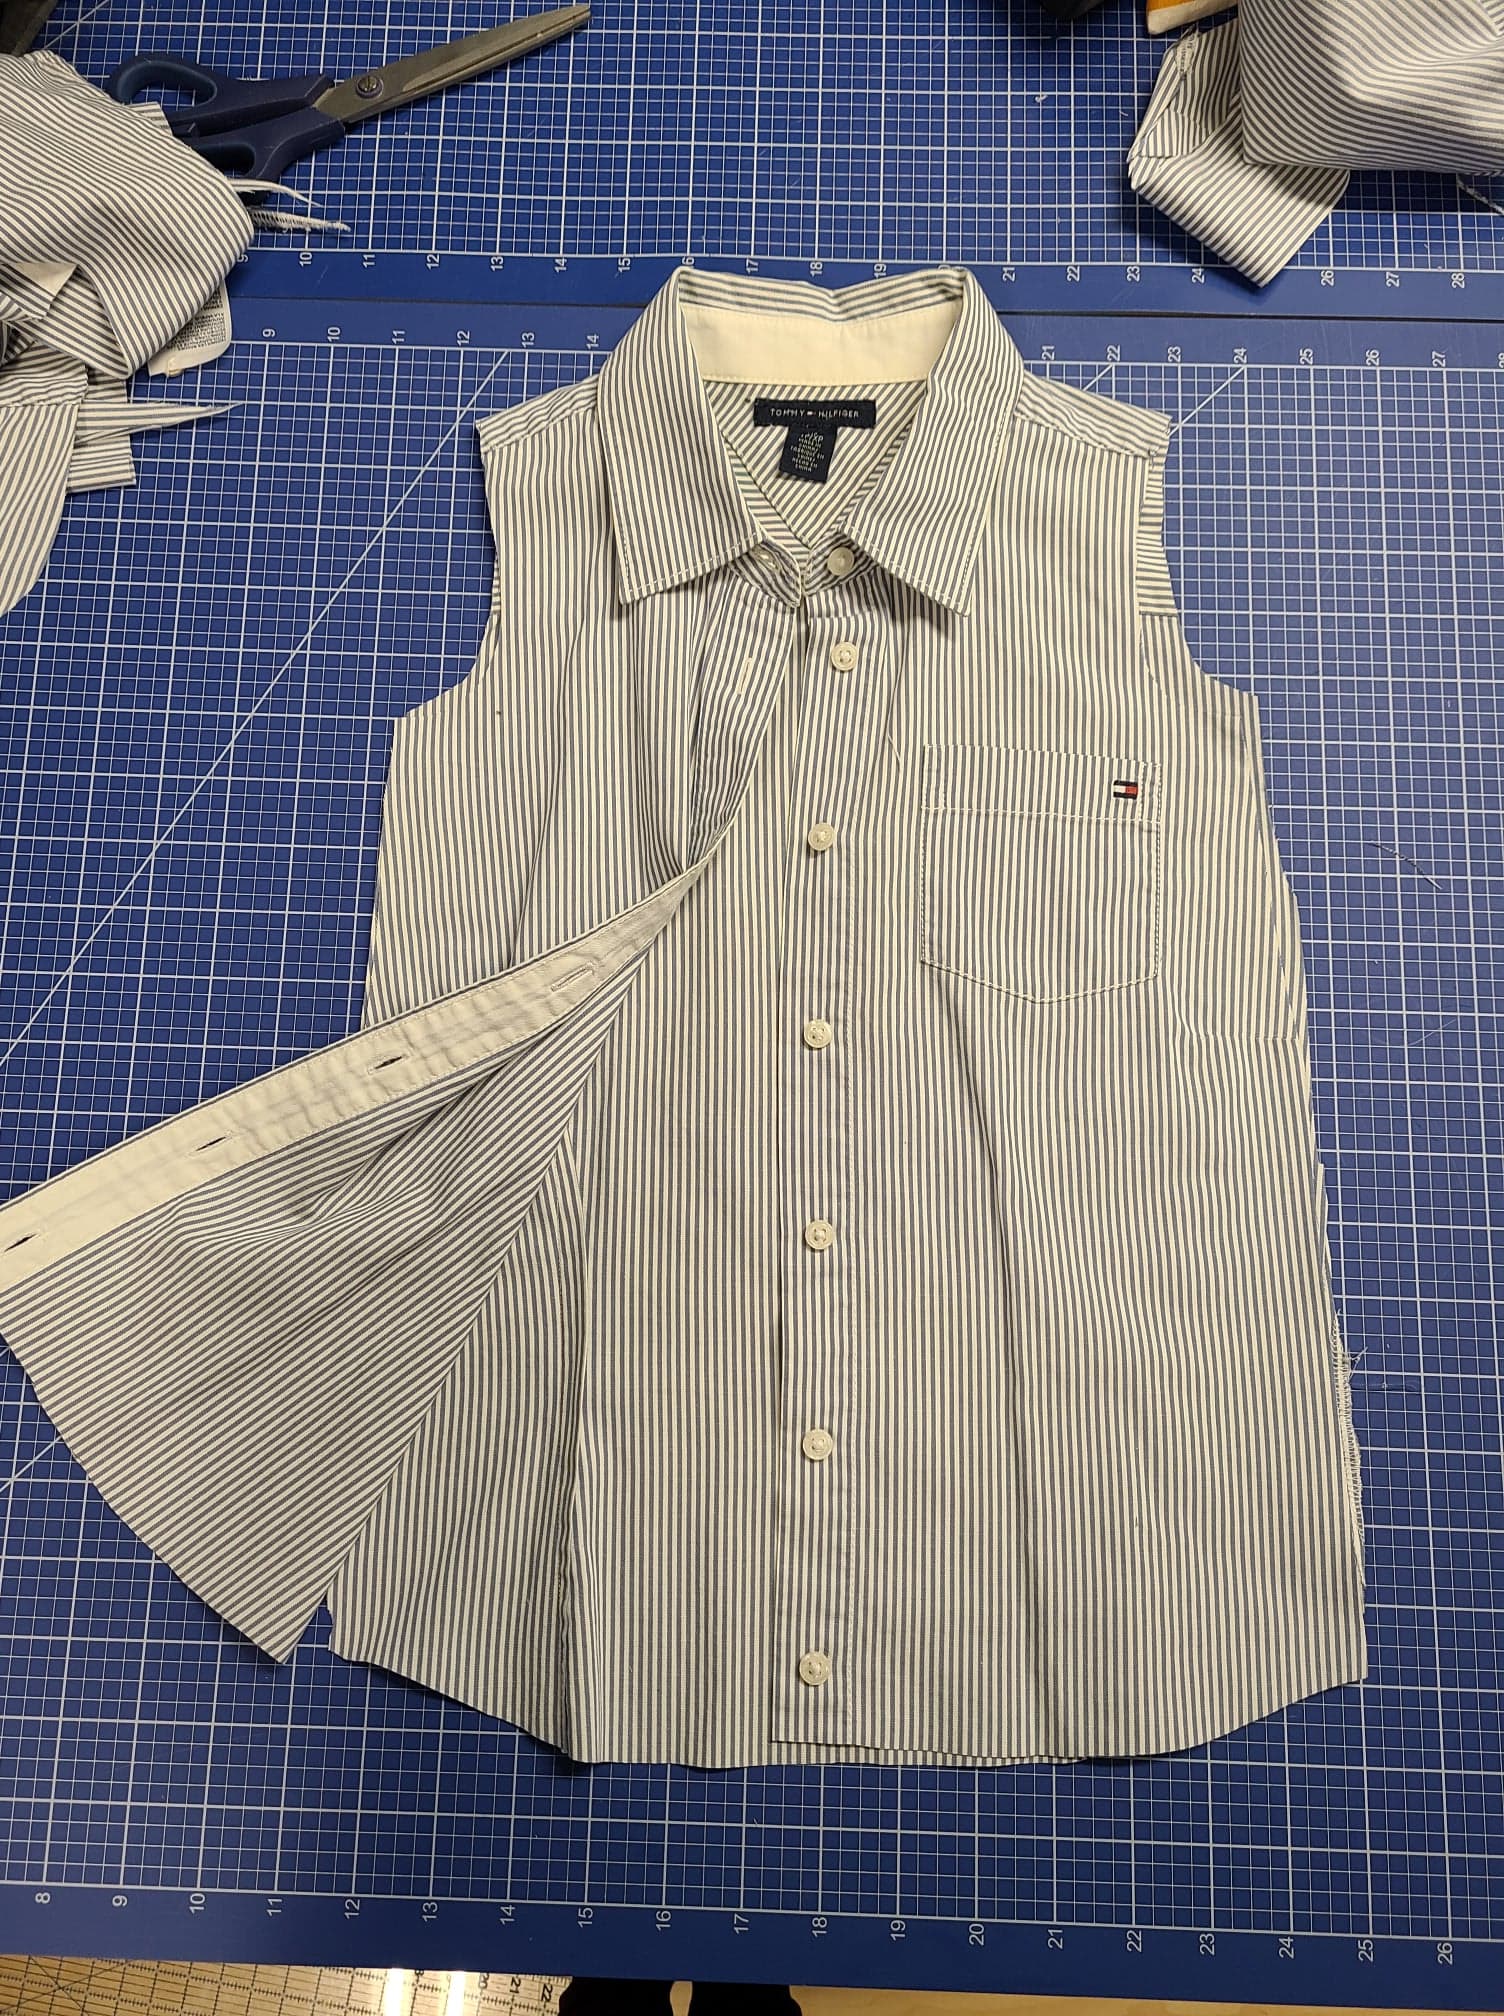
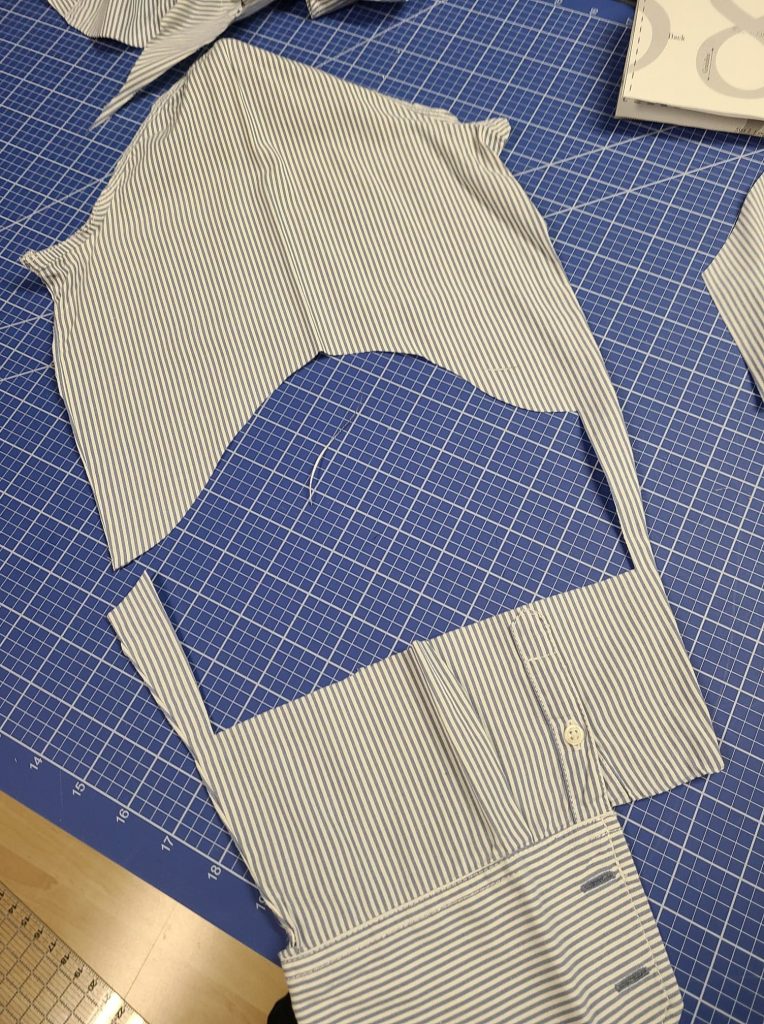
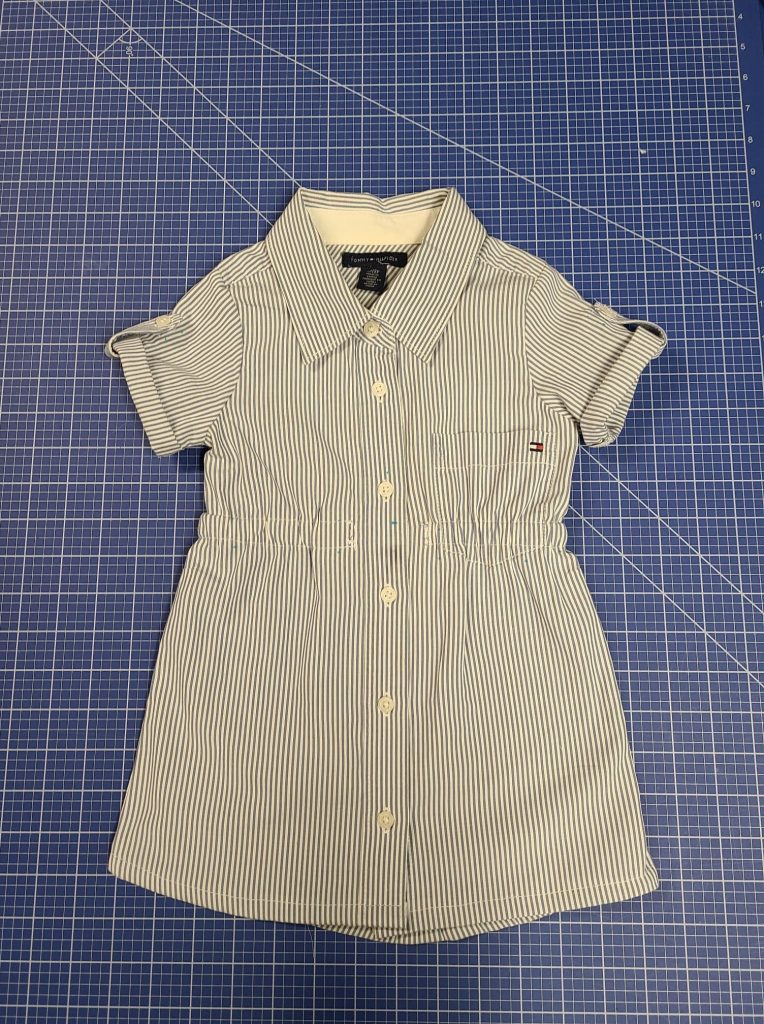
Upcycling with SALS – Day 3 – Juniper Dress with and without Collar


You May Also Like
Ollie Bomber Jacket SewAlong: Day 5 – Catch up!
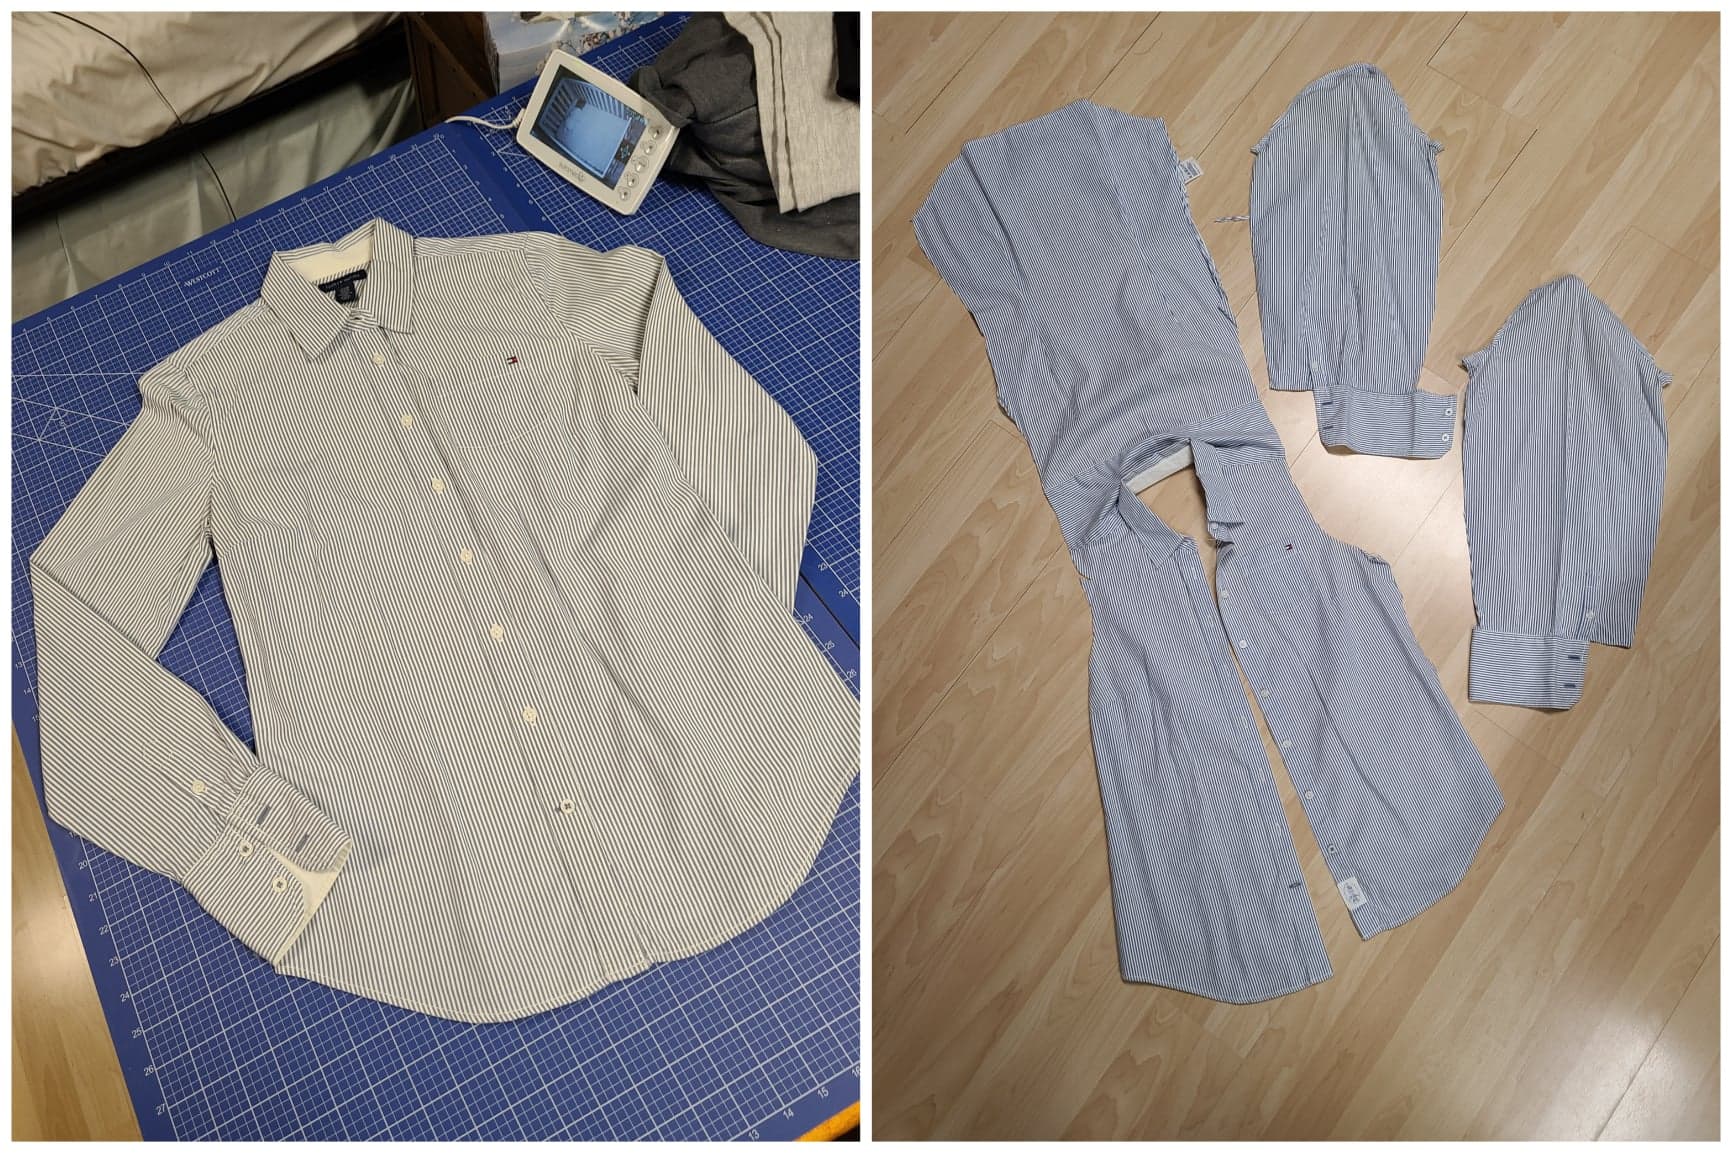
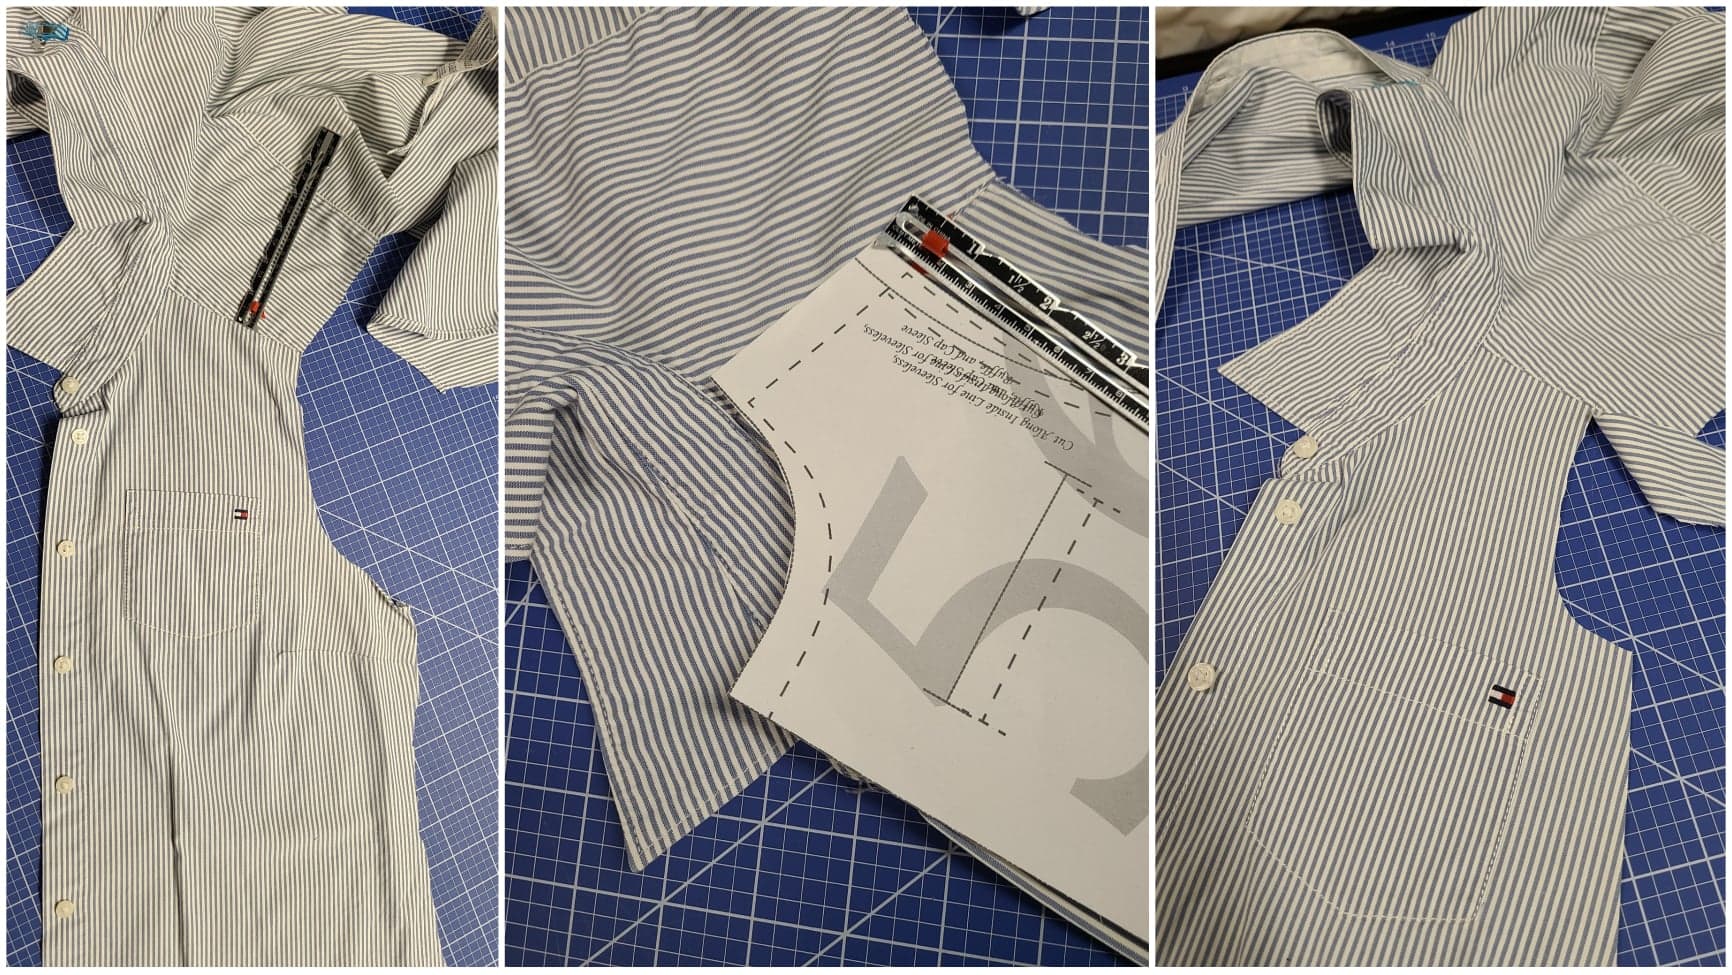
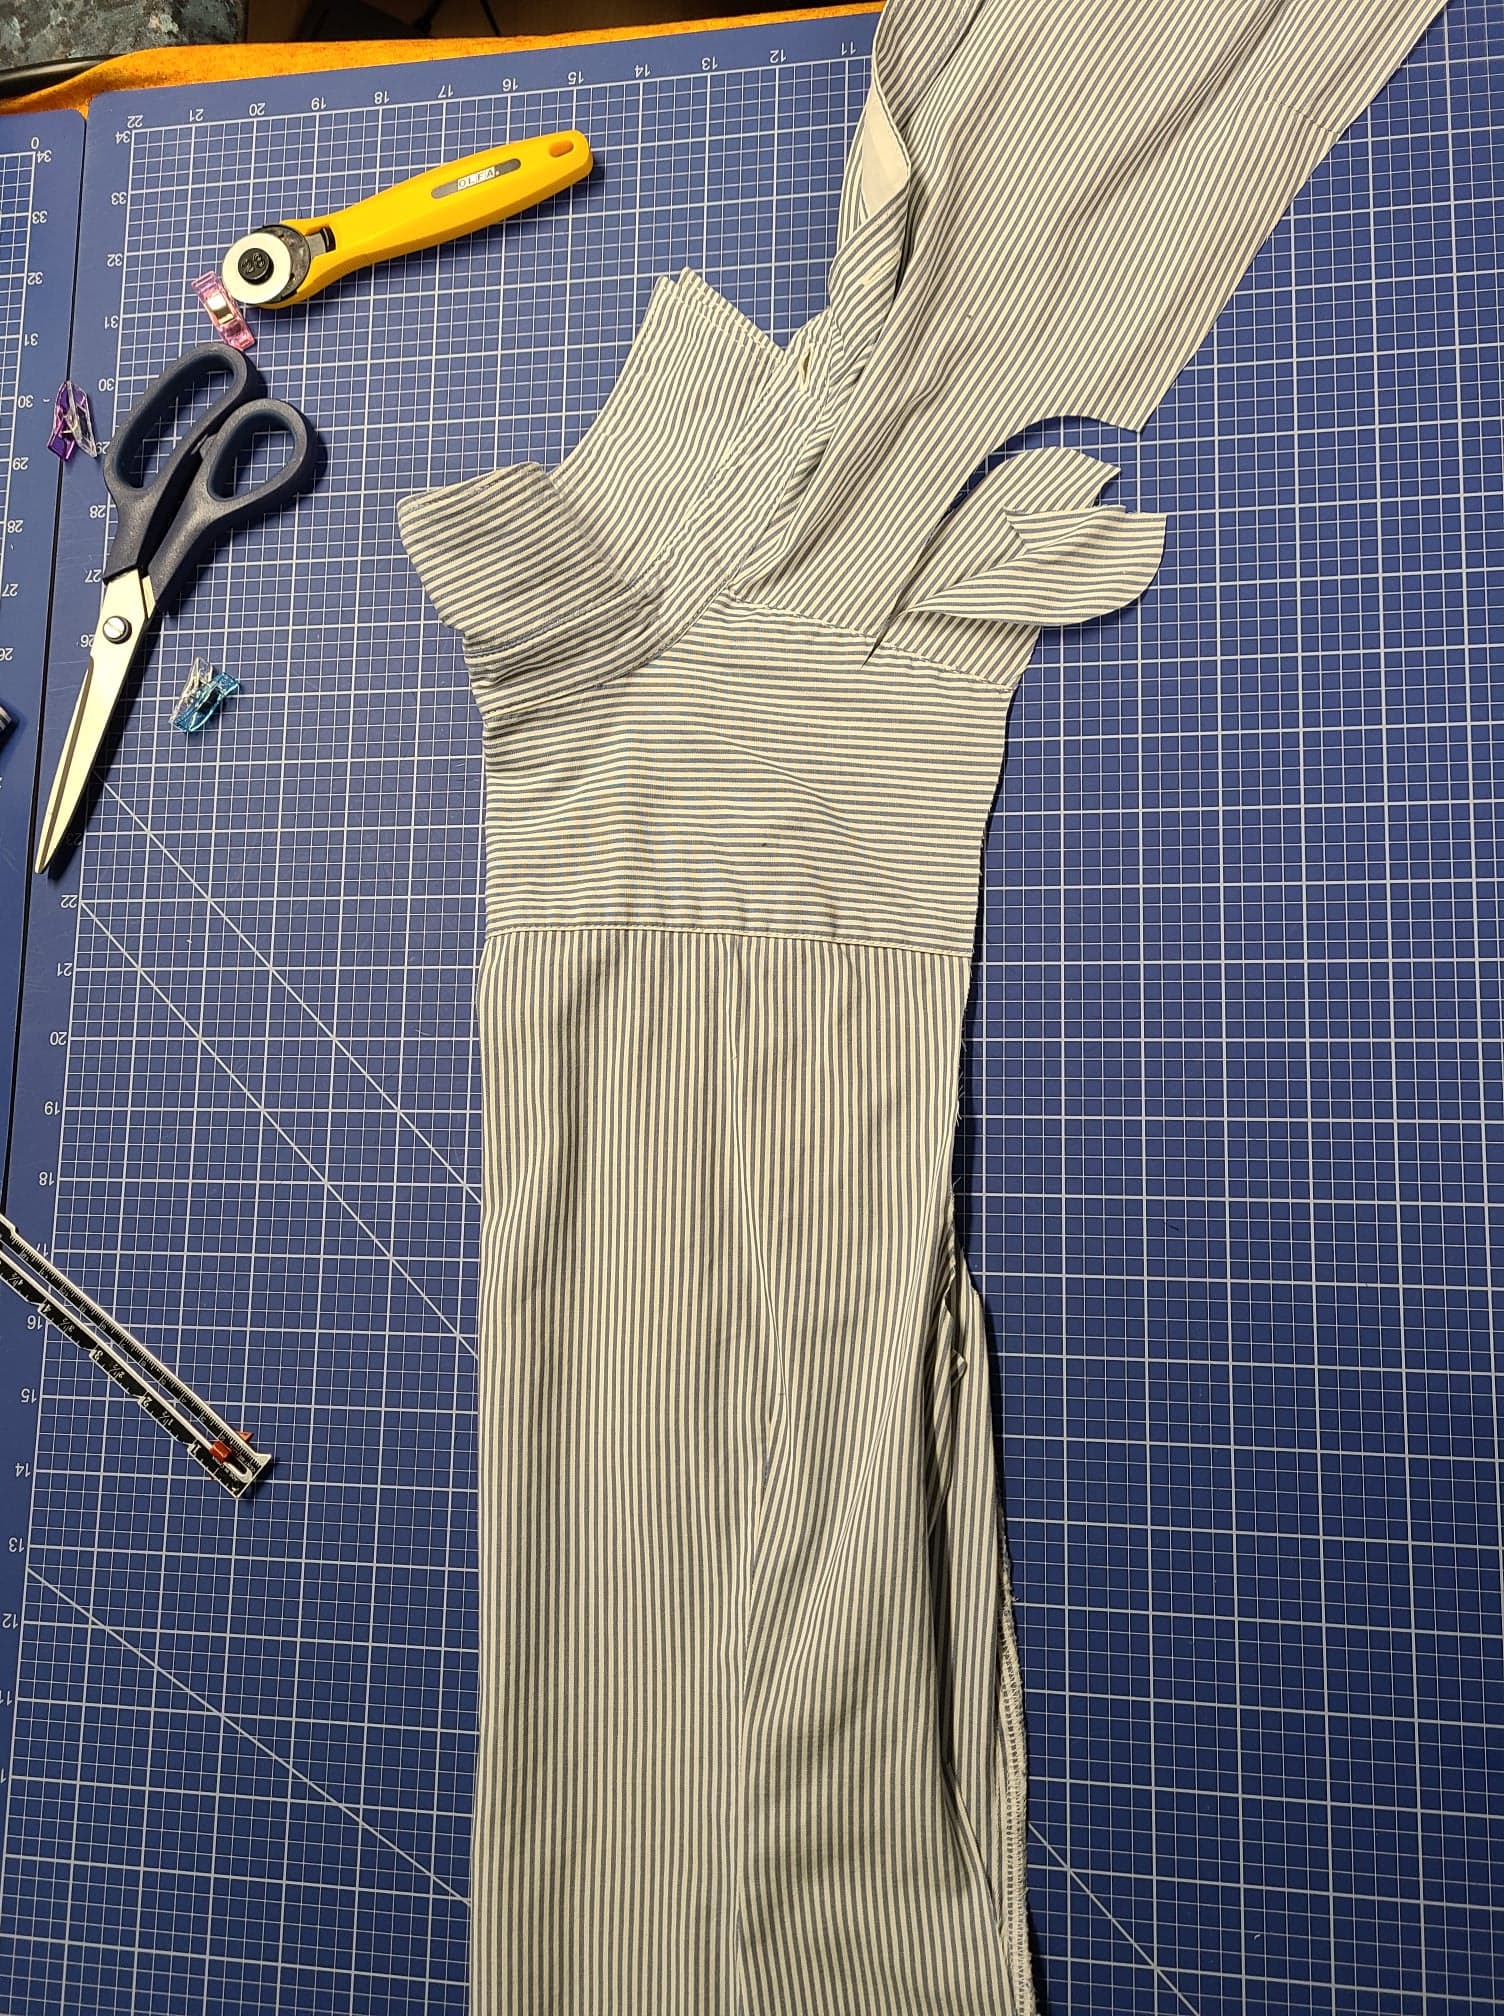
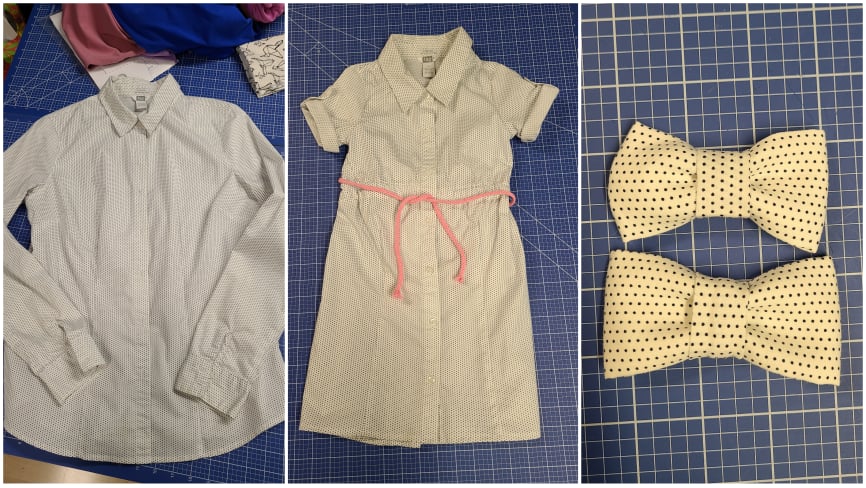
Upcycler avec SALS – Jour 4