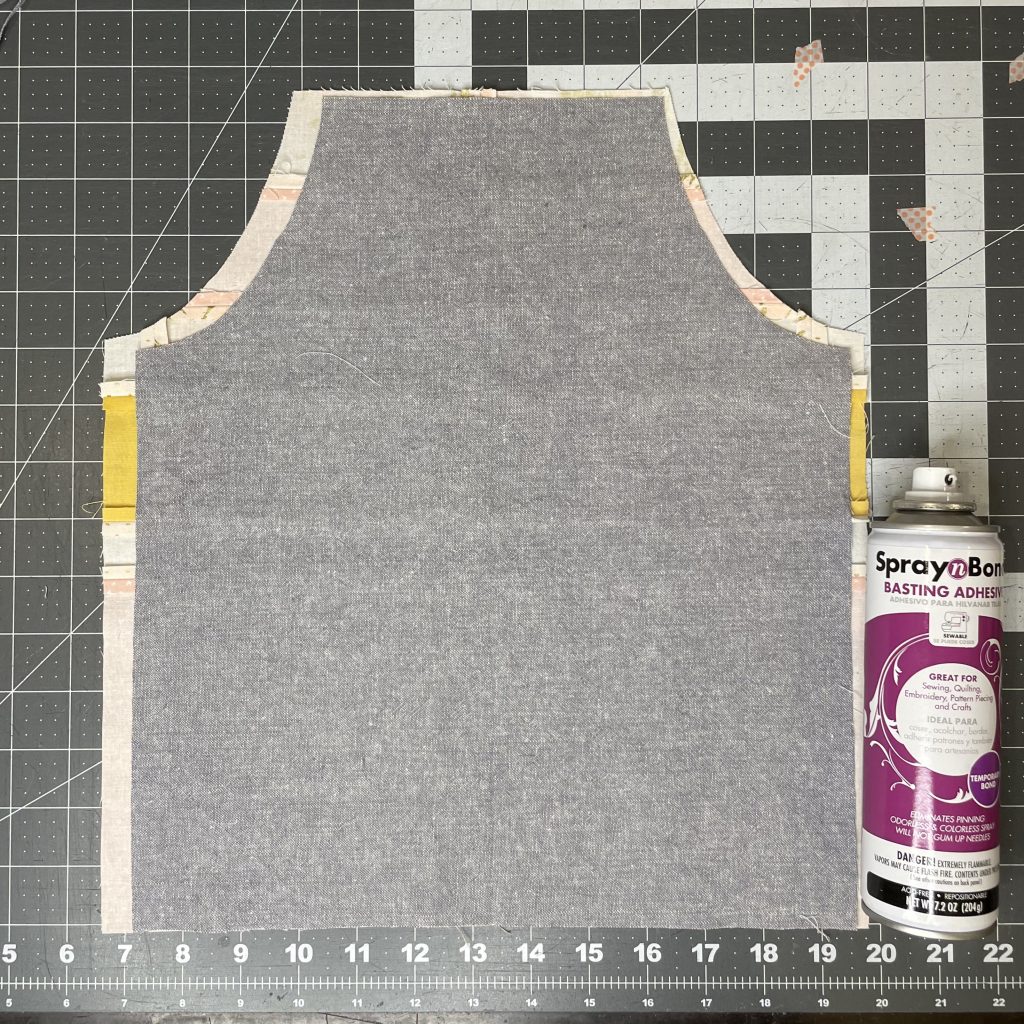
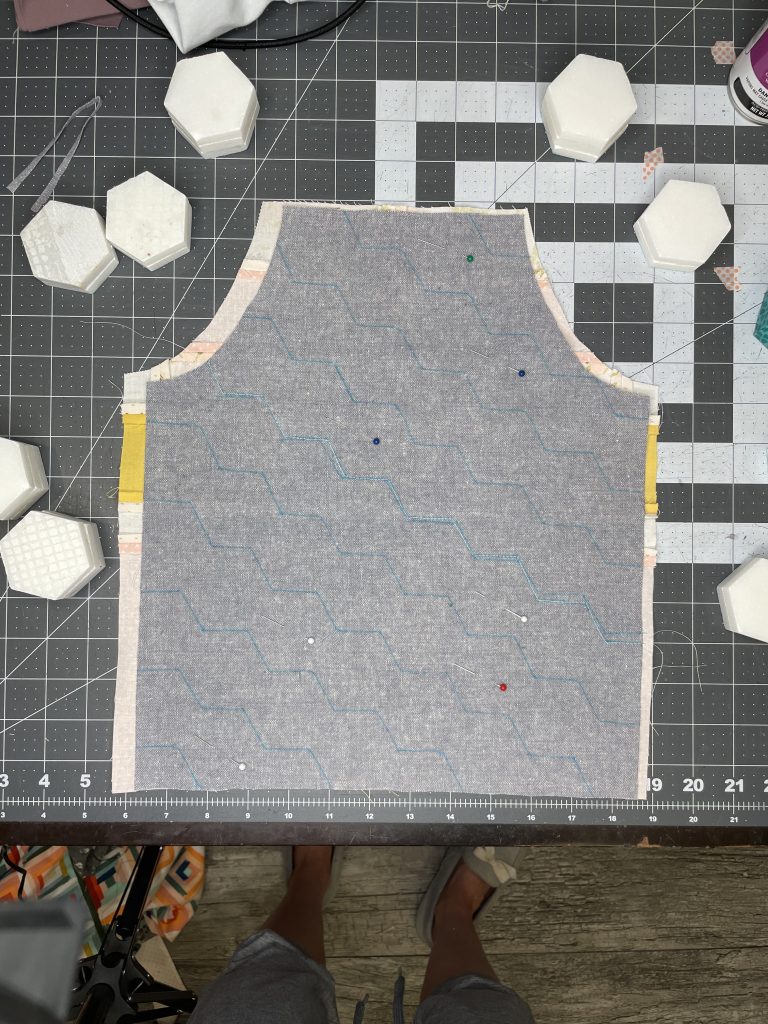
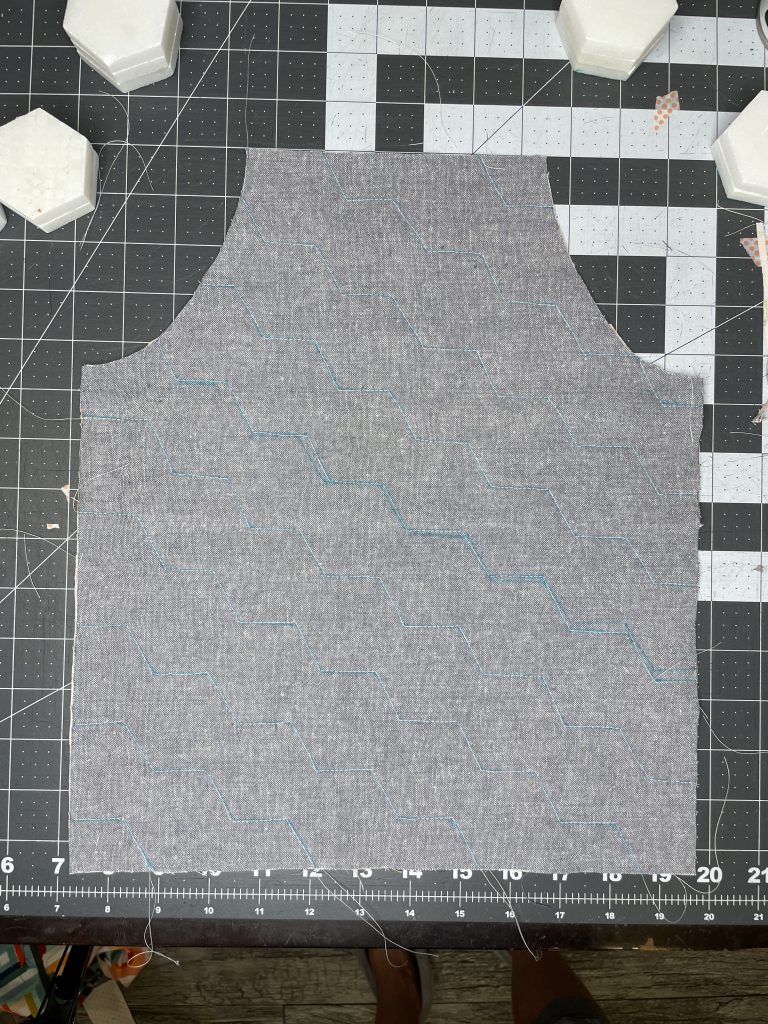
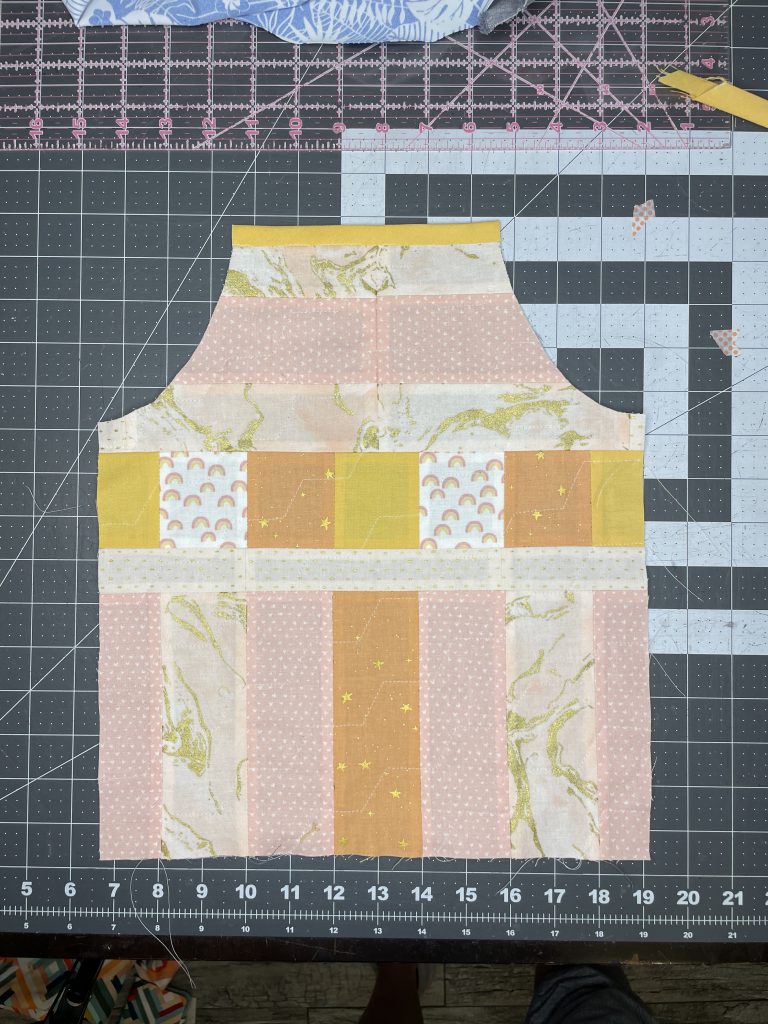
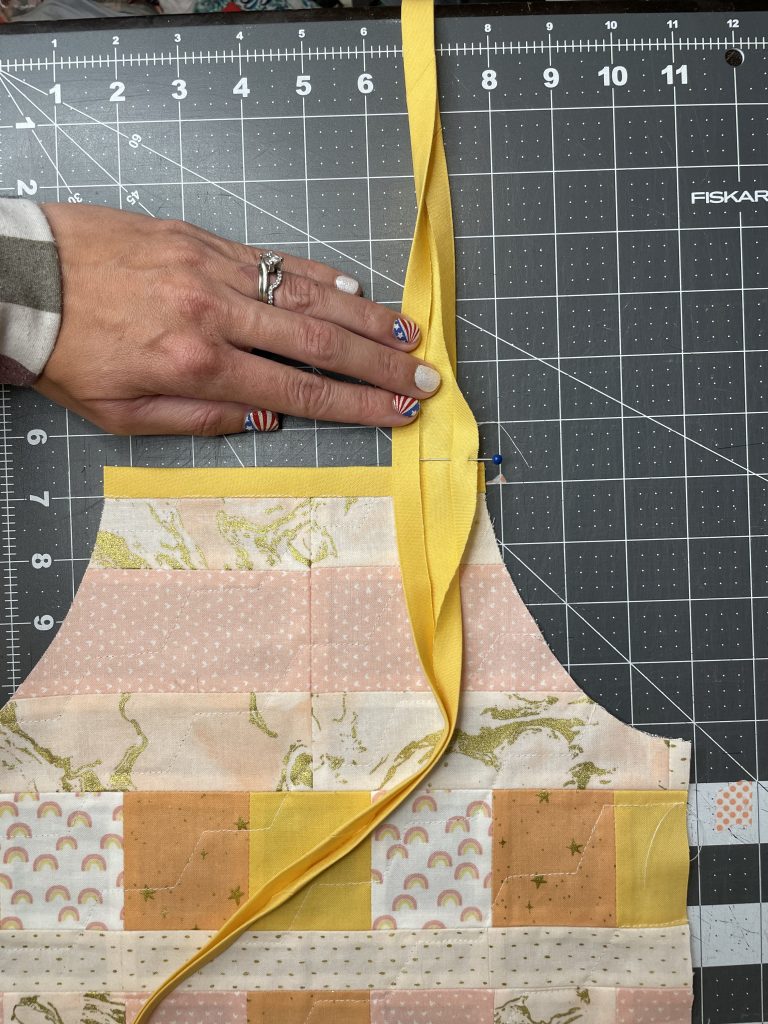
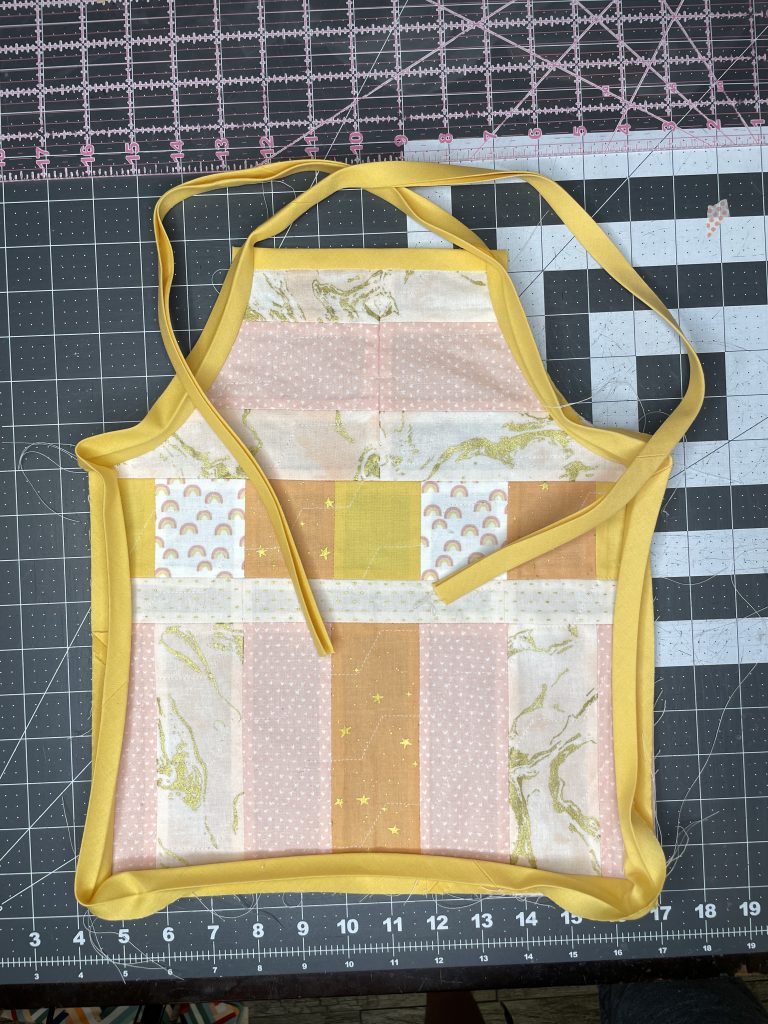
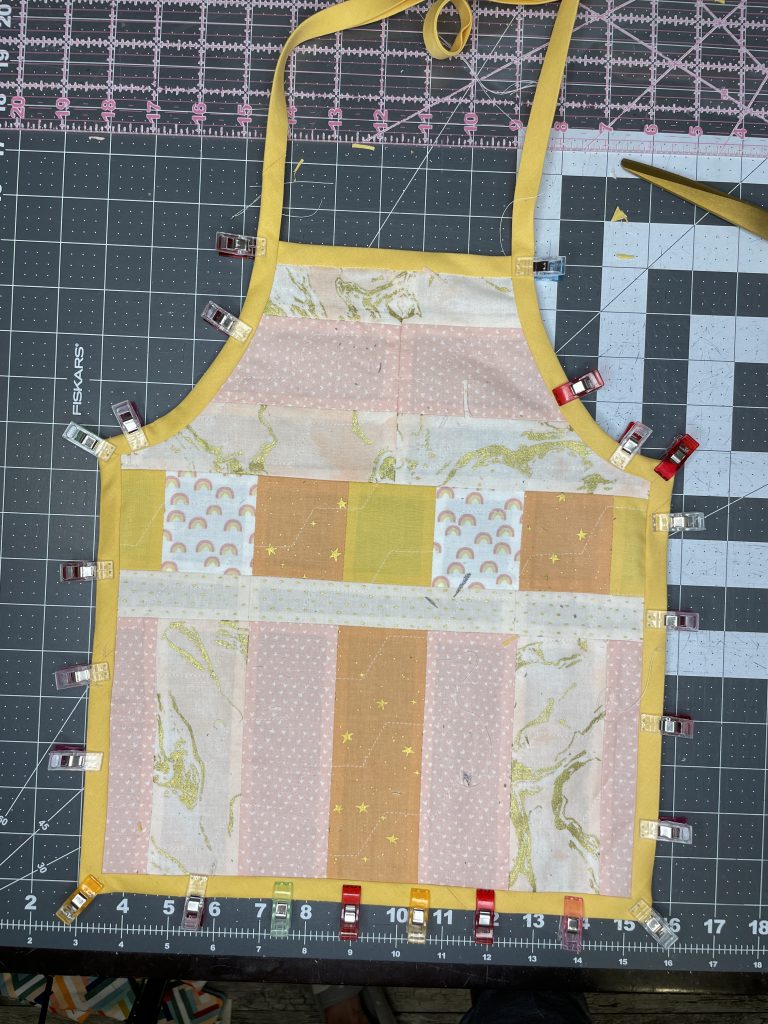
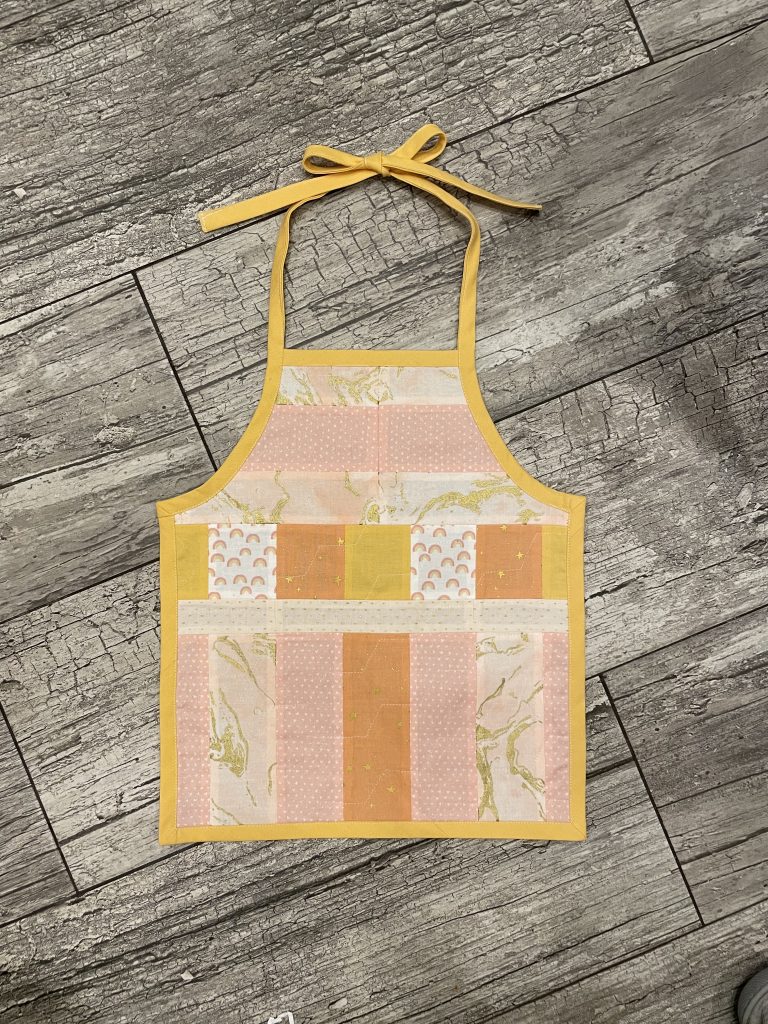
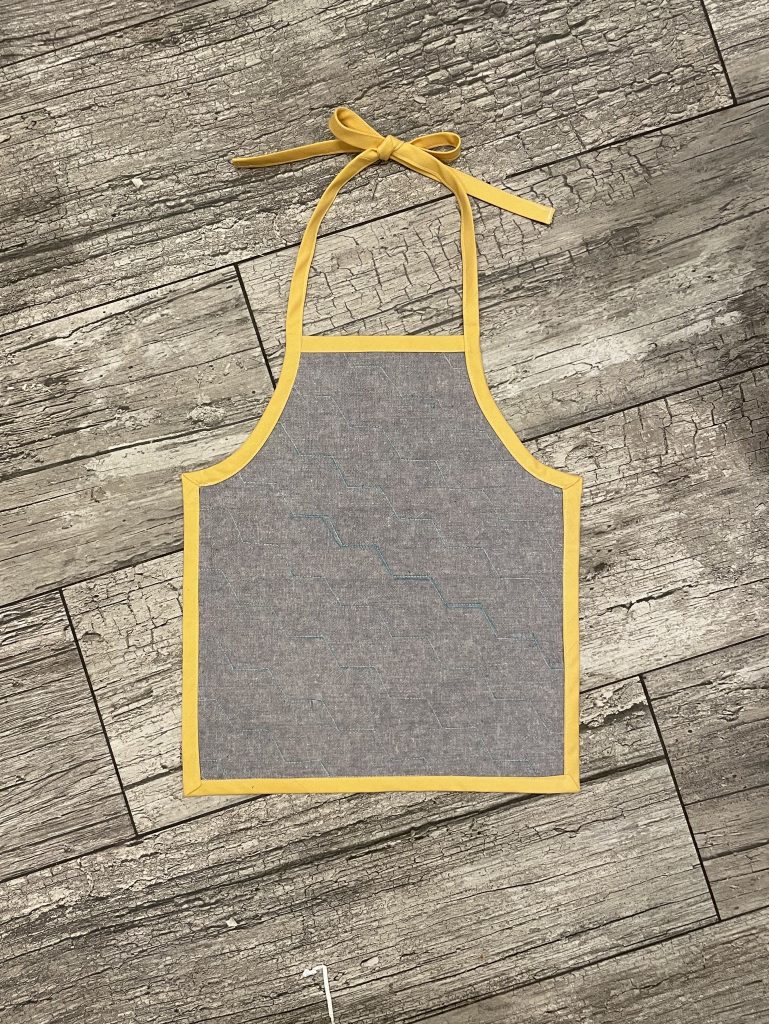
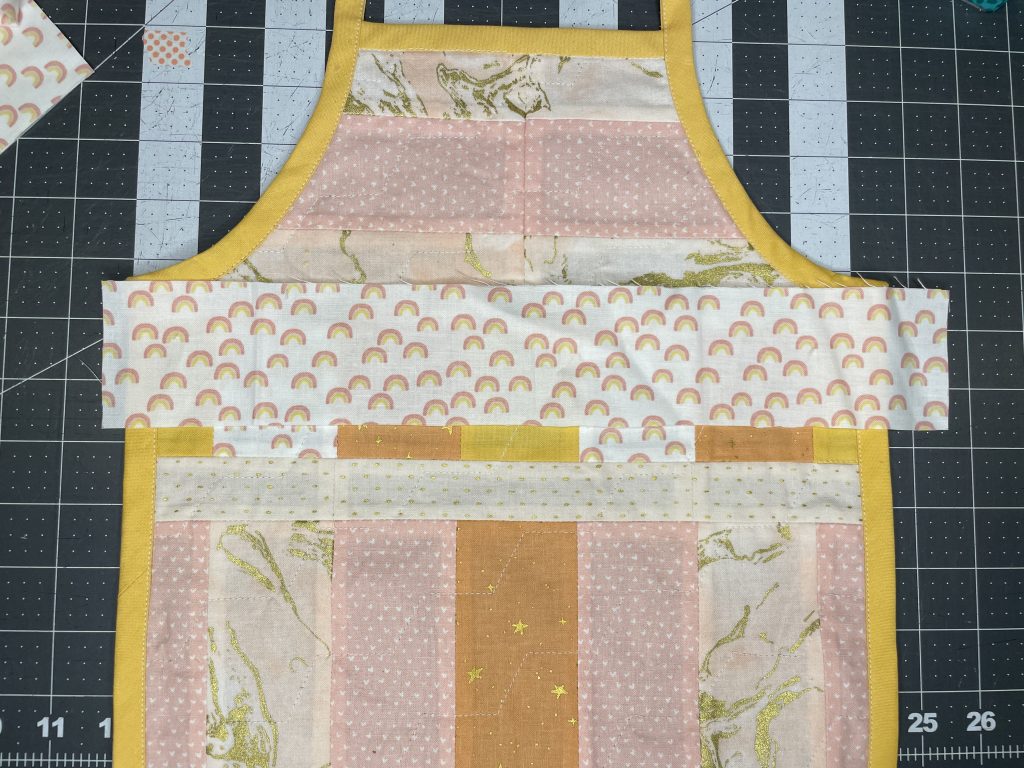
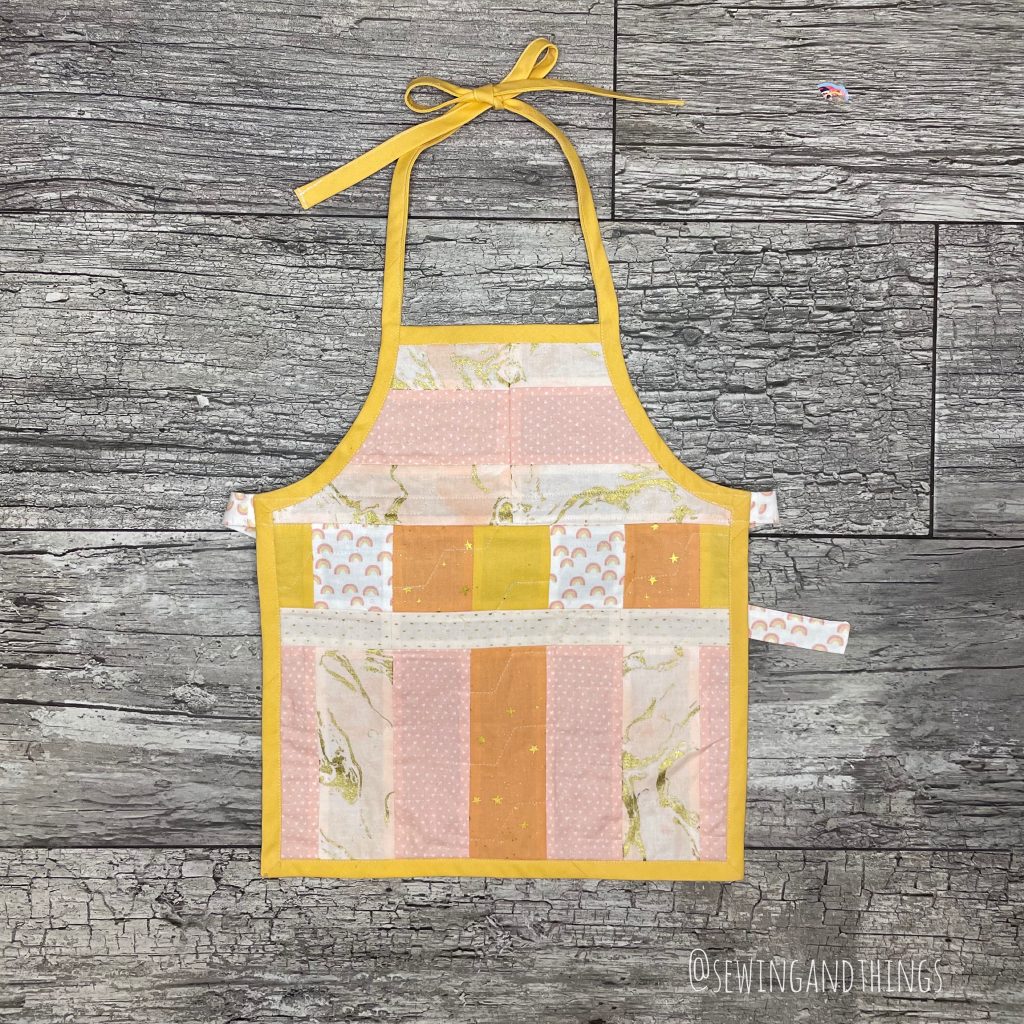
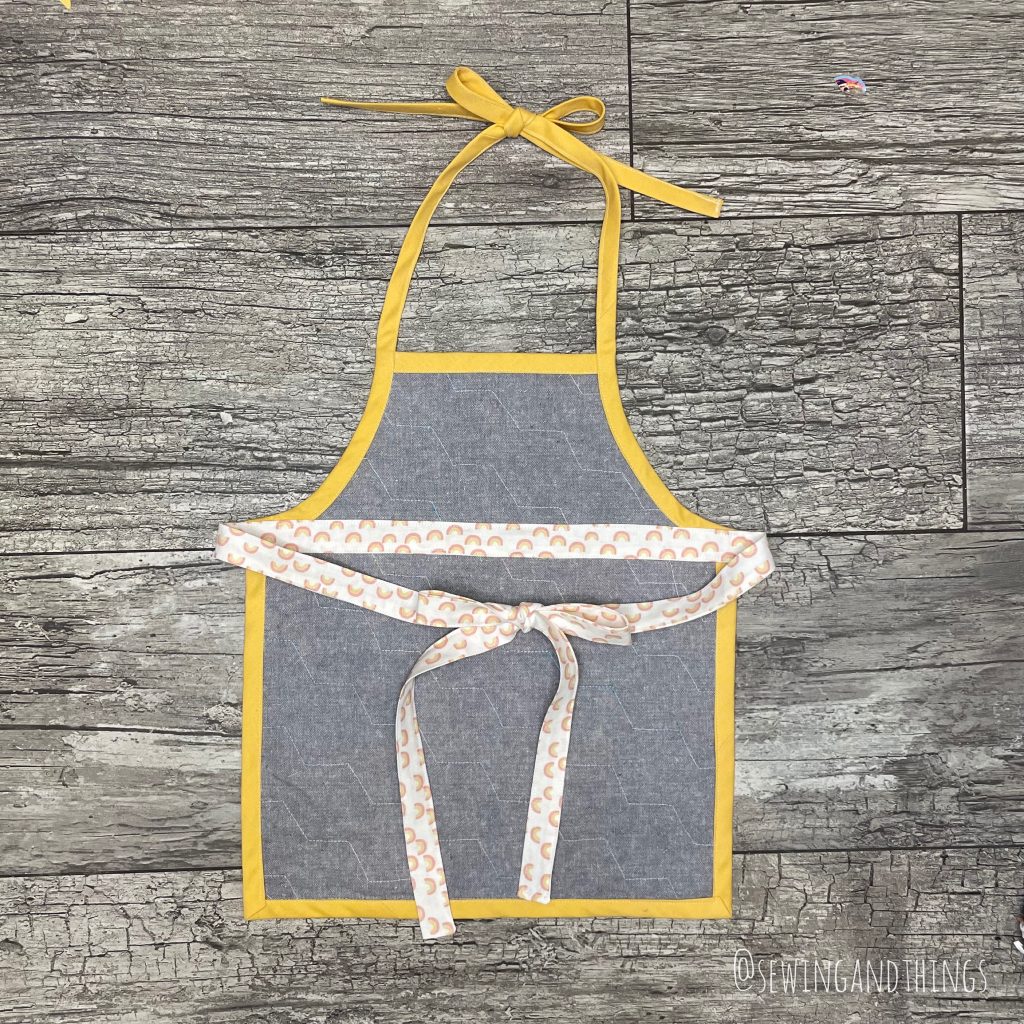
Upcycling with SALS – Day 4 – Avery Apron with Scraps


You May Also Like
Upcycling with SALS – Day 2 – Polo Tutorial
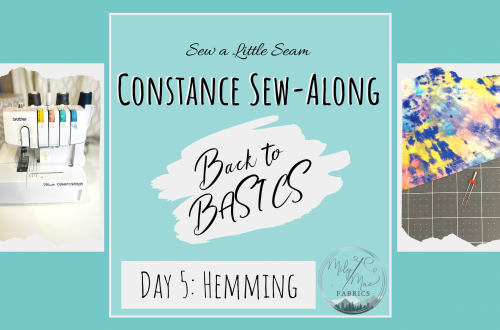
Constance Sew Along – Day 5: Hemming