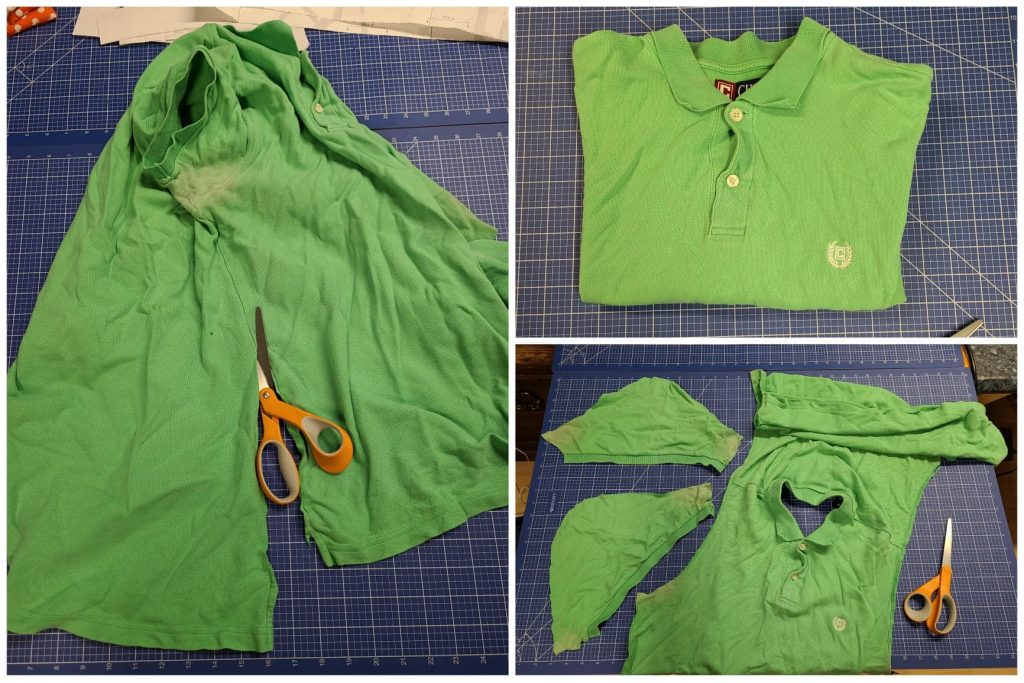
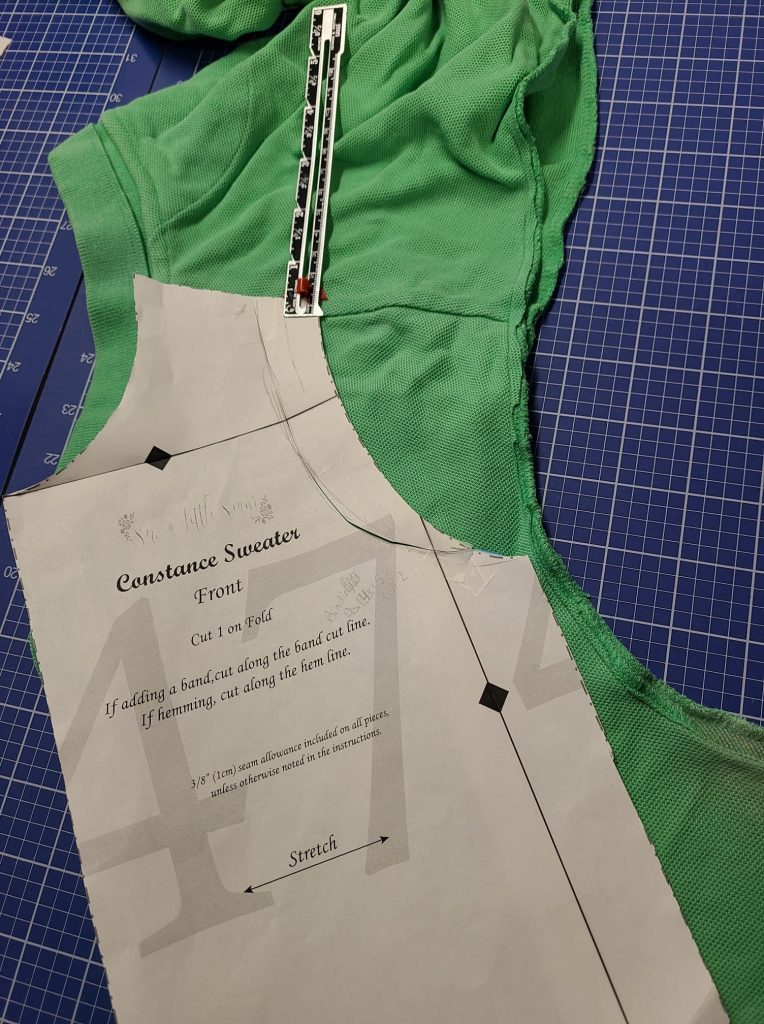
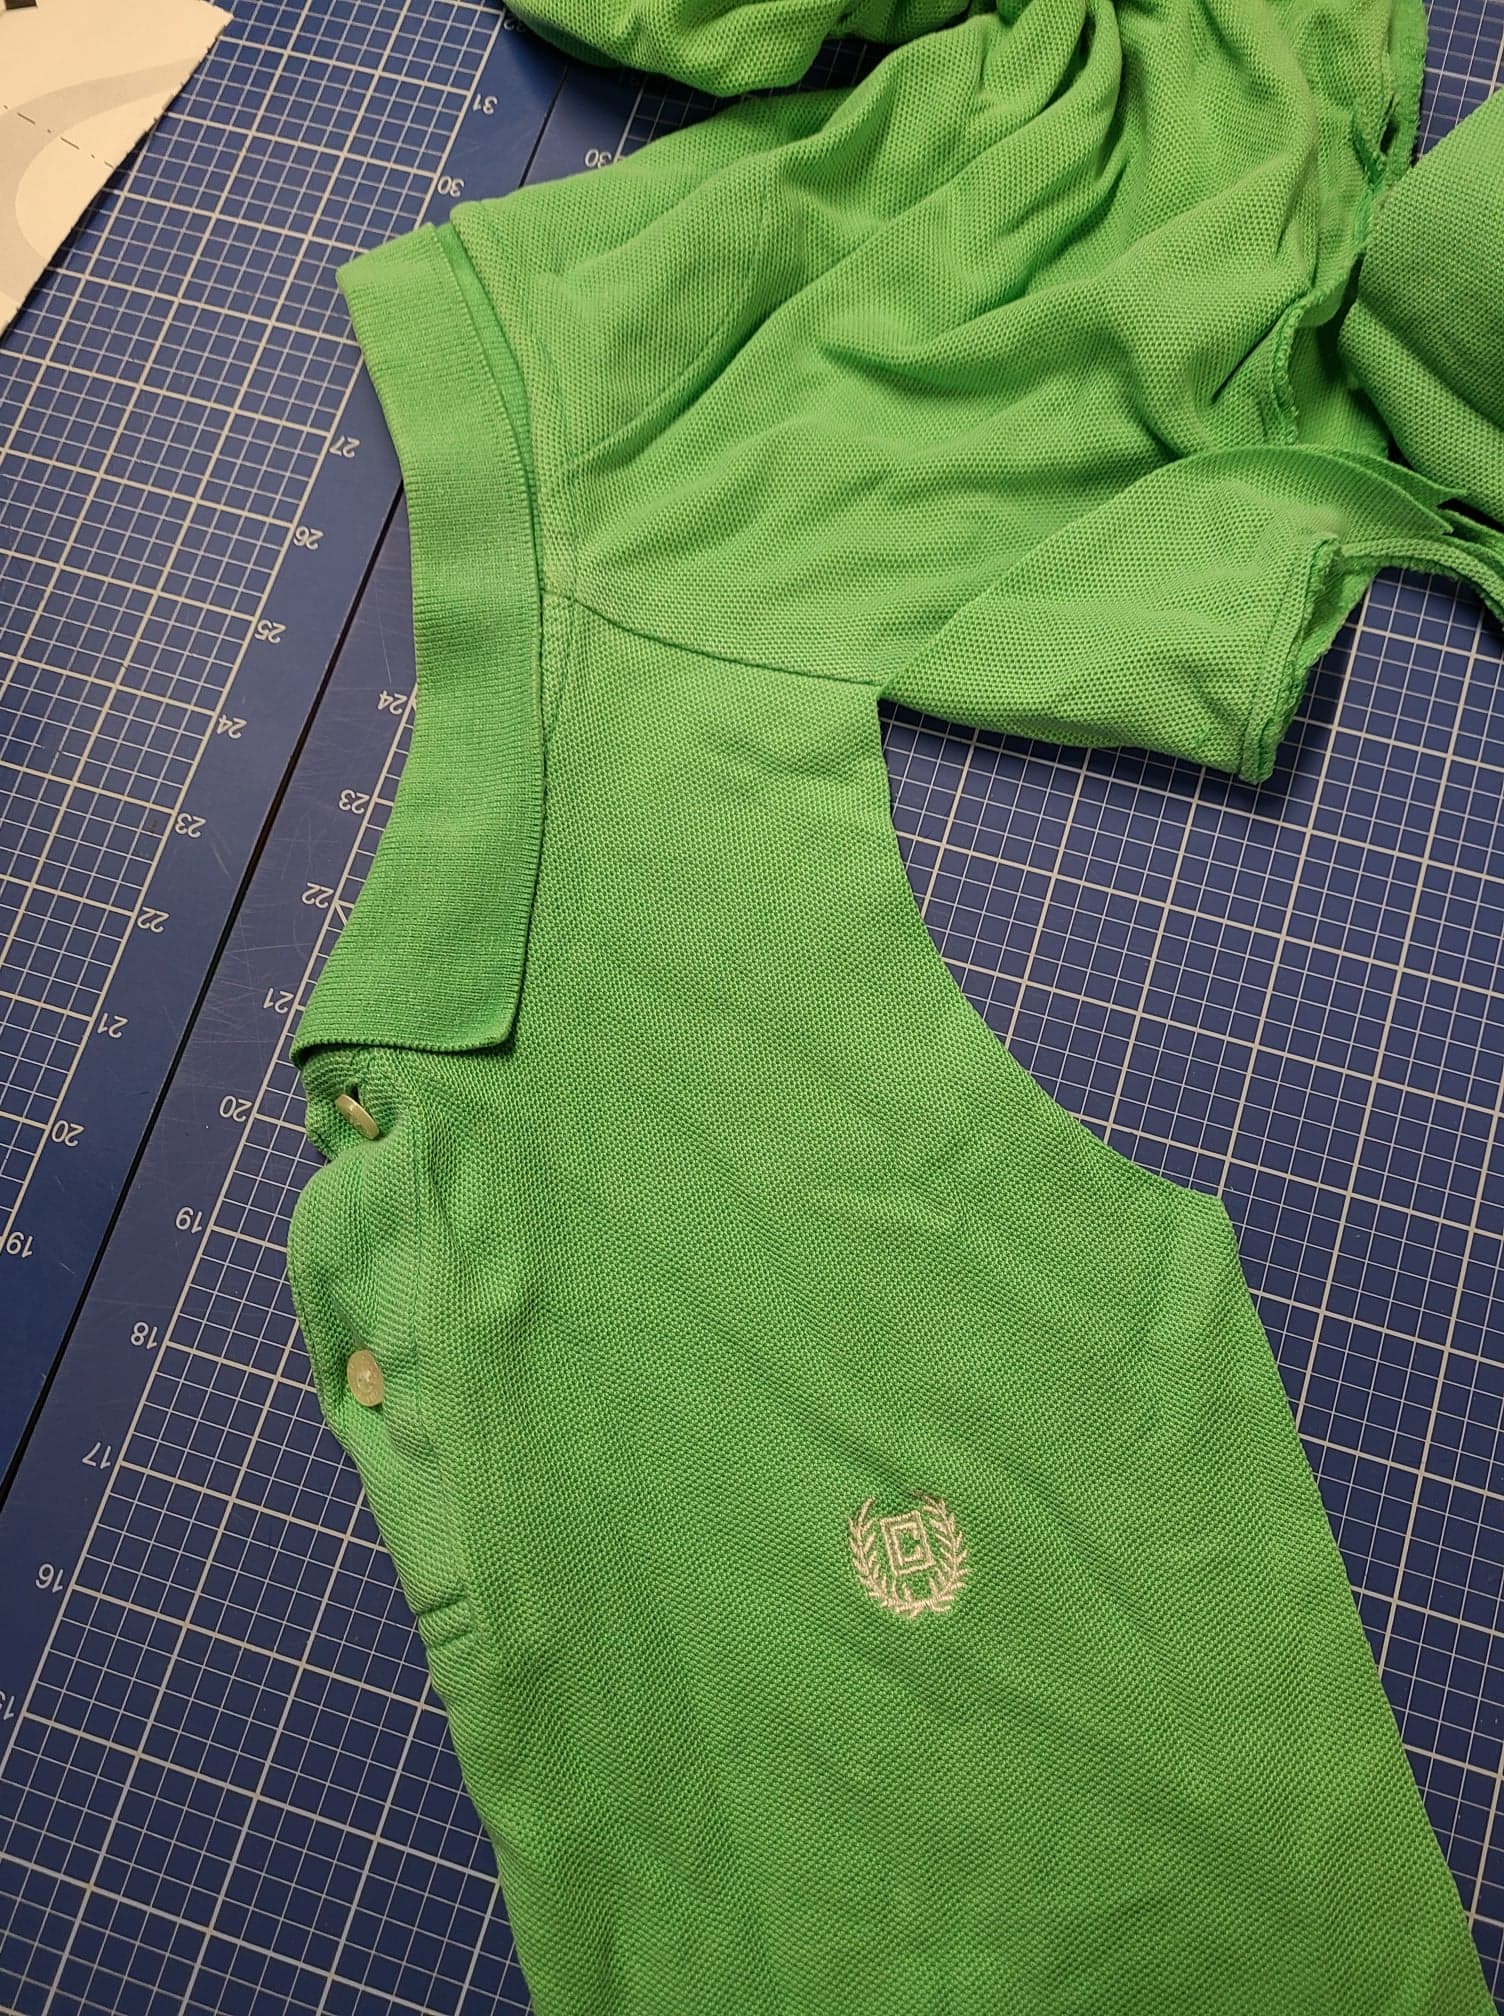
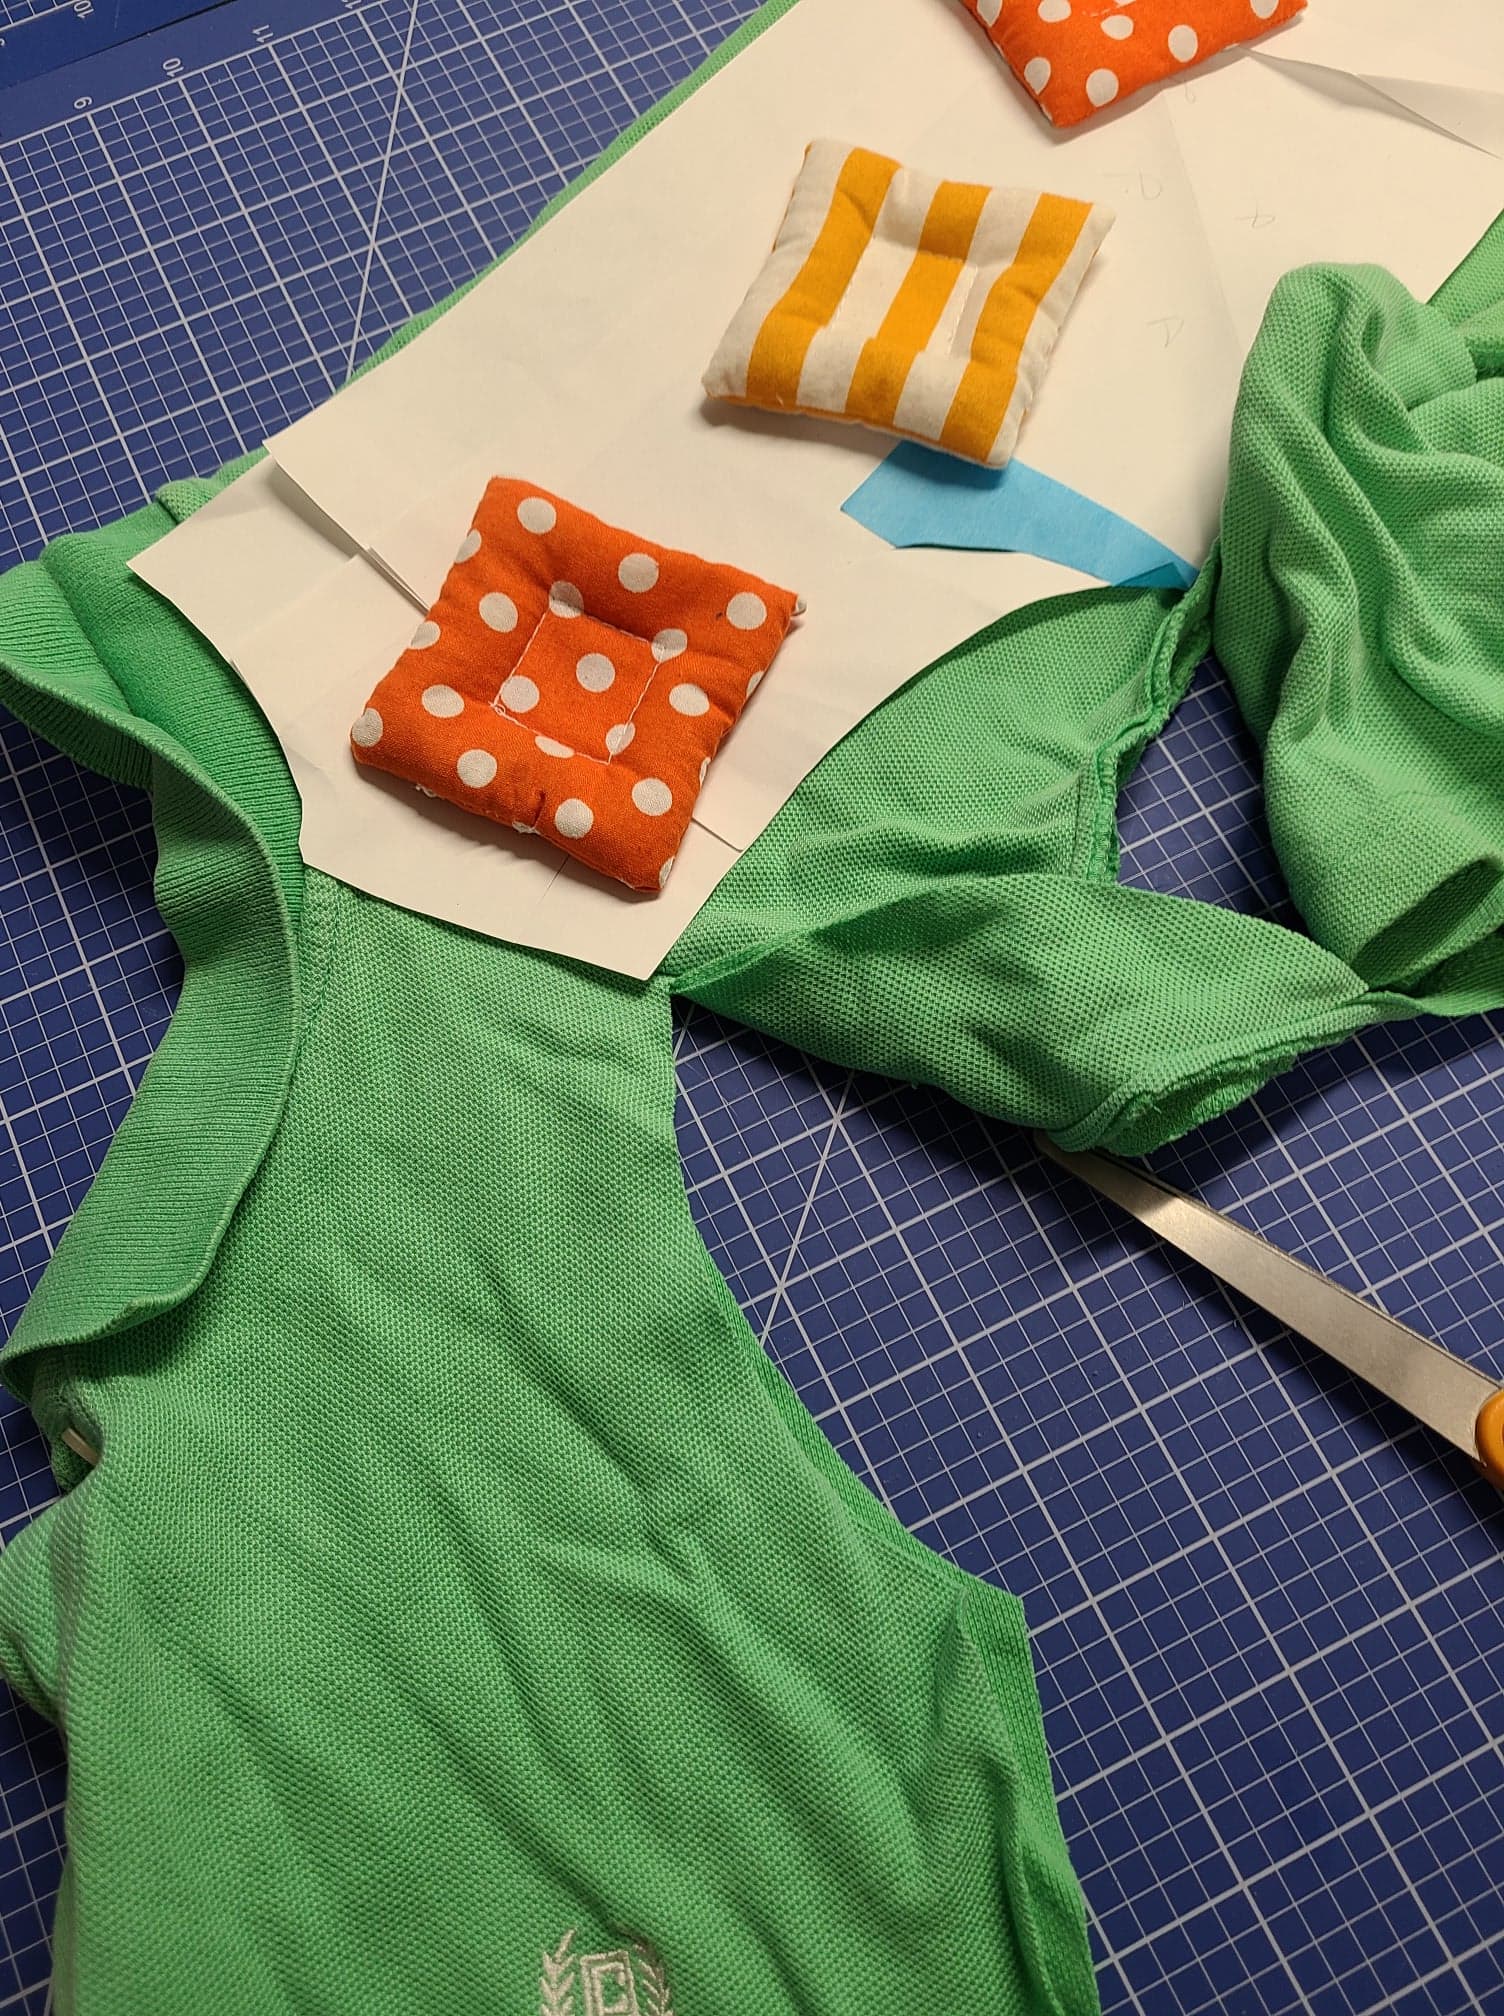
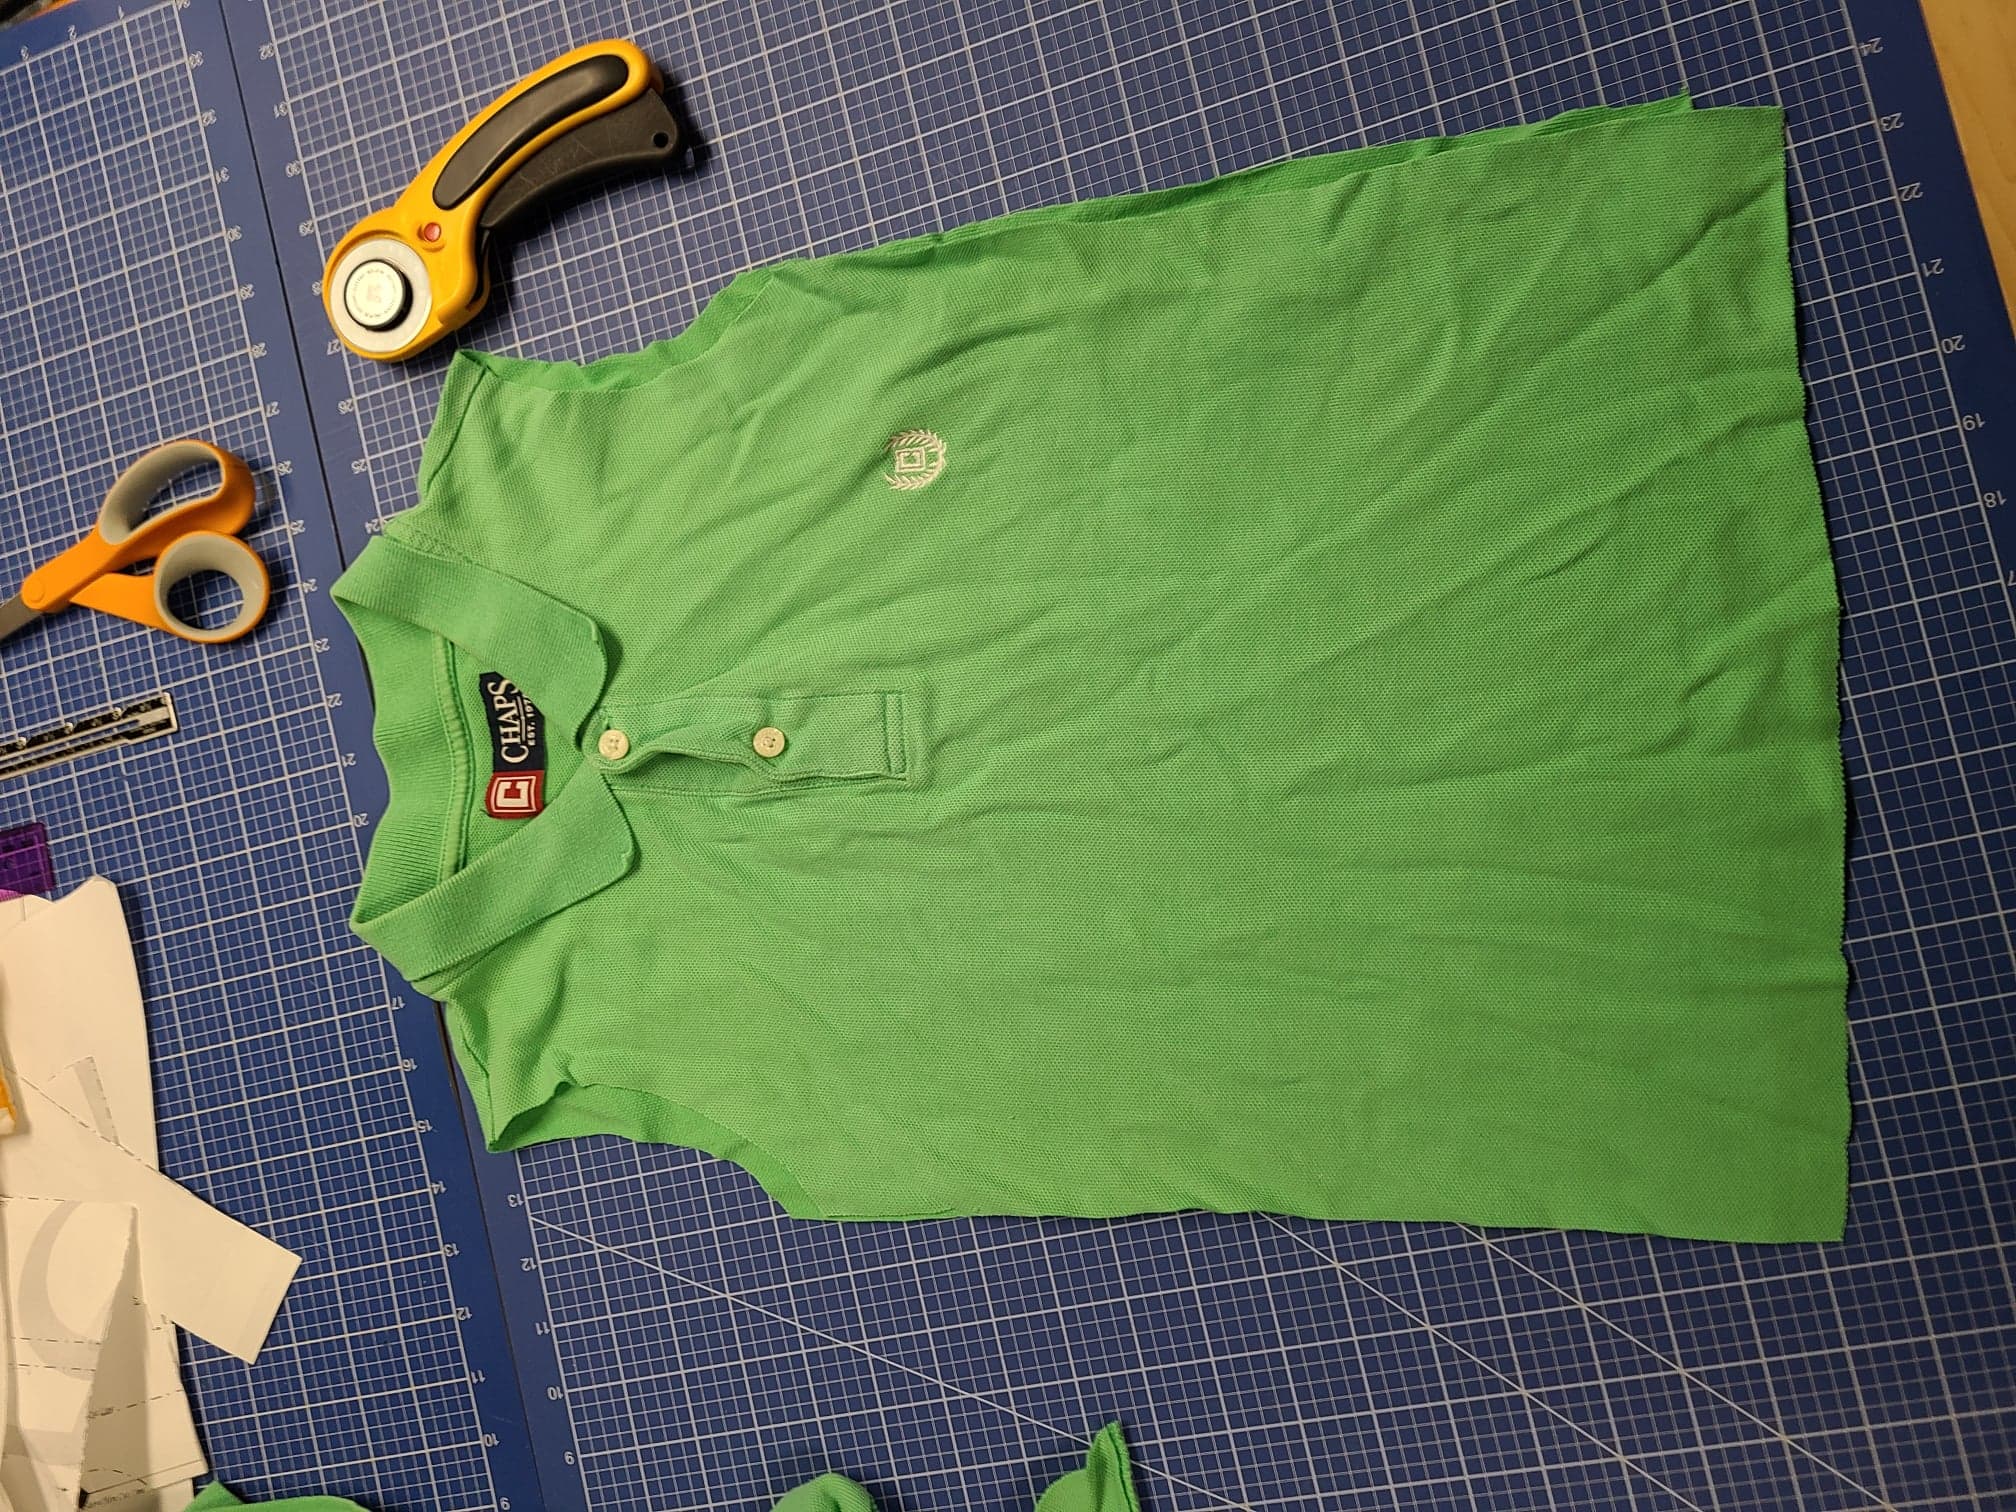
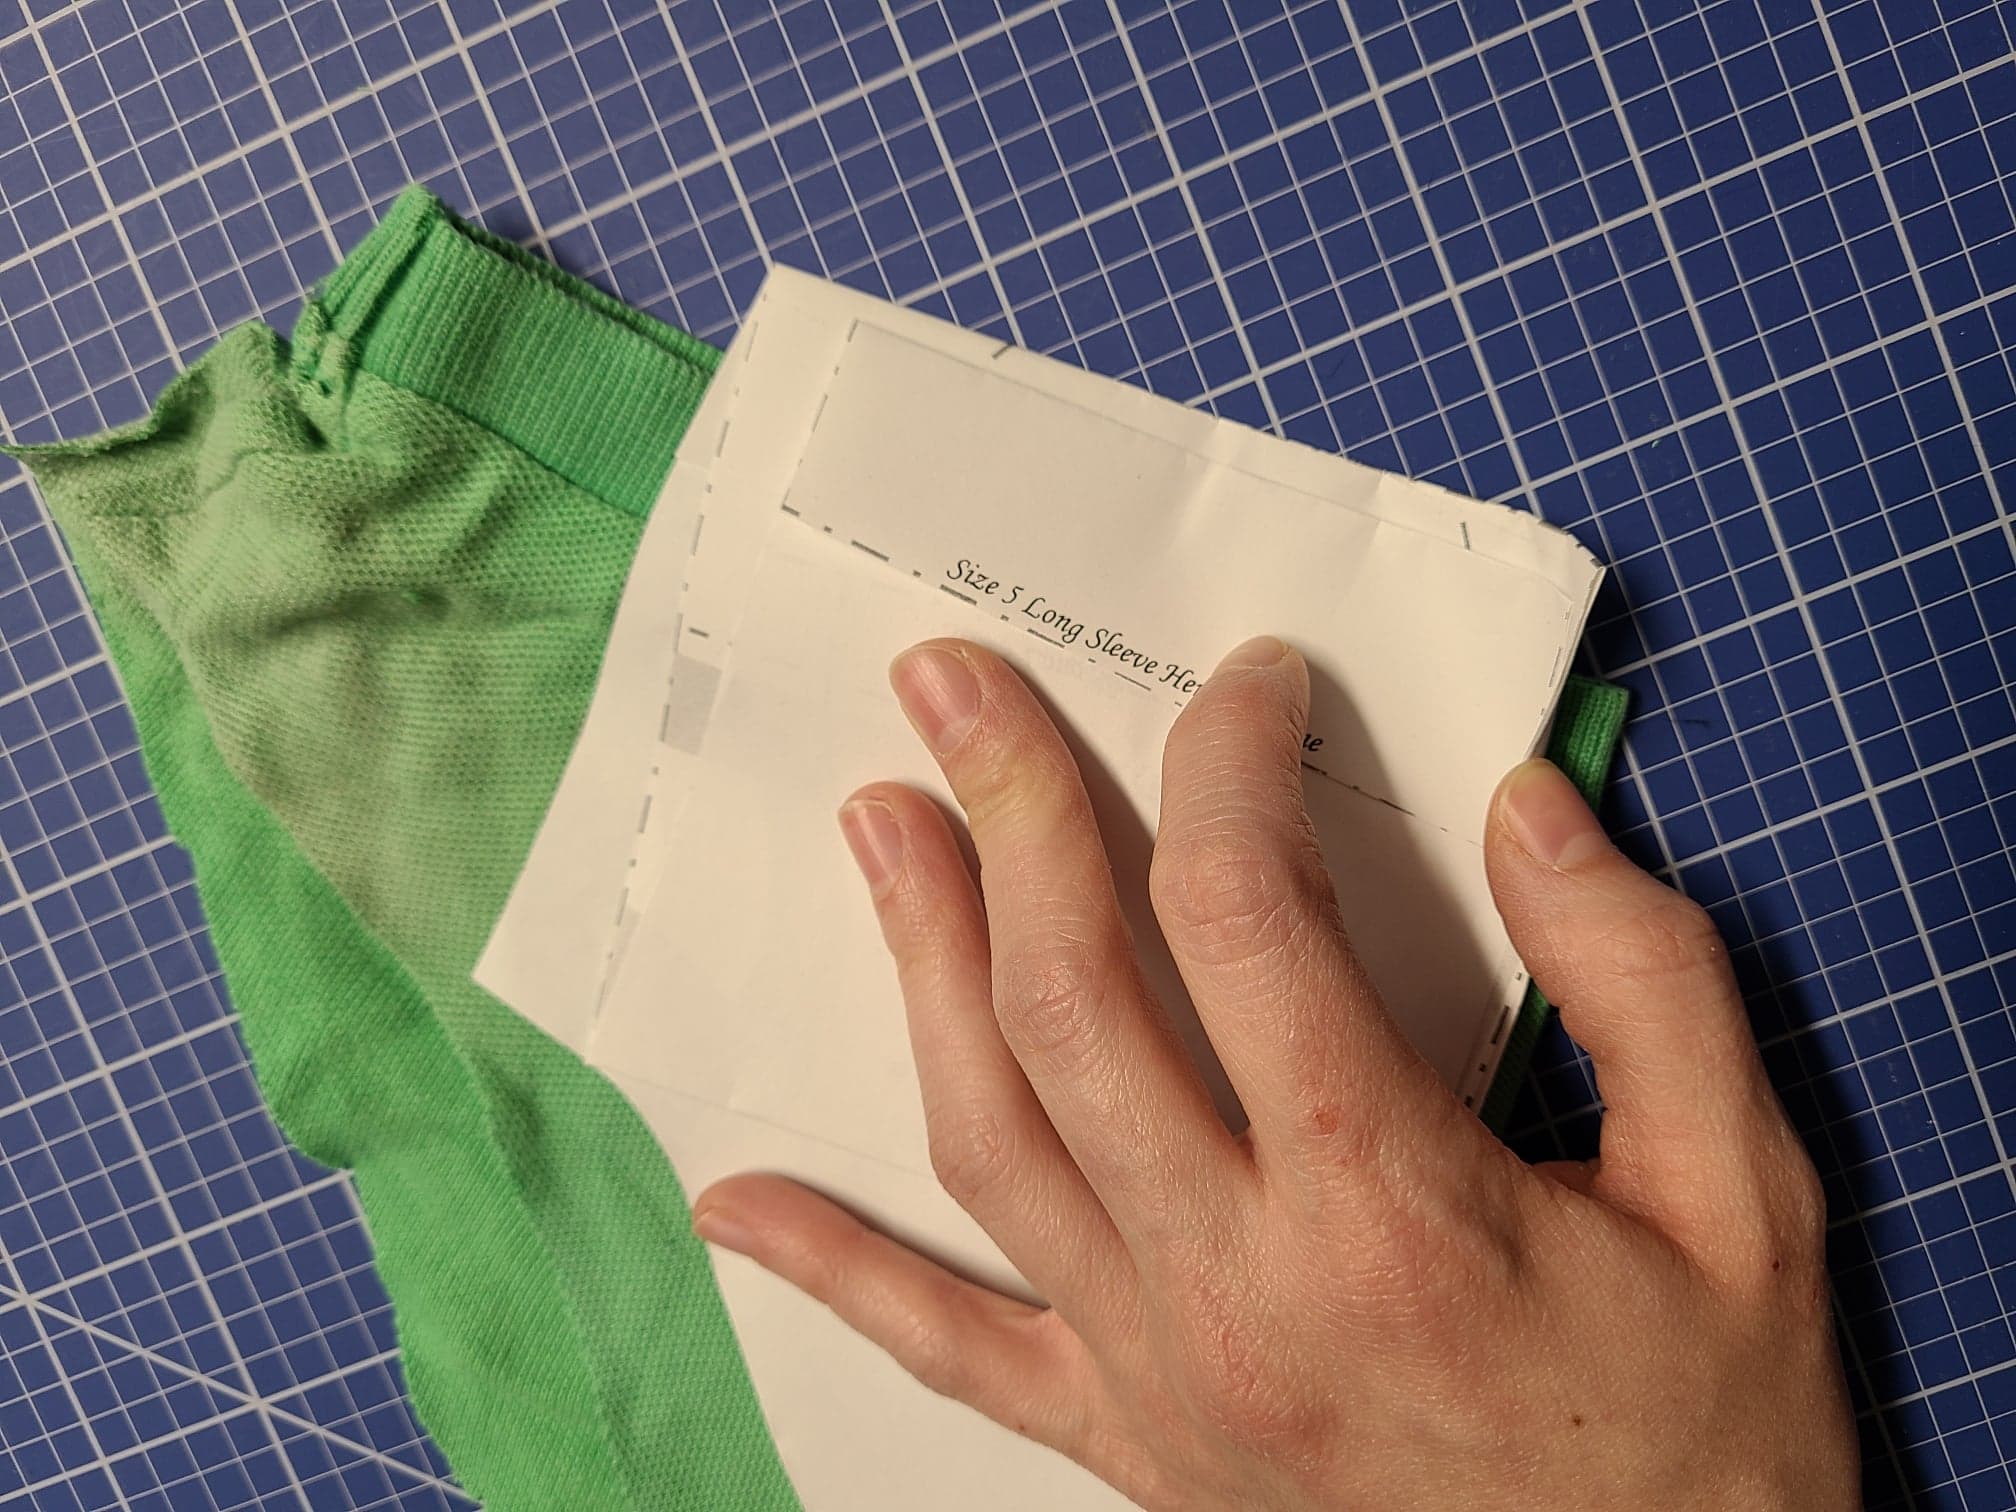
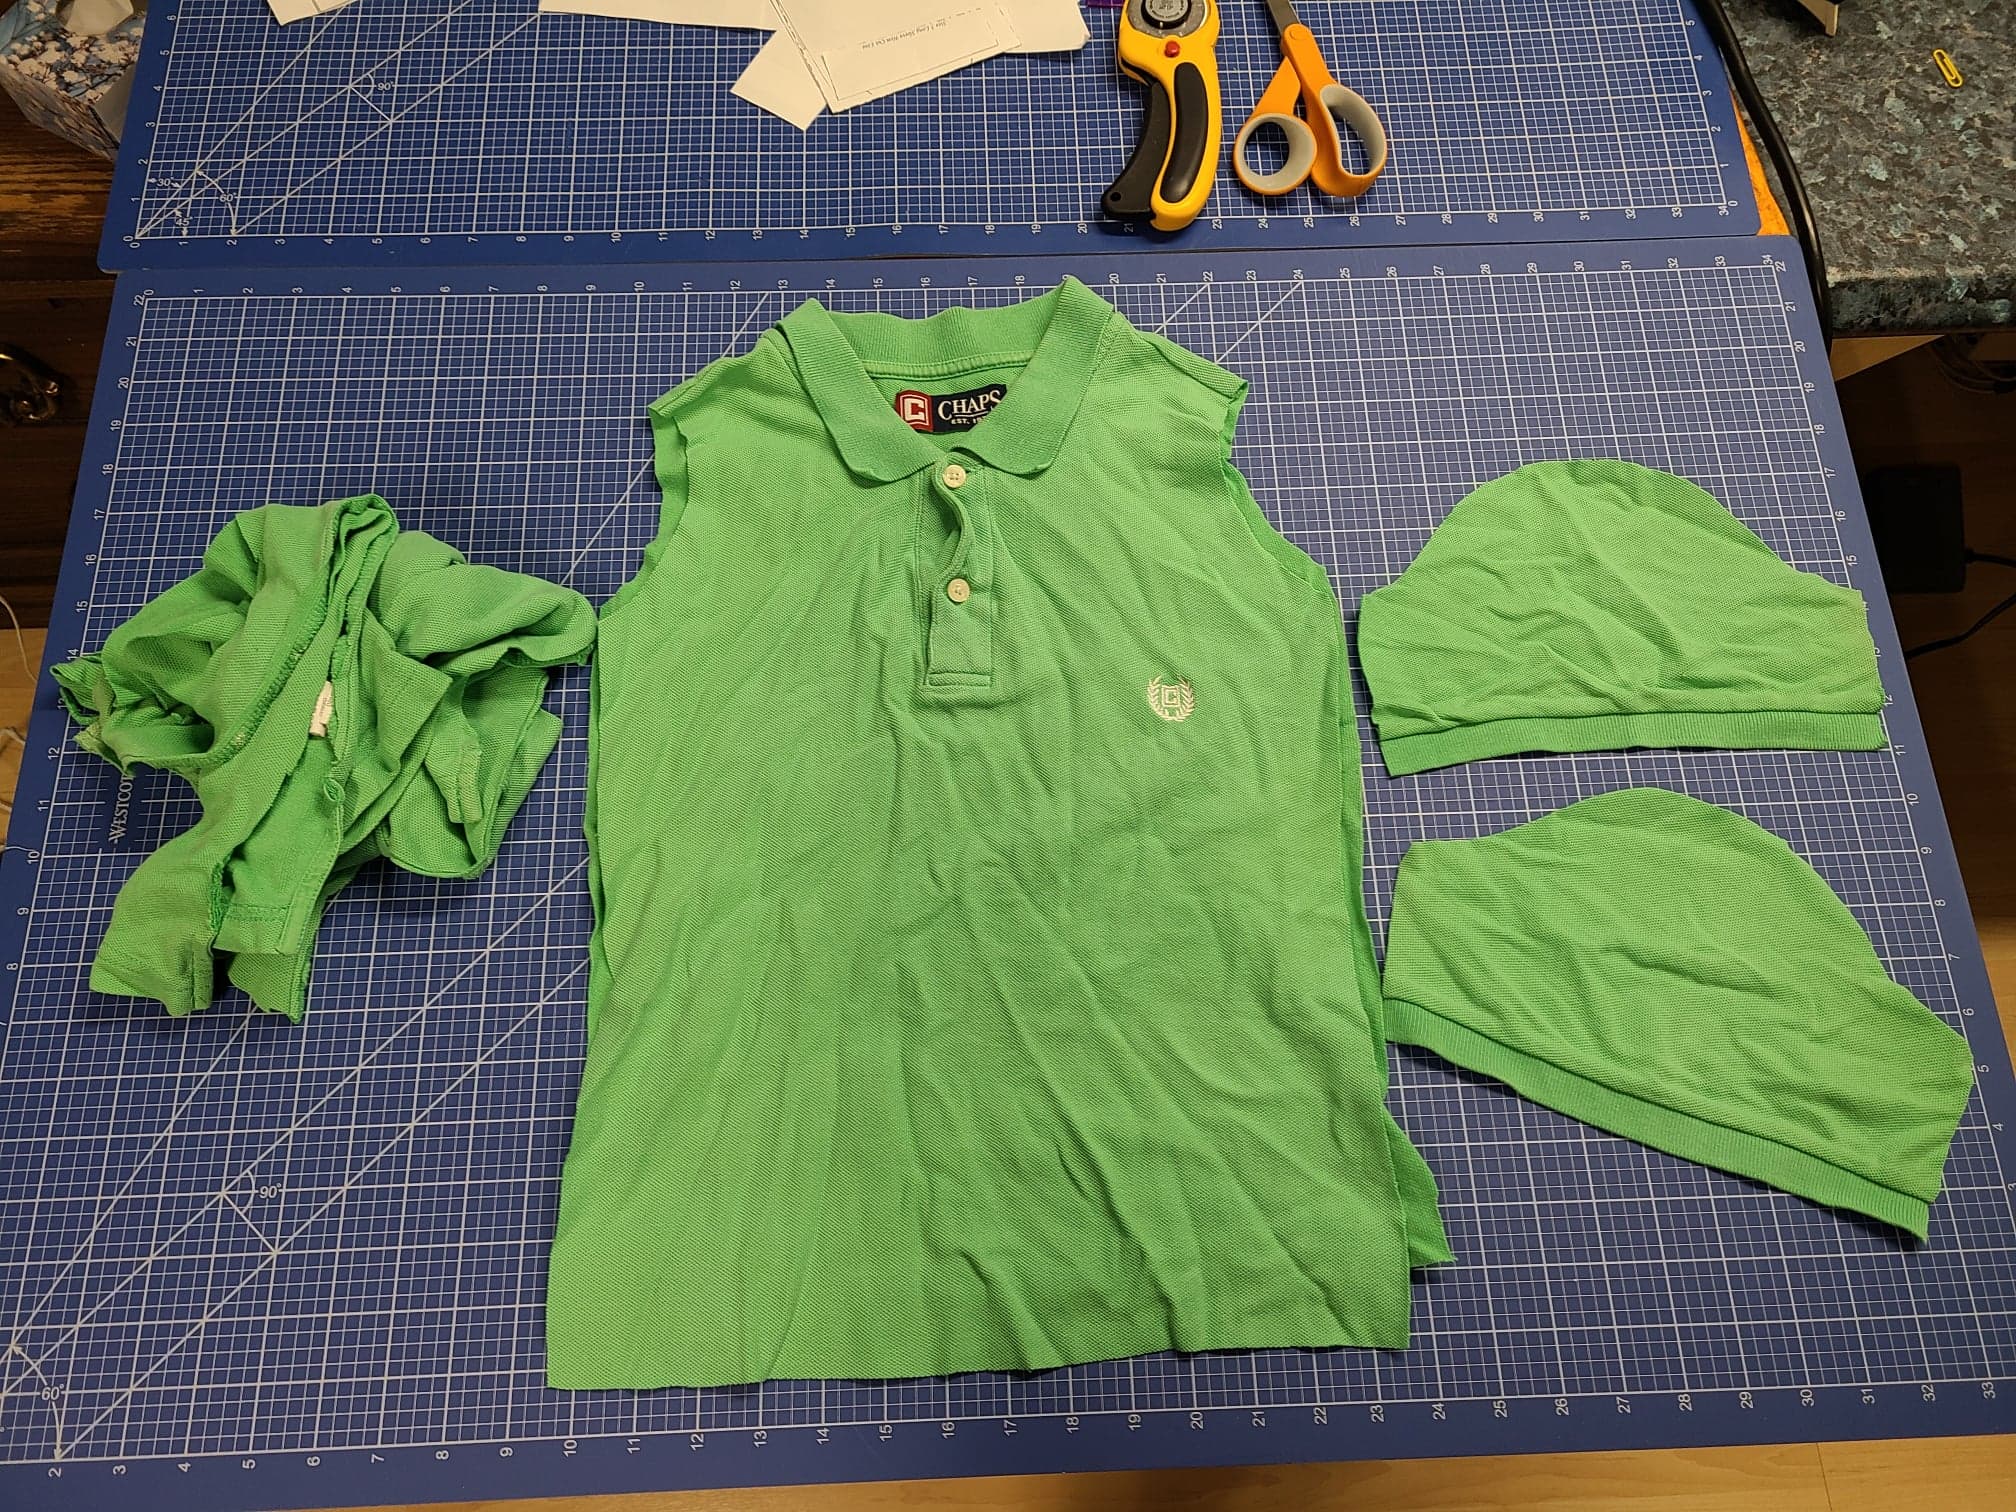
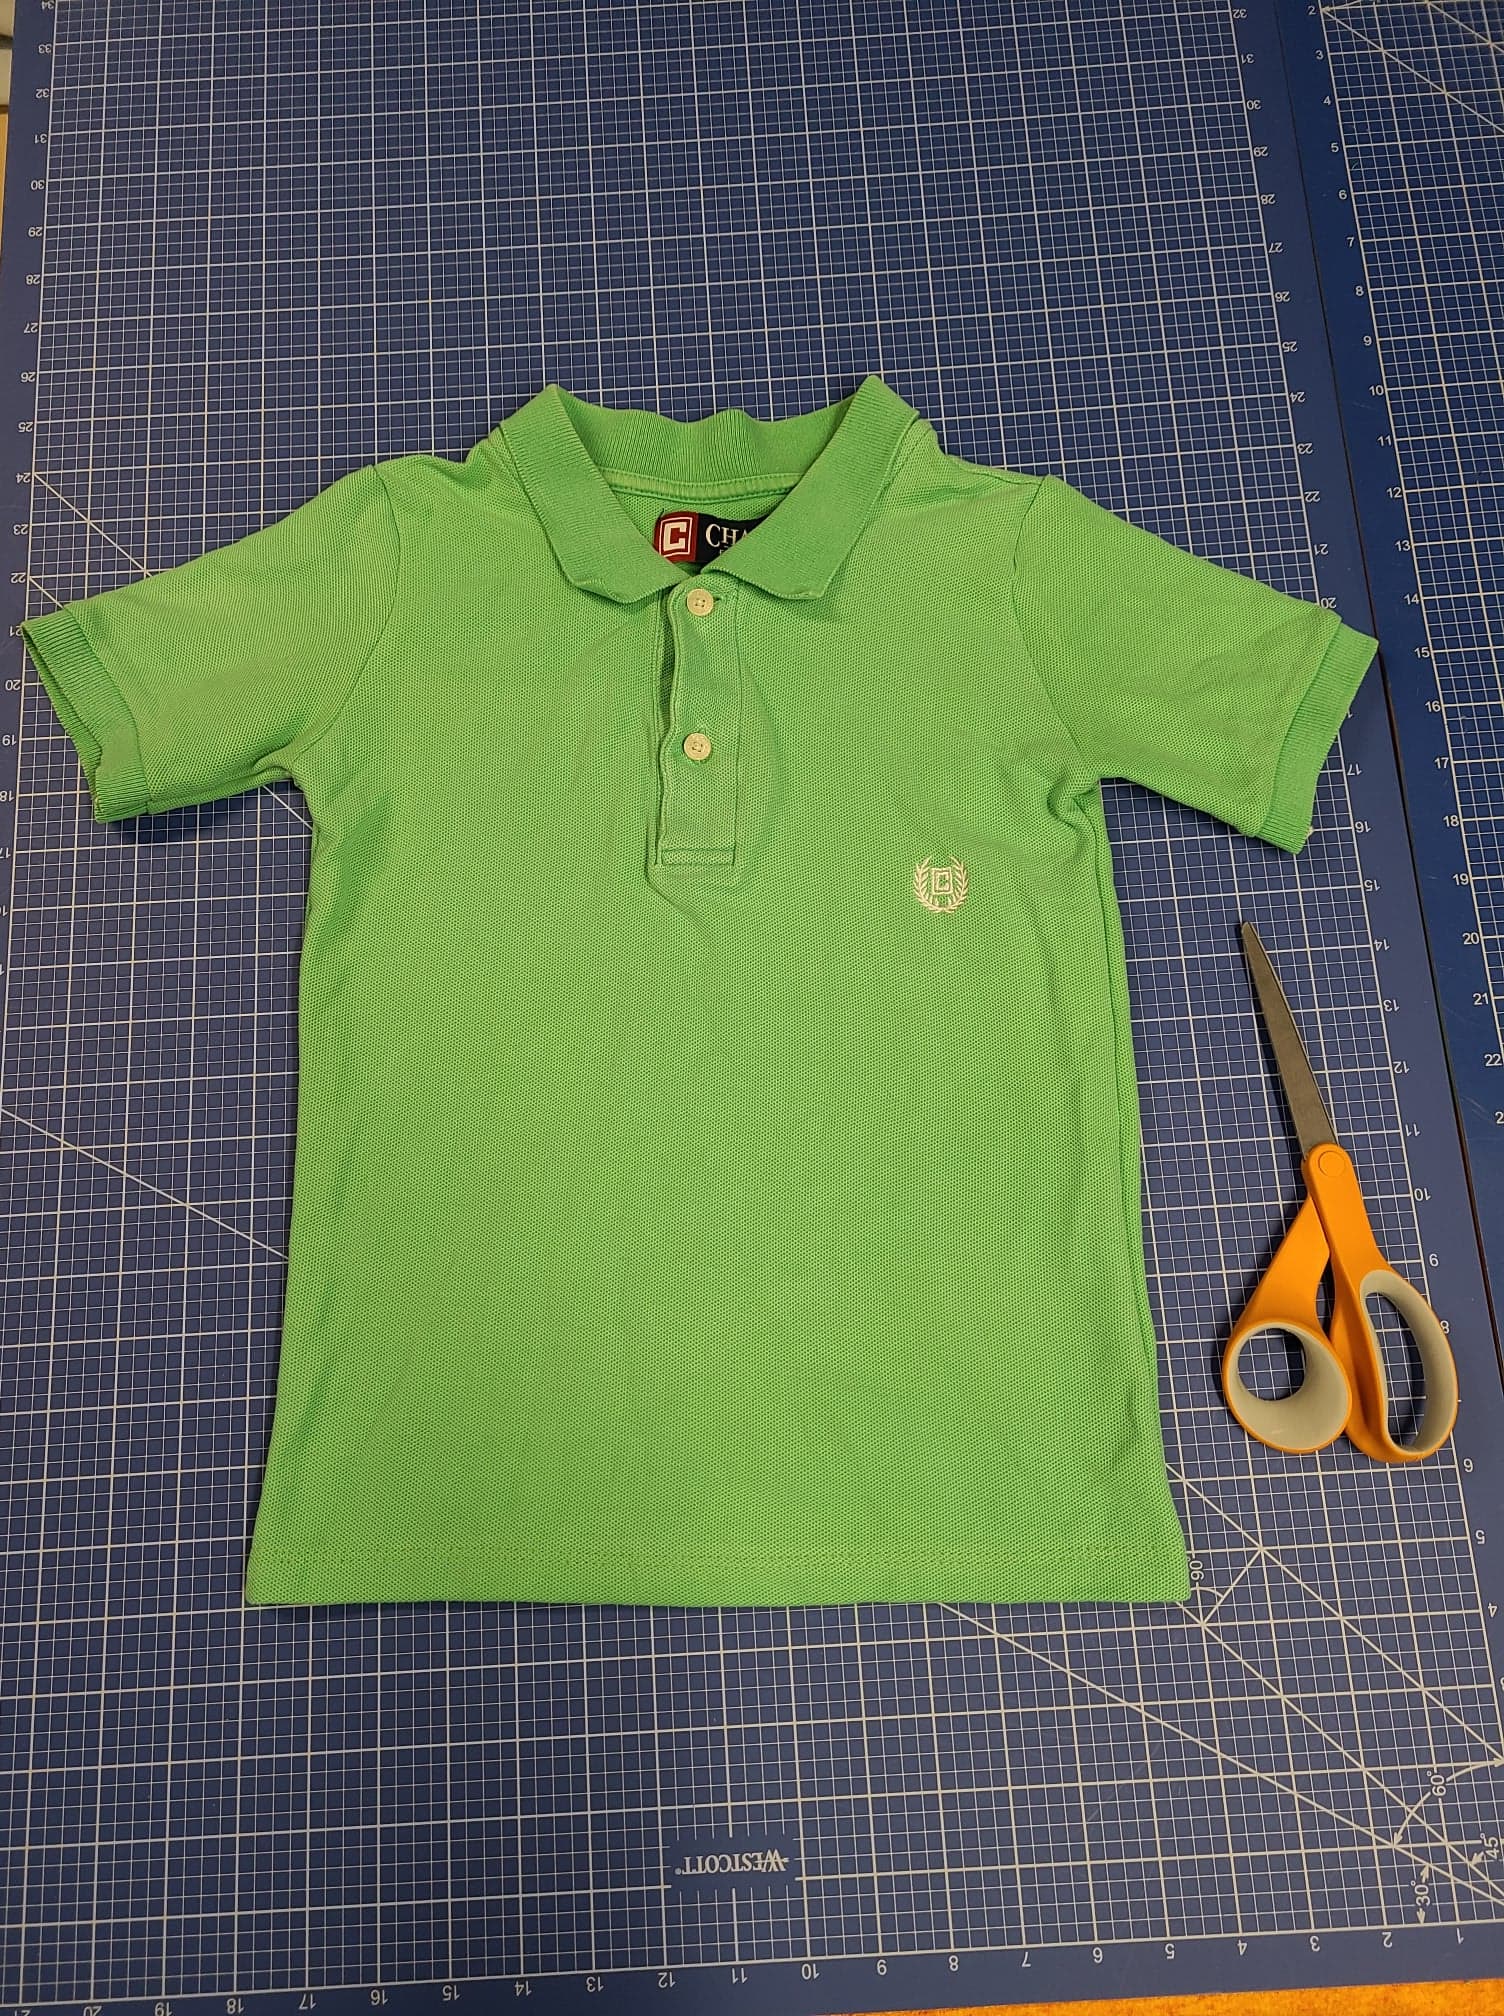
Upcycling with SALS – Day 2 – Polo Tutorial

Welcome back! It’s Maxine again!

Pour voir cet article en français, cliquez ici.

I must say that even if I do enjoy more complex patterns from time to time, I’m all about quick and easy projects. This one took me exactly 30 min from start to finish. I used one of my boyfriend’s old polo. It was stained under the armpit and he has tons of them anyway, pretty sure he didn’t notice it disappeared haha! Can you guess what pattern I used? Yep! It’s the very versatile Constance!

Schedule

Day 1: Intro + Inspo
Day 2: Polo tutorial
Day 3: Juniper dress with and without collar
Day 4: Avery Apron with Scraps 
Day 5: Catch up Day

If you are questioning yourself about if it’s possible to make projects that are not just for babies, well yes! I did a size 5 in the Large polo and still had some room for a larger size. Although, I’d suggest to always plan ahead before cutting. You might have to do some tetris with your pattern pieces.

Here’s the steps to realize this project :

First you’ll start by cutting along the side seams as close as you can to avoid wasting good fabric. Once you make it to the armpit keep cutting along the armscye so that the sleeves are separated from the body. Then I also continue cutting the side seam of my sleeves to have them open.I always do that as a start so that all the usable fabric lays flat on my cutting table. Don’t cut the shoulder seam, for this hack we need it intact.

You are now ready to cut your different pieces, it’s the only (not so) hard part of this tutorial, I promise! Oh and I suggest that you lay down your pattern pieces to make sure everything fits in. When you are ready to cut, you’ll have to fold the front bodice in half, making sure the collar/placket is even. Make sure the back of the bodice is out of your way too. Then you lay down your front bodice pattern piece with the fold line over the placket and on the fold you created. As we keep the collar as is I just placed the pattern so the neckline is closed to the collar seam. I also made sure to overlap the shoulder line 3/8in above the actual shoulder seam of the garment to account for the seam allowance of the pattern.

Cut your front bodice but DO NOT CUT THE SHOULDER SEAM. STOP AT THE TOP OF THE ARMSCYE.
You should have something like this

Next you will do the same but with the back bodice. So fold it in half, making sure the front is out of your way. Place your back pattern piece on it and overlap 3/8in at the shoulder seam. Align the piece so that the back armscye arrives where you cut the front armscye. It might not fit perfectly as you can see I have some over fabric at my fold line but it’s normal as I have to work around an adult collar line. 

Cut your piece but DO NOT CUT THE SHOULDER SEAM.

This is what you should have now

Ok now we need to cut the sleeves. Fold them in half. I decided to keep the hem of the original sleeves so I removed the hem allowance of 1 inch from the pattern pieces (don’t mind the text on the pattern piece it’s folded so I can choose between long and short sleeves haha). Cut both sleeves.

Now everything is cut (yep, only 3 pieces :-P) and you are ready to sew according to the tutorial. So basically sew the sleeves in, sew the side seams and hem. Just skip the part where it explains how to sew the neckband. Easy peasy 🙂

– Maxine

Leave a Reply

Your email address will not be published. Required fields are marked *

Never miss a post!

Subscribe via email and receive new posts right to your inbox.