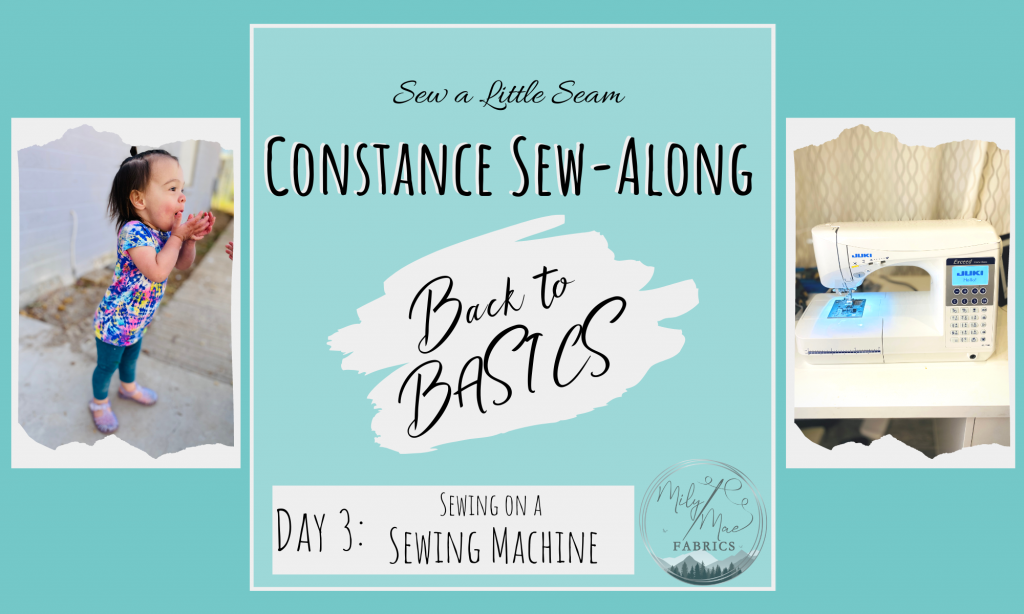
Constance Sew Along – Day 3: Sewing on a Sewing Machine
Sew Along Outline
Day 3: Sewing on a Sewing Machine
Hello, hello! It’s Day 3 of the Constance Sew Along! With all the pattern prep out of the way, let’s talk about sewing up the Constance on your sewing machine (and a little bit of stripe matching!). When sewing with a sewing machine, you will sometimes have to backstitch to lock the stitches and prevent them from unraveling. My rule of thumb is that it isn’t necessary unless that seam is going to be left raw. For instance, when I sew the shoulder seams, backstitching isn’t necessary since you will sew over the ends of the stitches when you attach your sleeve and your neckband.
Needles
First things first, you need to proper needles in your sewing machine. Your manual should tell you which size shank you need (the part that is held by you machine). I have 3 different machines, all from different companies (Brother, Viking, Juki) and I can interchange all my needles. This might not be the case for you, so definitely look that up.
My favorite needles I get are Schmetz. Lately, I’ve been using the size 80/12. If my fabric is really thick, I’ll swap out for 90/14 (like for denim or loads of layers). I occasionally use 75/11, but I broke 3 in a row in a day, so I don’t think I have any left at the moment…
The most common needles for knit fabrics are a Ballpoint Needle or a Stretch Needle. A ballpoint/jersey needle is rounded, so that it slips between the knits and purls of knit fabric. You can use this on any type of knit fabric, but it is recommended to use a stretch needle for fabrics with Lycra/spandex. A stretch needle is rounded like a ball point, but also has a sharp point like the universal. The rounded shape makes it slip through this knits and purls, and the sharp point goes through the spandex more easily, giving you better stitch formation. Beware of universal needles. It is meant for woven fabric even though it’s called “universal”.
If you are having any issues, such as skipped stitches, poor stitch formation, thread breaking, thread snagging, etc., the first things you should try is rethreading your machine, both the bobbin and the main thread. If that doesn’t fix your problem – change your needle. It’s crazy how many issues are fixed just by changing your needle! If a new needle fixes your problem, just go ahead and toss out the old needle. Another needle you might want to try is a Twin Needle, but we will go over that a little more on Day 5.
STRETCH STITCHES
If you are new to sewing or new to sewing knits, you probably are sewing on a sewing machine, so let’s talk about stretch stitches. Every basic sewing machine should have at least a straight stitch (1) and a zig zag stitch (4), but it’s more common to have a few additional stretch stitches like the lightning bolt (3), triple stitch (AKA reinforced straight stitch)(9), reinforced zigzag (basically the same as 9 but a zigzag) and some overcast stitches. If you don’t know what stretch stitches your machine has, it should tell you in the manual. It might even have “SS” somewhere to indicate stretch stitches. Some stitches are good for garment construction and some are better off for hemming or topstitching. The best way to determine which ones are specifically for knits, or stretch fabric, is to look at your machines manual. If you don’t have a physical copy, just about every machine manual should be available to view online for free
When sewing with knits on your sewing machine, you really should steer clear from the straight stitch. The one time you might be able to get away with using it is when topstitching the neckband down (if the neck is high or a crew neck, I wouldn’t suggest it as much. But it really depends how aggressing you are at putting your shirt on.)

The zigzag stitch is not my favorite for construction, but I have heard of folks using it without any issues. You want to have a shorter stitch length so you are less likely to see the thread on the right-side of the fabric when the garment is being stretched. You also have to be extra careful if your fabric has vertical stretch so you don’t pop any stitches.
Before I got my serger, my favorite stitches were the overcast stitches. Usually those stitches use a 1/4″ seam allowance, so you can trim the SA down before you sew, trim off the excess fabric after or leave it as is. Another great stitch (if your machine has it. My last sewing machine didn’t) is the lightning bolt stitch. I go back and forth between this one and the triple straight stitch. And even though I have a serger, I prefer to sew my cuffs and bands with one of these 2 stitches so my seams lay flat. If you sew your main construction with one of these stitches, you can “finish” your seams with a zigzag stitch, though it’s not required.
Sewing
Make sure you sew on some scrap pieces of your fabric before you sew! And make sure you are testing the fabric on both horizontal and vertical if your fabric is 4-way. If you notice that your fabric is stretching out while you are sewing, you may want to try a walking foot for your machine. A walking foot is an accessory with built-in feed dogs to guide two or more layers of fabric through your sewing machine and helps keep your fabric from shifting while sewing. You also want to make sure you aren’t pulling on your fabric while it is feeding through the machine. You want it to feed the fabric on its own. *Note:* You may have to play around with the stitch length and pressure food pressure, depending on the fabric you are using. If your fabric is thin, it may also help to pull on the threads when you start to so to help your fabric from getting sucked into your machine.
The most common places for fabric to stretch out while sewing knits on a sewing machine is the neckband, attaching the sleeve to the bodice and the hem (which we will go over on Day 5). Make sure you are paying attention if the neckband is cut on the fold or not. If your neckband is bigger than the opening of the bodice, something is wrong and you will want to check your pattern pieces.
BASIC TROUBLESHOOTING
- The needle thread breaks
- Needle thread not threaded properly
- Needle tension is too tight
- Needle is bent
- Needle is incorrectly inserted
- The bobbin thread breaks
- Bobbin thread not threaded properly
- Lint build up in the bobbin case
- Bobbin is damaged and does not turn smoothly
- Skipped Stitches
- Needle thread not threaded properly
- A poor quality needle is used – replace needle
- Needle thread tension is too tight
VIDEOS
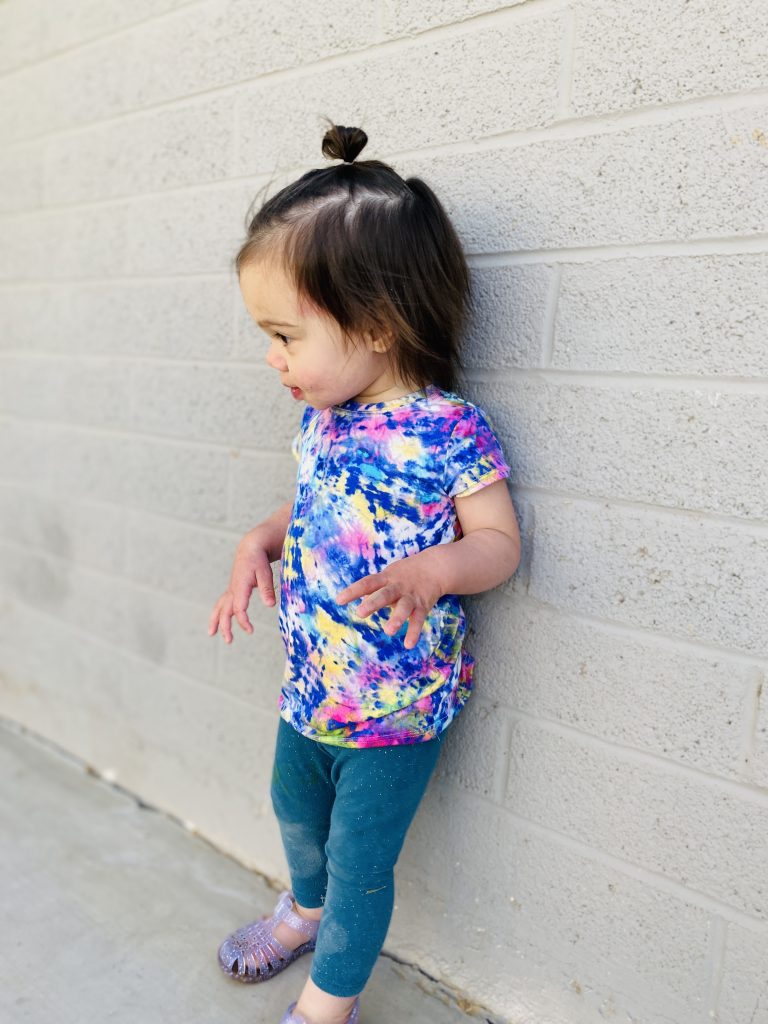
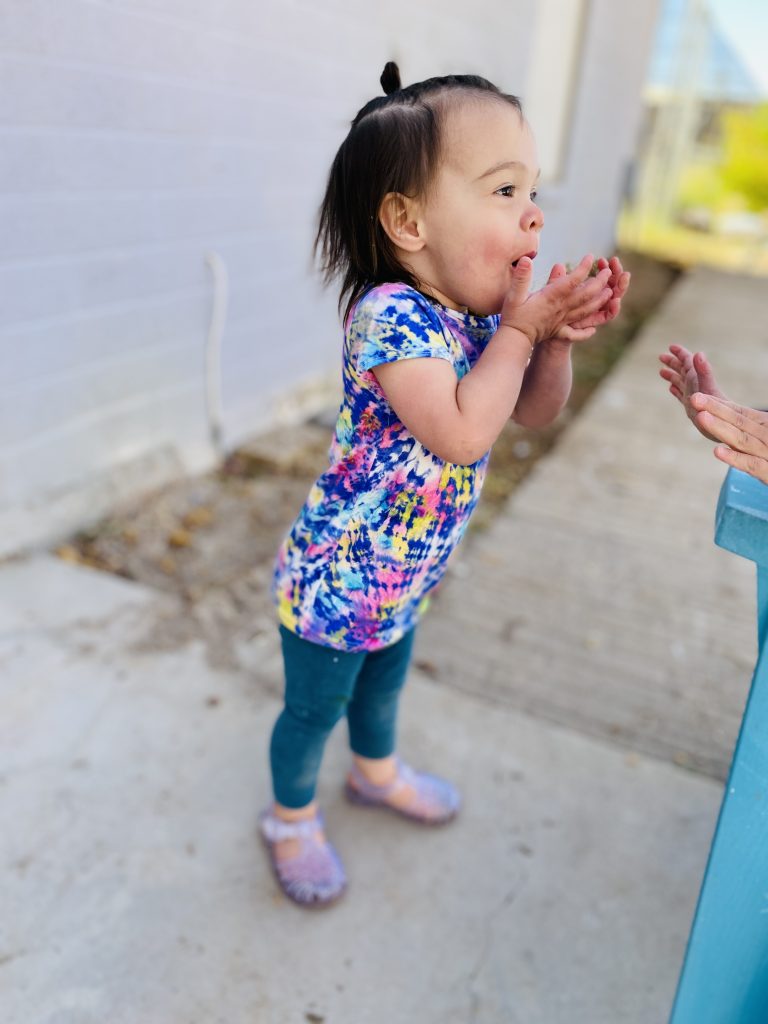
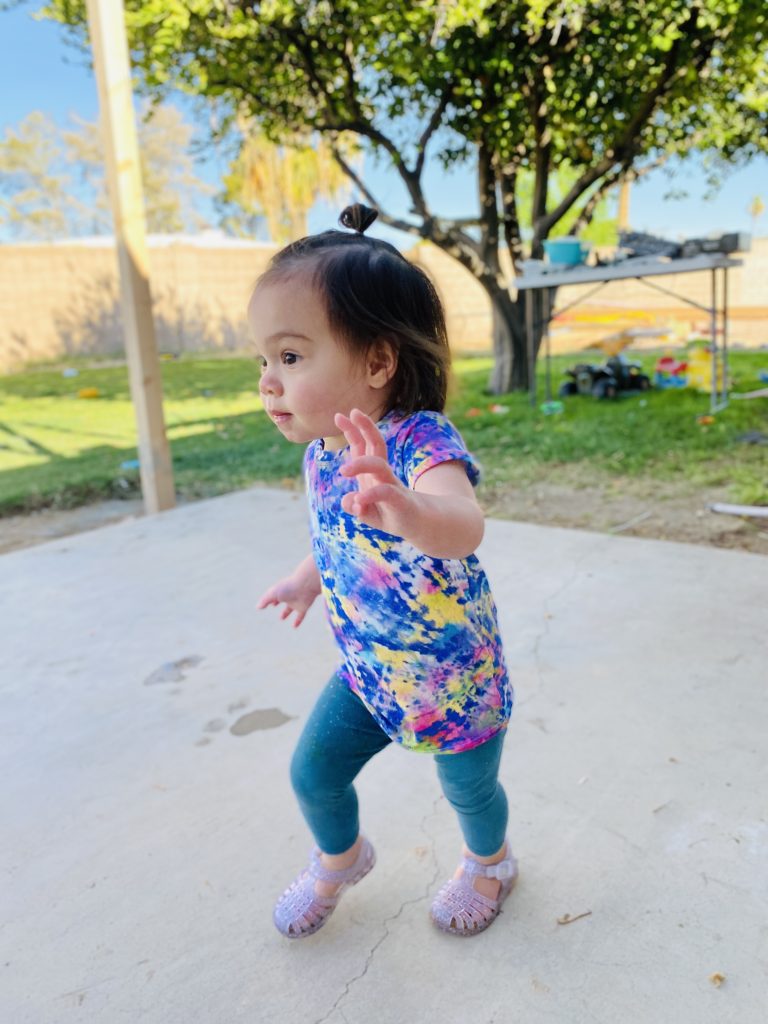
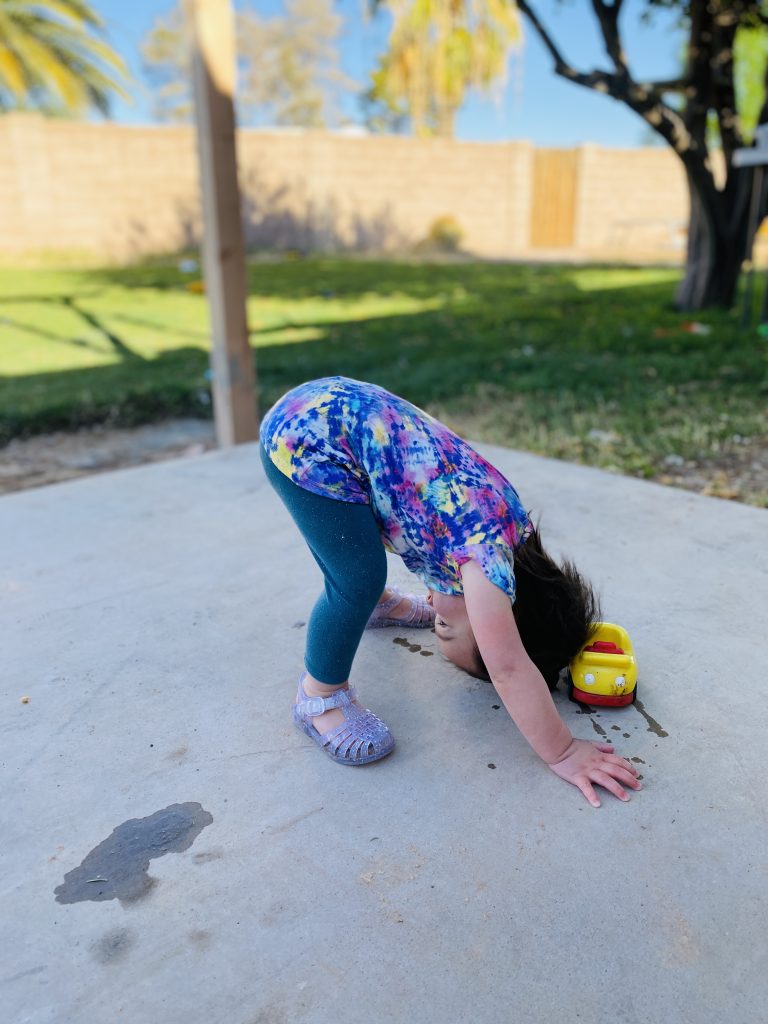
Here is the Constance I sewed up for my little peanut with just my sewing machine from the linked video above. Toddler’s are tricky to photograph! She was just running back and forth, all over the place. The fabric I used is Rayon Spandex from Mily Mae Fabrics.
You are clear to start sewing! If you need any help with specific construction, feel free to check out the Movie Night Pajama’s Sew Along. In tomorrow’s videos, I’ll be cutting out and sewing up the colorblocked hacks as well as the placket hack! And of course, hemming on Day 5.
Don’t forget to comment on today’s daily post in the Sew A Little Seam FB group to be eligible for the giveaway at the end of the sew along! If you have any questions about what stitch to use or any troubleshooting with tension, you are more than welcome to also comment on the daily post with those questions.
Happy Sewing!
Cheers!


You May Also Like

Movie Night Pajamas SewAlong: Day 1 – Prep Day
December 1, 2019
Ollie Bomber Jacket SewAlong: Day 1 – Pattern Prep
September 9, 2019