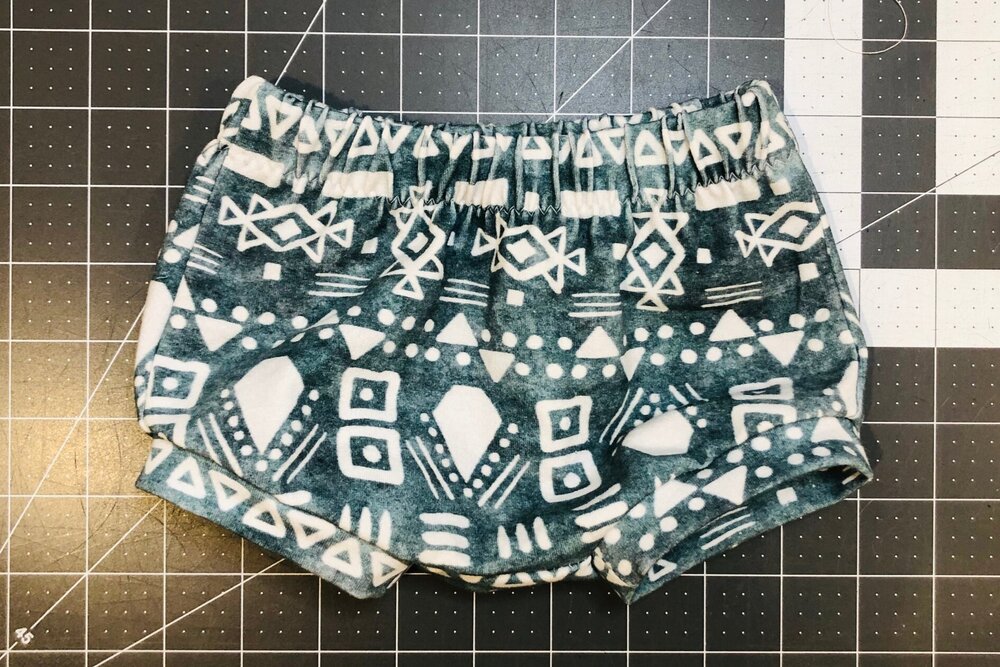
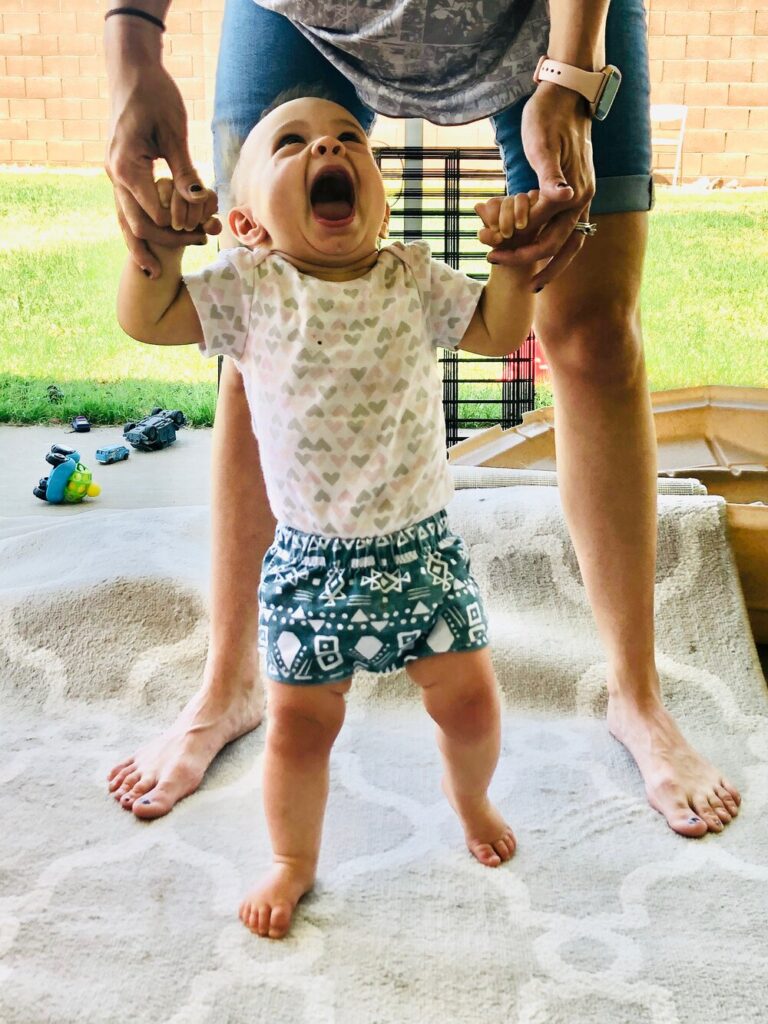
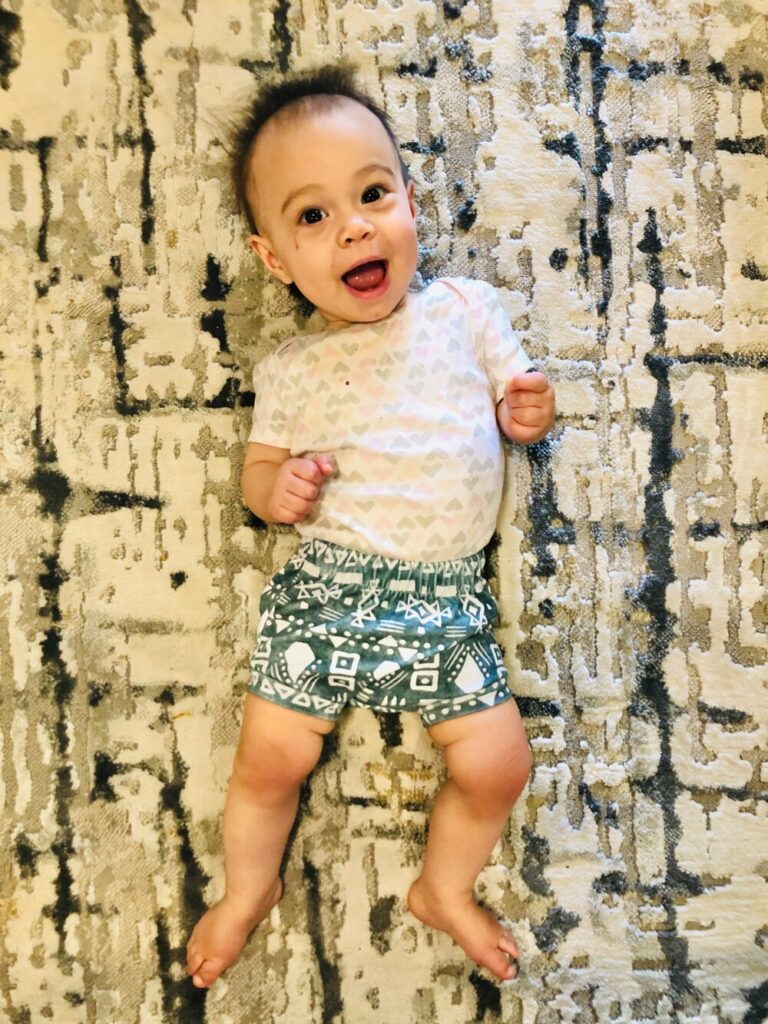
If you haven’t tried the Brindille & Twig Bummies pattern, I highly suggest it. And a bonus…it’s free! I just sewed up a pair for my mini and I really like the fit. They are more of a shorty/bummies fit, meaning they don’t go as high up into the leg as I’ve seen in some other bummies patterns. My peanut is 9.5mo and she measures a tad smaller than the 0-3m size, so that’s what I made.
(If you want to get the best fit for your little, measure them and adjust the pattern accordingly)
The BT Bummies have an elastic casing, but it’s really pretty easy to sew/serge your elastic directly to the raw edge of the bummies, fold down and top stitch. I made a little video (sorry, some of the whites are a tad washed out!) and you can scroll to the end of this post to watch it.
For this pattern, you need 1” elastic. Keep in mind that there are a handful of different kinds of elastic and they all have varying stretch and recovery. The elastic measurements in the pattern are more of a guide and may need to be lengthened/shortened depending on the type of elastic you are using.
Firstly, the elastic casing is made by folding over the top of the pants down 1.25” and sewing down. Because we are going to sew the elastic directly to the raw edge of the bummies, you will want to remove .25” off the top in order to end up with the same rise as the casing elastic version. You can definitely skip this, but just know they will be a smidge longer.
Once your bummies are all sewn up and your elastic is sewn in the round, mark the quarter points (center front, center back and halfway between CF and CB) of your bummies and your 1” elastic. Please be aware that the side seam is NOT a quarter point. If you use it as one, you will be stretching your elastic more/less between the front and the back of the bummies. Match up the quarter points of the bummies and elastic together.
Now, you are more than welcome to start serging your elastic on, but I find it easier to start with basting the elastic down on your sewing machine with either a long straight stitch or zigzag stitch, about 1/4” from the raw edge. This will give you a little more control when you serge over top. If you don’t have a serger, you can still attach your elastic this way as well. I like to hold both ends of the elastic, pulling it taught, as I run it through my sewing machine. Try to evenly stretch it as you go and always make sure your needle is down before you let go.
If all looks good, take it to your serger! Make sure your knife is disengaged or keep an eye out that you aren’t cutting into the elastic.
Once that’s done, it’s time to fold the top of the bummies down to enclose the elastic. I like to start at the quarter points first and then adding an extra pin/clip halfway between each one. Make sure everything is taught when you fold your pants down and around the elastic.
Now it’s time to topstitch. There are a few ways you can do this. You can topstitch on your sewing machine with a straight stitch, zigzag or double needle (really just about any stitch will work but a triple stitch isn’t necessary), or you can topstitch with a coverstitch if you have one. Make sure you are stretching your elastic just enough so the top of the bummies have no ripples. Tie of any threads and you are done!